FFmpeg is free and open-source software. Due to its popularity, FFmpeg is available directly from the official package repository for most Linux distros, including Ubuntu.
FFmpeg is also available from the Snapcraft store as a snap package. The benefit of using the snap package is that the snap always supplies the latest version of the software.
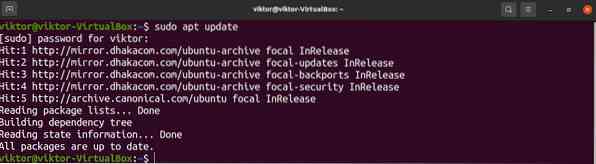
Launch the terminal and update the APT cache by entering the following.
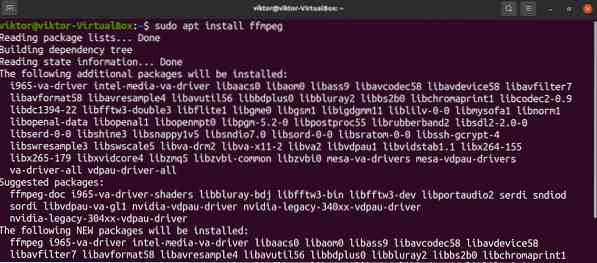
Next, install the “ffmpeg” package. APT will automatically download and install all the necessary dependencies.
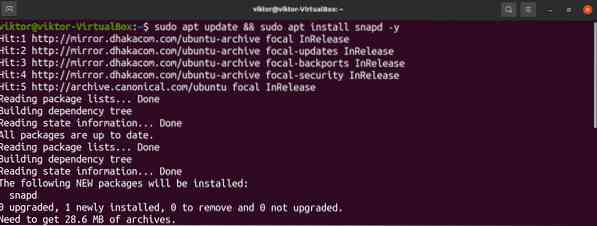
This is the recommended method of installing FFmpeg. Installing the snap package requires snappy (the snap package manager) to be installed beforehand.
The latest Ubuntu release will have the snap package manager configured by default. However, if this is not the case, then you can configure the package manager right away.
The system is now ready to grab and install snap packages. By default, the Snapcraft store is the source of snap packages. Check out FFmpeg in the Snapcraft store.
Basic Conversion
FFmpeg is a complex tool that supports tons of options. Any FFmpeg command will have the following structure.
Here, the “-i” flag signifies the input file.
The following command structure is used to simply convert a media file into a different format. In this case, the file will be converted from the “dummy.mkv” format to the “dummy.mp4” format. FFmpeg will automatically determine all the necessary options for the conversion.
To disable the redundant outputs (copyright notices, libraries, etc.), add the “-hide_banner” flag.
Codec SpecificationIt is also possible to manually determine the codecs that FFmpeg will use to perform the actions. Check out the official FFmpeg documentation on supported codecs here. If you are not sure, then using “copy” as the codec is probably the best option. This tells FFmpeg to copy the audio and video stream directly into the new file format without performing any actual conversion. For most file conversions, this is the recommended method.
Here, the “-c” flag is the short form for “-codec,” signifying which codec to use.
FFmpeg also provides full control over individual streams (audio, video, subtitle, etc.). For example, it is possible to select audio or video files specifically to be subject to a certain codec.
Here, the flag“-c:v” signifies the codec for the video stream, and the flag “-c:a” signifies the audio stream.
Note that for the “copy” function to work, FFmpeg must support muxing the targeted stream into the output container. Otherwise, it will not work.
The following is another quick example of using this feature but using a real codec, instead. We will convert the MKV file into MP4 using the libx264 codec. Note that libx264 is only applicable for video streaming.
Besides basic conversion, FFmpeg also allows users to manipulate content quality (bitrate, frame rate, video width/height, etc.). All these features influence the quality of media content. Note that changing any of these properties of the media file will impact how the viewer sees and listens to the media contained in the file. Of course, a human's ability to see and hear is not straightforward. Sometimes, small changes can make a dramatic difference in quality.
We will start with the bitrate. To change the bitrate of the source video, use the following command structure.
Here, the flag “-b:v” stands for video bitrate.
Frame rate is another important factor in determining content quality. To change the frame rate of an MKV file, we will use the following command structure.
Here, the flag “-r” signifies the desired frame rate.
Besides the visual changes, changing the video dimension will also impact the output file size. To change the video dimension to 1280x720p, we will use the following command structure.
FFmpeg is a powerful tool for working with media files. This guide demonstrates how to use FFmpeg for converting MKV files to MP4.
Besides normal usage, FFmpeg can also be quite fun to use. Check out the following guide that shows you how to use FFmpeg to create a video from images.
Happy computing!