
We highly recommend that you keep your Ubuntu machine updated with the latest security patches. Updating your Ubuntu on a regular basis will keep your computer safe from various vulnerabilities.
However, manually updating your Ubuntu machine will be time-consuming. Consider handling multiple computers or even a single one, and it is not efficient to perform the updating process manually.
So in this tutorial, we will help you in configuring your Ubuntu machine to be automatically updated via installing the unattended-upgrades package.
Enabling Automatic Unattended Security Updates
Step 1. Install the unattended-upgrades package using the next command, and there is a big chance that you may find the package is already installed.
sudo apt install unattended-upgrades

Step 2. Now check the status of the unattended-upgrades package.
systemctl status unattended-upgrades
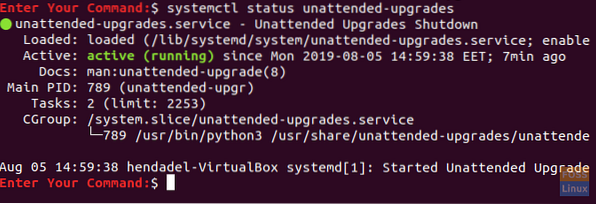
If the unattended-upgrades is not running, you can start it using the next command.
systemctl start unattended-upgrades
Step 3. Configure the unattended-upgrades package by editing in the “/etc/apt/apt.conf.d/50unattended-upgrades” Configuration file. Using your favorite editor open the unattended-upgrades configuration file.
sudo vi /etc/apt/apt.conf.d/50unattended-upgrades

Step 4. After opening the unattended-upgrades configuration file, remove the comment from the “security” line as in the below screenshot, this will let the repository updates automatically.
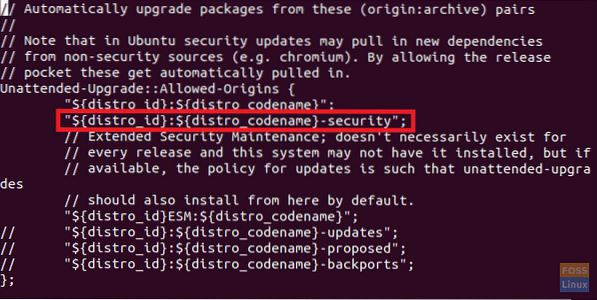
In the unattended-upgrades configuration file, you can add packages that you need not updated under the unattended-upgrades::package-blacklist section. But be careful and remember not to write the double slash as they comment the line.

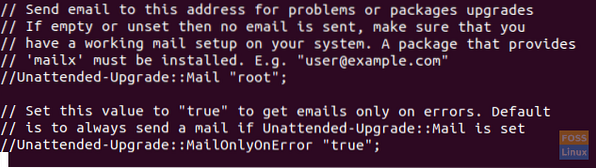
Also, you will find a section in the configuration file to enable the email notifications in case an error occurs. You can write your email there in case you need to receive information.
After editing in the unattended-upgrades configuration file, save and close it.
Step 5. Now lets enable the automatic updates by editing in the “/etc/apt/apt.conf.d/20auto-upgrades” configuration file.
sudo vi /etc/apt/apt.conf.d/20auto-upgrades

Step 6. Edit the auto-upgrades file to be like the below screenshot.

Where:
- Update-Package-Lists option -> 1 means enable auto-update and 0 disable it.
- Unattended-Upgrade option -> : 1 means enable auto upgrade and 0 means disable it.
Save and quit the configuration file.
Step 7. Now to verify the previous configurations, we can perform a dry run. The dry run command is used to ensure that the update process is a simulation, and there is no real changes will take place to your packages. Use the next the command to verify the configurations:
sudo unattended-upgrades --dry-run --debug

Congratulations now you have enabled automatic updates on Ubuntu. Now you can relax and enjoy your Ubuntu time without worrying about the system updates.


