
NTP (Network Time Protocol) is a networking protocol responsible for synchronizing the clocks of computers over a network. It has both the server and the client programs residing on the networked systems. Each server must have an NTP Client software to synchronize its clock to the network time server, and in most cases, it is by default resides in the device's operating system.
Significant Features of NTP Server
Here are some basic features of NTP:
- NTP requires a reference clock that gives a standard time as all system clocks have some correct time, but they might have little bit variation, but NTP computes the right time by using some standard calculations.
- Depends on UTC (Universal Time Clock) as a reference time
- NTP is a fault-tolerant protocol that will synchronize its time by resolving several time sources and minimizing accumulated error. It will discard any temporary or permanent inaccurate time source.
- It is highly scalable; you can add as many time sources as you can as each node will communicate in bidirectional or unidirectional and will transmit time by forming a tree-like structure with reference clock is on top.
- It is highly accurate as it chooses the best among the available time sources with a margin of error less than a nanosecond.
- It even works when the network is temporarily down as it calculates time from past to estimate current time and margin of error.
In this guide, we will show you how to install the NTP server, and it's client program on Ubuntu.
Requirements
- A running Ubuntu Server
- A user (root or non-root) with sudo privileges
Installing NTP Server on Ubuntu
First of all, we will show you step by step procedure to install the NTP Server on Ubuntu.
Step 1: Updating System Repository
By default, the NTP Server package is available in Ubuntu's default package repository, but before installing it, let us update the package repository by using the below command.
$ sudo apt update -y
Step 2: Install NTP Server
Now you can install NTP Server using below command
$ sudo apt install ntp
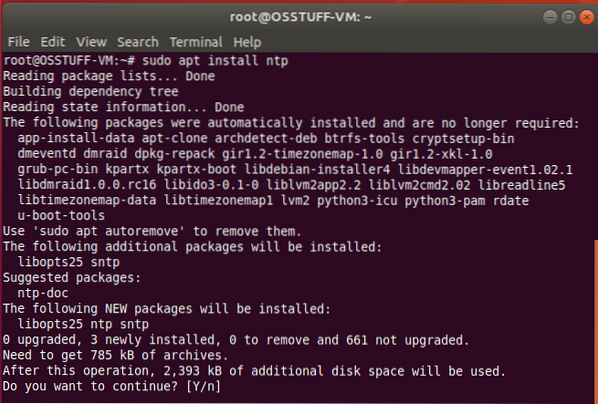
Type “Y” on confirmation prompt and hit Enter to continue installing process.
Step 3: Confirm NTP Server Installation
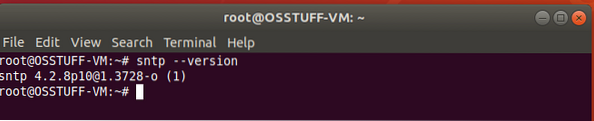
Now check your NTP Server installation status using below command
$ sntp --version
Step 4: Configure NTP Server
After successful installation, now its time to configure it so that it can synchronize its time from public NTP Server. To do that, you need to edit the ntp.conf file using the below command.
$ sudo nano /etc/ntp.conf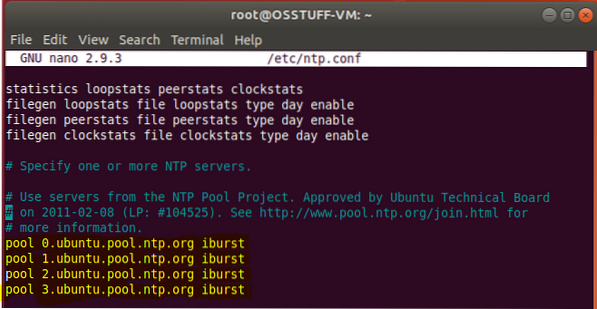
Now you need to replace the below lines
pool 0.ubuntu.pool.ntp.org iburst pool 1.ubuntu.pool.ntp.org iburst pool 2.ubuntu.pool.ntp.org iburst pool 3.ubuntu.pool.ntp.org iburst
with your desired NTP pool server for this tutorial I am using Europe. You can see list of NTP Pool Server here
pool 0.europe.pool.ntp.org iburst pool 1.europe.pool.ntp.org iburst pool 2.europe.pool.ntp.org iburst pool 3.europe.pool.ntp.org iburst
After replacing the above line, please save and exit the configuration file. Now to apply these settings, we need to restart NTP service using below command
$ sudo systemctl restart ntp Now after the restart, you can check NTP Service status using below command
$ sudo systemctl status ntp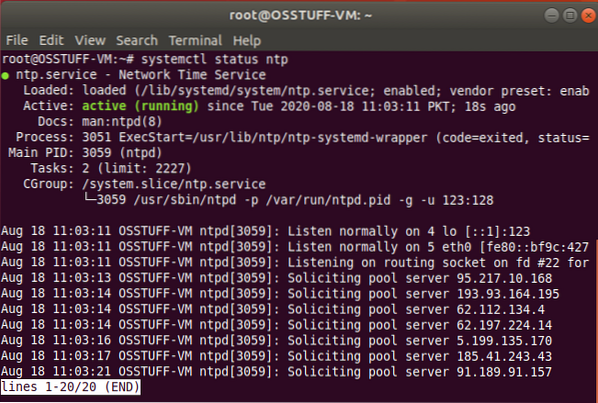
Installing NTP Client on Ubuntu
In this section, we will show you step by step procedure to install NTP Client so that we can sync with our NTP Server.
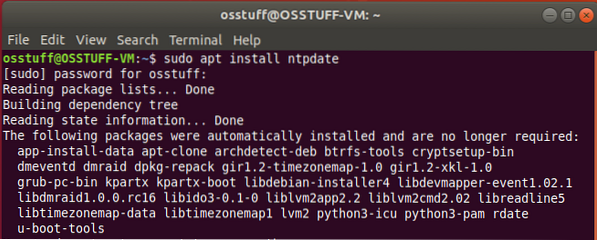
Step 1: Install Ntpdate
Ntpdate is a program that allows the system to synchronize its time and date by connecting to an NTP server. so we will install Ntpdate using below command
$ sudo apt install ntpdate
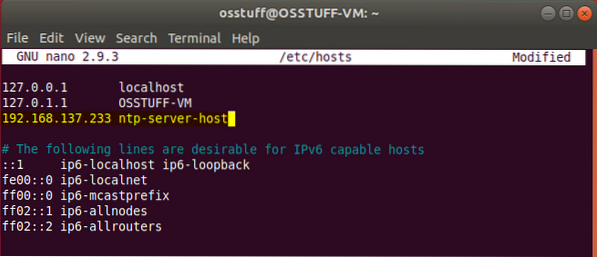
Step 2: Add NTP Server IP in Host File
NTP Client needs to resolve the NTP server by hostname, so for that, you need to add the NTP server's IP address and hostname in the /etc/hosts file.
To edit /etc/hosts file using below command
$ sudo nano /etc/hosts
Now add your server IP with the hostname in /etc/hosts file like this
Step 3: Verify Client Time Sync
Now we will test our client system if it is in sync with the NTP server's time, run the command.
$ sudo ntpdate ntp-server-host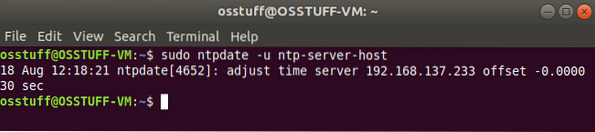
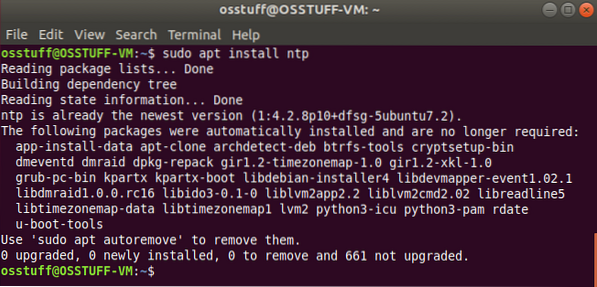
Step 4: Installing NTP Client
Next, We need to install an NTP service on the client system. To achieve this, use the below command.
$ sudo apt install ntp
Step 5: Configuring NTP Client
The objective in this step is to use the NTP server earlier configured to act as our NTP server. For this to happen, we need to edit the /etc/ntp.conf file.
$ sudo nano /etc/ntp.confwill add our server setting like this
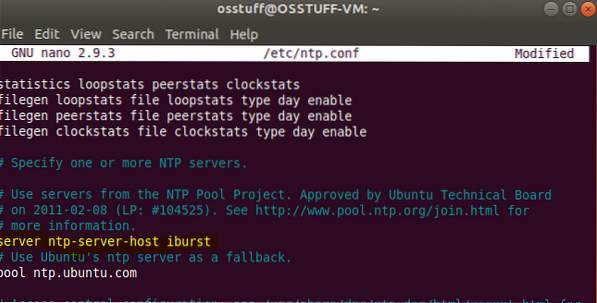
Save and exit the configuration file.
For the changes to come into effect, restart the NTP service using below command
$ sudo systemctl restart ntp
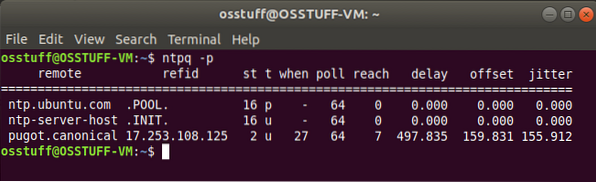
Step 6: Verifying NPT Time Synchronization Queue
Now client and NTP server insync, you can view the sync details by executing the command.
$ ntpq -p
the output will be like
At this point, you have successfully configured the NTP server on Ubuntu and also set NTP client to be synced from NTP Server.


