Tweak tools are used to configure the system and adjust other settings. Various tweak tools make it easy to configure and customize the Ubuntu system. Unity tweak tool is one of them.
Unity tweak tool is one of the oldest desktop environments that served as the default desktop environment for several years. It was retired in favor of GNOME 3 in 2016. If you are using older distribution, it is suggested to get the newest version since it comes with important security updates.
The flexibility of configuration and customization of Linux makes it one of the desired operating systems. Tweak tools are mostly used to tweak the settings of Linux distributions. In the past, it was the “Unity Tweak tool”; now it is “GNOME Tweak Tool”. GNOME tweak tool can be used for customization of the Ubuntu. The installation process is quite simple and applicable to multiple distributions.
Installing GNOME Tweak Tool
To install this tweaking tool, type the following command:
$ sudo apt-get install gnome-tweak-toolIf it is giving you the following error, then it is time to add the “universe” repository.
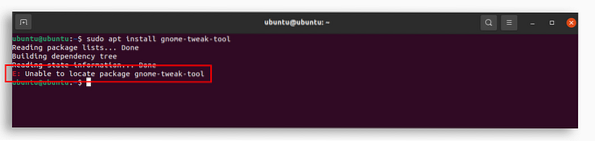
To install this repository, use the command given below:
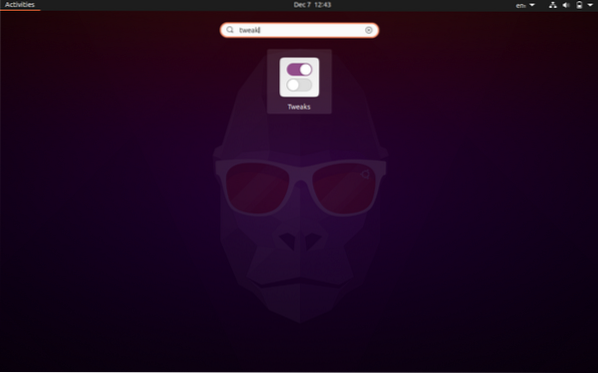
$ sudo add-apt-repository universeAfter getting it done, use the first command and install the “GNOME tweak tool”. Once the tweak tool is installed, you can be found in applications, as shown in the following image.
Open the tweak tool, and you will get to see the following window with different options for customization.
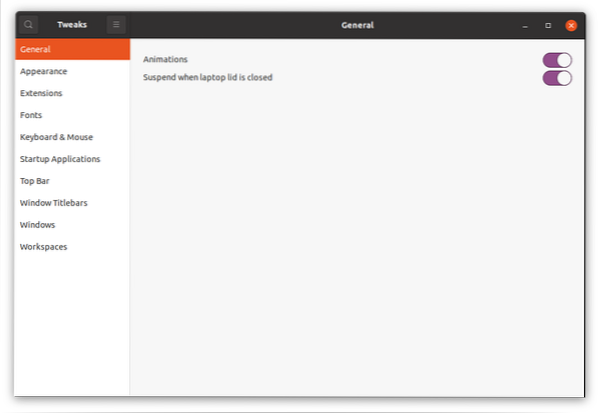
Windows are normally animated, whether when open or close. You can disable those animations from here to save battery.
Changing themes using the tweak tool
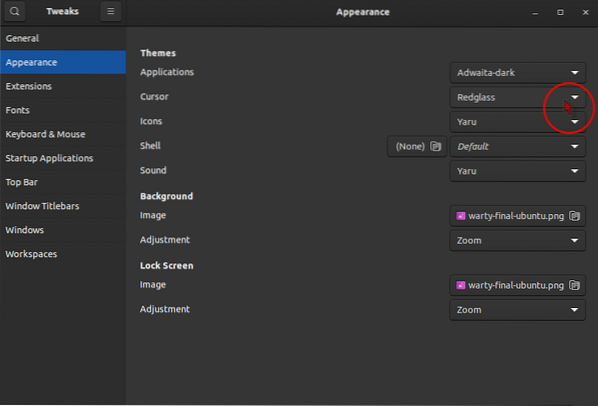
Unlike other operating systems, Linux allows various modifications to your desktop's appearance, and they are quite easy to implement. Themes can be changed from the “Appearance” tab. Tweak tool already has some themes installed, but you can also download themes and install them using this tool.
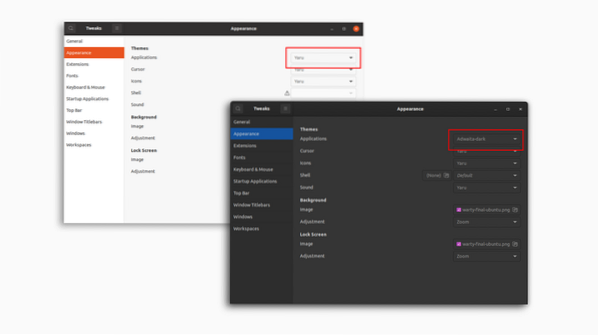
Apart from changing themes, you can also change the:
- Cursor
- Icons
- Shell
- Sound
- Background Image
- Lock Screen Image
As shown in the following image.
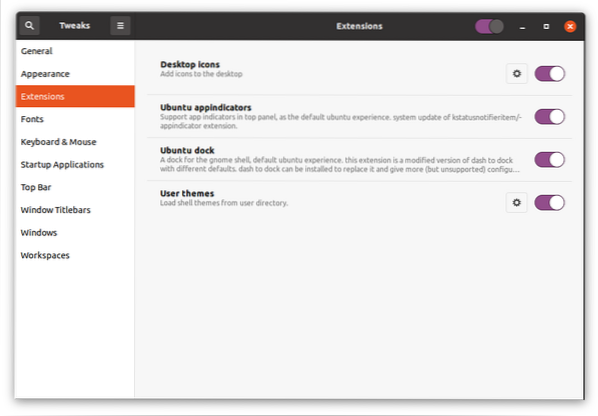
Extensions
The next tab is the “Extensions” tab, where you can add, enable, and disable the extensions. Extensions can be downloaded from here https://extensions.gnome.org. It will automatically detect the “GNOME tweak tool” and asks for a browser extension to download, simply download that extension and add. Now download any extension from the above site, and it will appear in the “Extensions” tab.
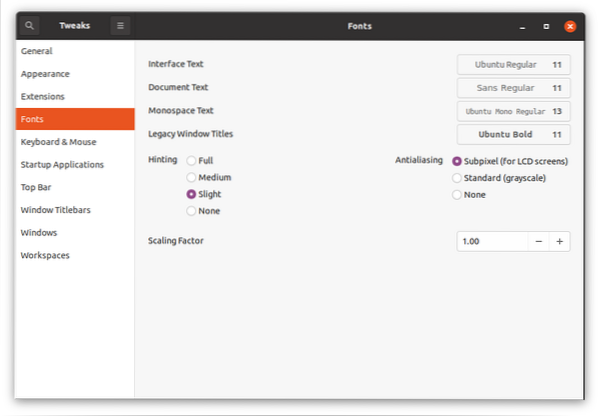
Managing Fonts
Fonts can be managed in the “Fonts” tab. Interface, Document, and Mono-space fonts can be changed from here.
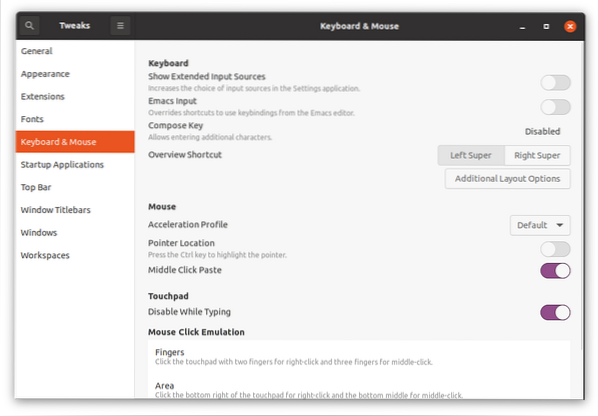
Keyboard and Mouse Settings
In the “Keyboard & Mouse” tab, you can adjust various settings related to the keyboard, mouse, and trackpad as well. The key thing to be focused on is the touchpad disable option. After enabling it, you can type without messing up with the touchpad.
“Mouse Click Emulation” is another feature that allows you to emulate the left click and middle click with your fingers.
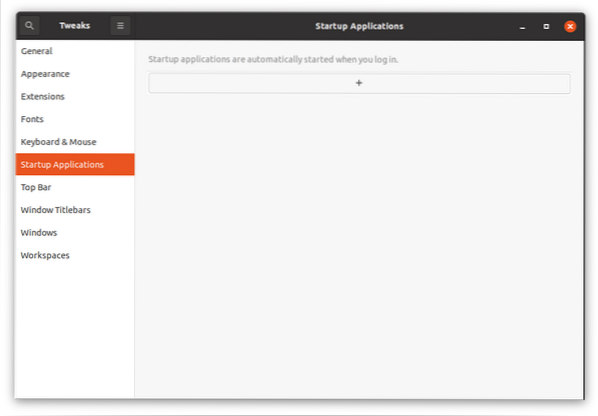
Startup Applications
You may need some applications when you turn on your desktop. From this tab, you can add applications that immediately start upon booting up the operating system.
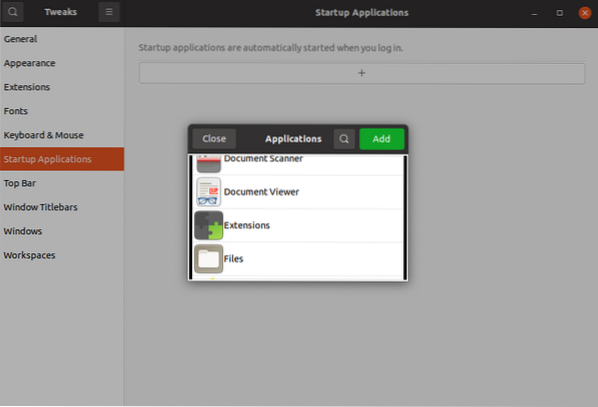
Click on the “+” button, a window of all installed applications will appear to add apps.
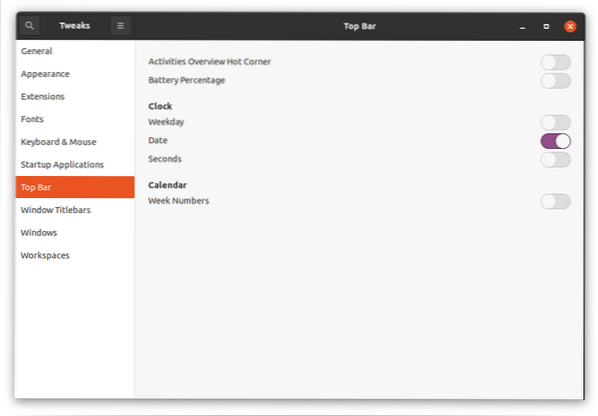
Modifying the Top Bar
The next option is modifying the top bar. There are various adjustments that you can make in the upper bar, like:
- Enabling the battery percentage
- Modification in clock
- Calendar settings
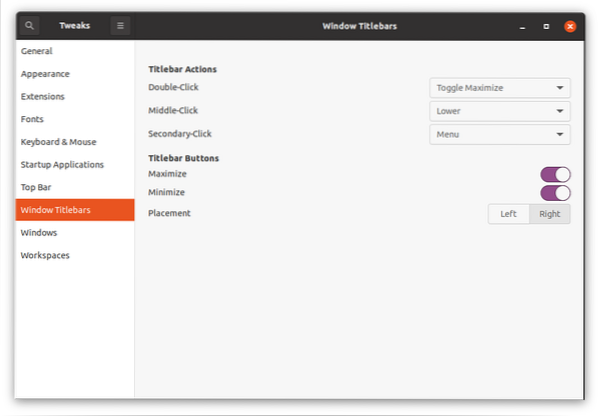
Configuring Window Title bars
This is another important tweaking feature as it allows you to modify the placement of title bar icons. Apart from that, it permits you to enable and disable the “minimize” and “maximize” buttons on the title bar.
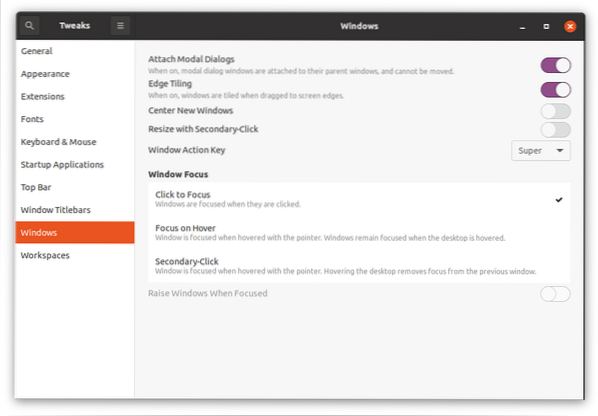
Modifying Window settings
Window settings can be adjusted in this tab, like:
- Modal Window settings
- Edge tiling
- Resizing
- Window's focus
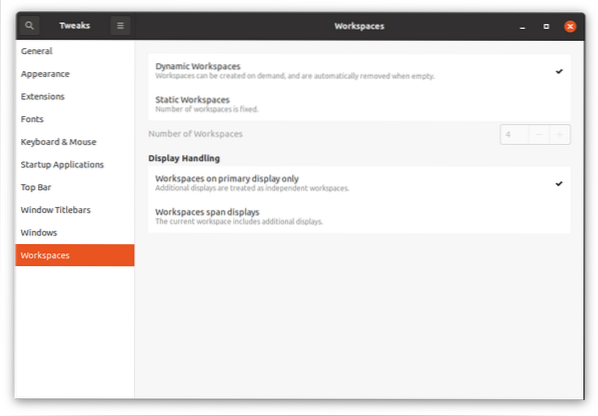
Workspace Settings
GNOME tweak tool also allows you to modify various settings that belong to the workspace, for example, “static and dynamic workspaces” and “number of workspaces”.