The Raspberry Pi official camera module can be used as a security camera. You can share the camera video stream on the network and access it remotely from any device on your Local Area Network (LAN).
You can use the VLC media player to share the video stream on a TCP port and access it from any device on your Local Area Network (LAN) using VLC media player.
In this article, I will show you how to build a Raspberry Pi security camera and stream the camera video feed from the Raspberry Pi using the VLC media player.
So, let's get started!
Things You Will Need
To follow this article, you will need the following things:
- Raspberry Pi 3 or Raspberry Pi 4
- Raspberry Pi camera module
- Micro-USB (Raspberry Pi 3) or USB Type-C (Raspberry Pi 4) power adapter
- 16 GB or 32 GB MicroSD card with Raspberry Pi OS flashed
- Network connectivity on the Raspberry Pi
- Laptop or a desktop computer for VNC remote desktop or SSH access to the Raspberry Pi.
NOTE: If you don't want to access your Raspberry Pi remotely via SSH or VNC, you need to connect a monitor, a keyboard, and a mouse to your Raspberry Pi as well. I won't need any of these as I will be connecting my Raspberry Pi remotely via VNC or SSH. My setup is called the headless setup of Raspberry Pi.
If you need any assistance on flashing the Raspberry Pi OS image on the microSD card, check my article: How to Install and Use Raspberry Pi Imager.
If you're a Raspberry Pi beginner and you need any assistance on installing Raspberry Pi OS on your Raspberry Pi, check my article: How to Install Raspberry Pi OS on Raspberry Pi 4.
If you need any assistance on the headless setup of Raspberry Pi, check my article: How to Install and Configure Raspberry Pi OS on Raspberry Pi 4 Without External Monitor.
If you need any assistance on connecting the Raspberry Pi camera module on the Raspberry Pi, check my article: Using Raspberry Pi Camera Module.
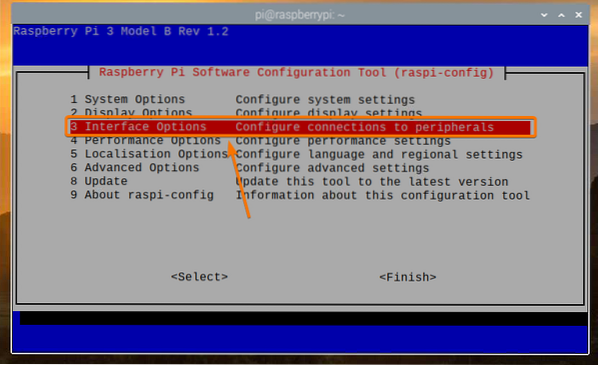
Enabling the Raspberry Pi Camera Module
The camera interface is disabled by default on the Raspberry Pi OS. You can enable it from the Raspberry Pi configuration tool, raspi-config.
Start the Raspberry Pi configuration tool with the following command:
$ sudo raspi-config
Select Interface Options and press
Select Camera and press

Select
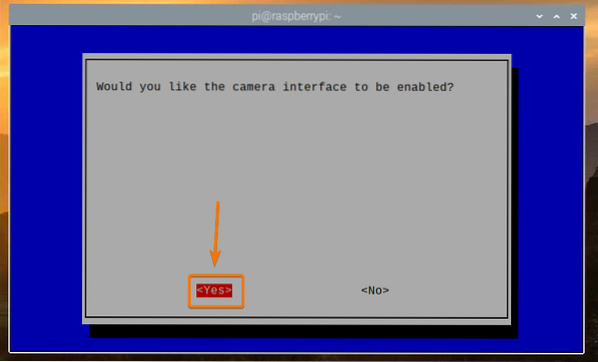
Press
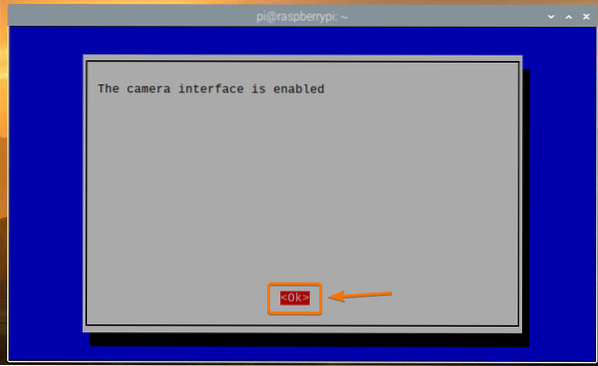
Select
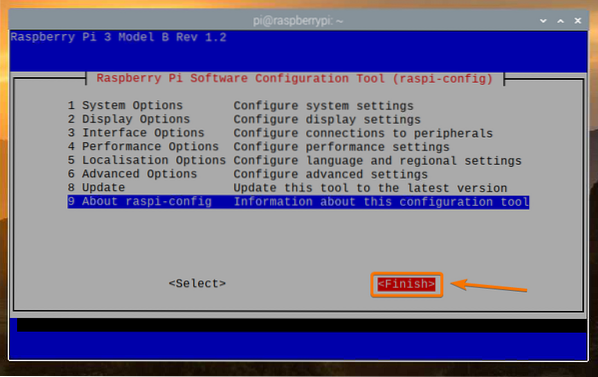
Select
Installing VLC Media Player
VLC Media Player is available in the official package repository of Raspberry Pi OS. So, it's easy to install it on the Raspberry Pi OS.
First, update the APT package repository cache with the following command:
$ sudo apt update
To install VLC Media Player, run the following command:
$ sudo apt install vlc -y
VLC Media Player should be installed. In my case, it is already installed.
Creating a Camera Server with VLC Media Player
The raspivid command is used to record video from the Raspberry Pi camera module. I have explained how to use the raspivid command to record a video using Raspberry Pi in my article Using Raspberry Pi Camera Module.
The VLC Media Player has a command-line player cvlc. You can use the cvlc command to share a video stream on a TCP port. In this case, the video stream of the Raspberry Pi camera module.
To share the Raspberry Pi camera video feed on a TCP port using the VLC Media Player, run the following command:
$ raspivid -o - -t 0 -hf -w 1920 -h 1080 -fps 30 | cvlc -vvv stream:///dev/stdin--sout '#standardaccess=http,mux=ts,dst=:9000' :demux=h264

The raspivid command is used to record the video from the Raspberry Pi camera module.
Here is the following meaning of the command below:
- The video width will be 1920 pixels
- The video height will be 1080 pixels (-h 1080).
- The video will be flipped horizontally (-hf).
- The video will be recorded at 30 frames per second (-fps 30).
- The video will be recorded for an unlimited number of seconds (-t 0).
- The video stream will be printed on the terminal instead of saving it on file (-o -).
You can change any of these options as you see fit.

The cvlc command is used to open a TCP port and send the Raspberry Pi camera video feed on the TCP port.
The video feed is taken from the standard input (stream:///dev/stdin) of the terminal (using a pipe |).
VLC will use the TS codec for multiplexing (-sout '#standard… ,mux=ts,… ') the input video feed, and H264 codec for demultiplexing (:demux=h264) the output video feed.
The video stream will be available on the HTTP port 9000 (-sout '#standardaccess=http,… ,dst=:9000').

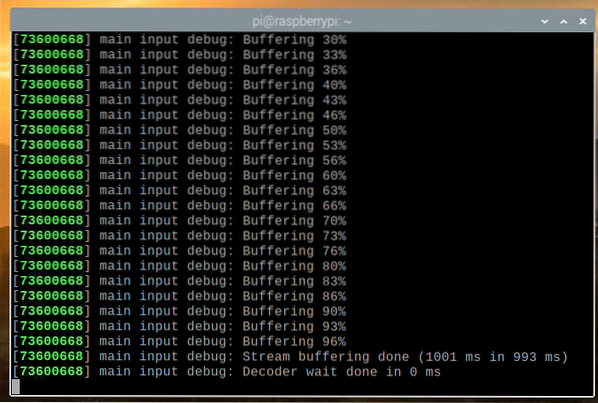
Once you run the command and the buffering is complete, you can stream the video from any device on the network using the VLC Media Player.
Streaming the Camera Feed from the Raspberry Pi Camera Server
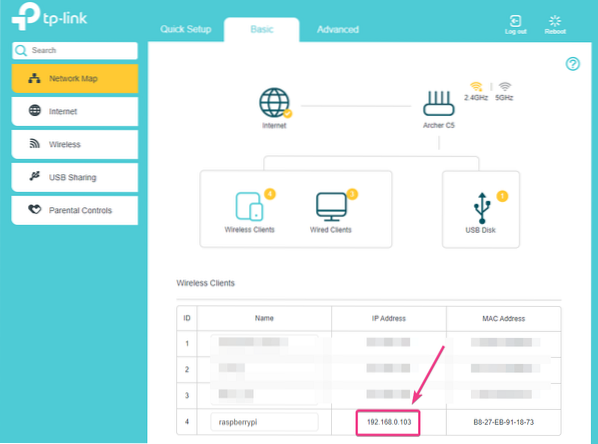
To access the camera feed from other devices in your home network (LAN), you need to know the IP address of your Raspberry Pi.
You can find the IP address of your Raspberry Pi from the web management interface of your home router. In my case, the IP address is 192.168.0.103. It will be different for you. So, make sure to replace it with yours from now on.
If you have access to the Raspberry Pi console, you can run the following command to find the IP address as well.
$ hostname -I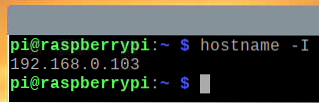
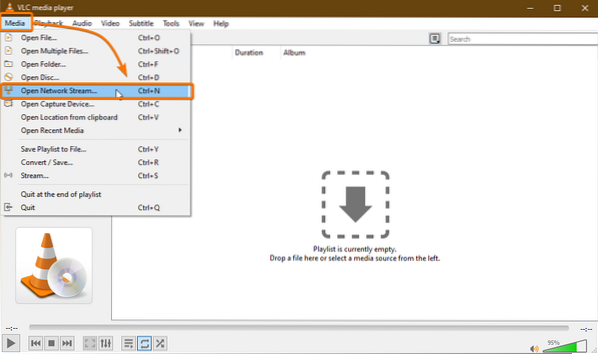
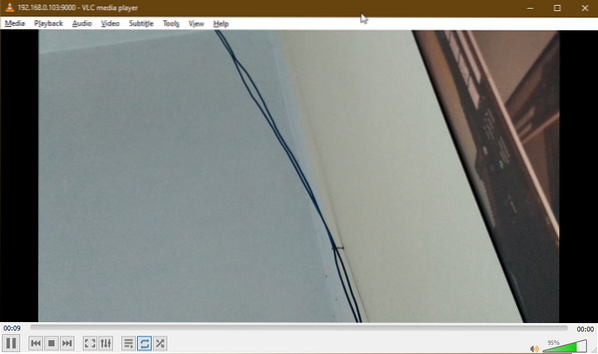
Once you know the IP address of your Raspberry Pi, open the VLC Media Player app and go to Media > Open Network Stream… as shown in the screenshot below.
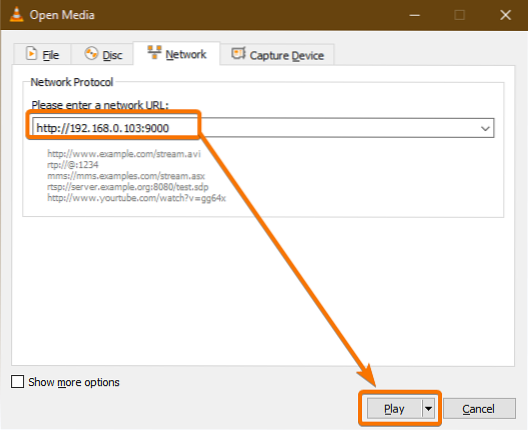
Type in the URL of the camera server in the Please enter a network URL section. In my case, the URL is http://192.168.0.103:9000.
Once you have typed in the URL, click on Play.
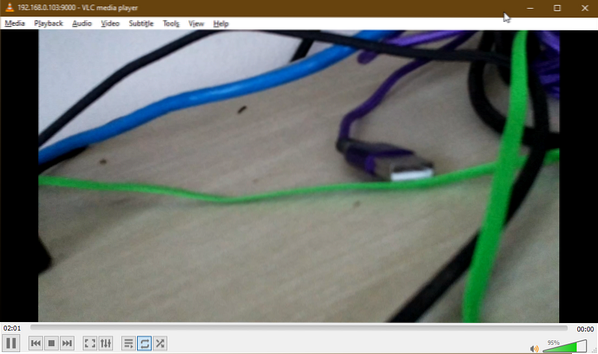
The VLC Media Player should start streaming the video feed from the Raspberry Pi, as you can see in the screenshot below.
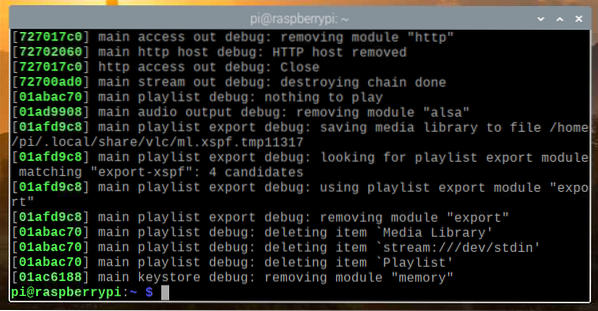
Now, stop the camera server by pressing
Starting the Camera Server on System Boot
Manually starting the camera server each time, you boot your Raspberry Pi is not very practical. So, we can create a systemd service for the camera server that will automatically start the camera server on boot.
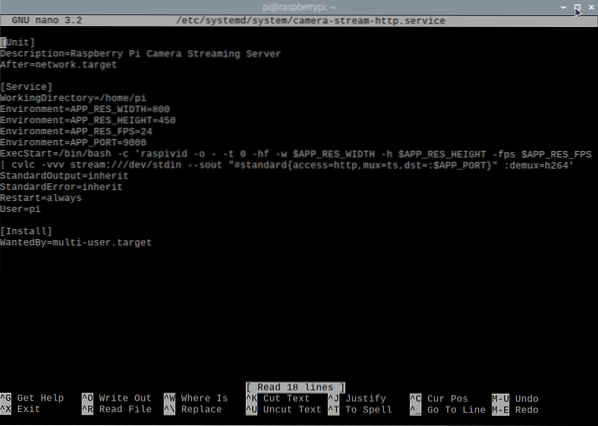
First, create a camera-stream-HTTP. Service file in the /etc/systemd/system/ directory as follows:
$ sudo nano /etc/systemd/system/camera-stream-http.service
Type in the following lines in the camera-stream-http.service file.
[Unit]Description=Raspberry Pi Camera Streaming Server
After=network.target
[Service]
WorkingDirectory=/home/pi
Environment=APP_RES_WIDTH=800
Environment=APP_RES_HEIGHT=450
Environment=APP_RES_FPS=24
Environment=APP_PORT=9000
ExecStart=/bin/bash -c 'raspivid -o - -t 0 -hf -w $APP_RES_WIDTH -h
$APP_RES_HEIGHT -fps $APP_RES_FPS | cvlc -vvv stream:///dev/stdin
--sout "#standardaccess=http,mux=ts,dst=:$APP_PORT" :demux=h264'
StandardOutput=inherit
StandardError=inherit
Restart=always
User=pi
[Install]
WantedBy=multi-user.target
You can adjust the following environment variables to configure the camera server as you see fit.
Environment=APP_RES_WIDTH=800Environment=APP_RES_HEIGHT=450
Environment=APP_RES_FPS=24
Environment=APP_PORT=9000
Once you're done, press
Reload the systemd daemons for the changes to take effect as follows:

As you can see, the camera-stream-http systemd service is not running at the moment.
$ sudo systemctl status camera-stream-http.service
You can start the camera-stream-http system service with the following command:
$ sudo systemctl start camera-stream-http.service
The camera-stream-http service should be active/running, as you can see in the screenshot below. So, camera-stream-http systemd service is working.
$ sudo systemctl status camera-stream-http.service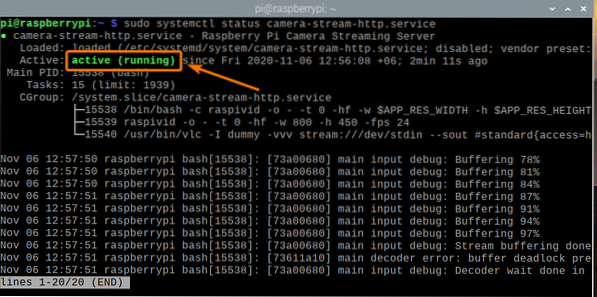
You can add the camera-stream-http systemd service to the system startup of Raspberry Pi OS with the following command:
$ sudo systemctl enable camera-stream-http.service
For the changes to take effect, reboot your Raspberry Pi with the following command:
$ sudo reboot
Once your Raspberry Pi boots, the camera-stream-http systemd service should be active/running, as you can see in the screenshot below.
$ sudo systemctl status raspi-home-automation.service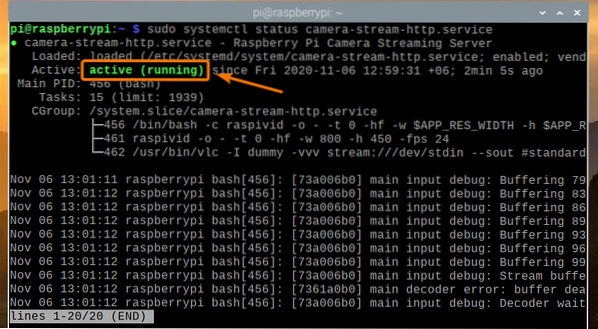
Conclusion
In this article, I have shown you how to build a Raspberry Pi security camera and access the video feed from your home network (LAN) using the VLC Media Player. If you just want a simple Raspberry Pi security camera setup, this article should help you get started.


