There are two different types of interfaces to interact with an operating system that is a Graphical User Interface (GUI) and Command Line Interface (CLI). In the Command Line Interface, we interact with the system directly using system commands on the terminal. We give commands to the system, then the system executes operating system functions according to the given commands, and we receive responses from the system in the form of simple text. The command-line interface is not commonly used by beginners. It is mostly used by developers and system administrators to configure systems and install packages as using Command Line Interface is much faster than using Graphical User Interface. Also, tasks can be automated by writing simple scripts (bash script for Linux and batch scripts for windows) using a command-line interface. We can perform way more functions using the command line interface.
For GUI, we have a nice representation of files and folders in the operating system using icons and indicators. It is much easier for non-professionals to use a graphical user interface instead of a command-line interface.
When you start an Ubuntu EC2 Instance on the cloud, by default, you only have a Command Line Interface to interact with the server. For the System Administrators, it is much easier to configure the machine remotely using Command Line Interface, but for the developers who are new to Command Line Interface, it can get more difficult for them to manage everything using the command-line interface. So they can enable GUI to use the remote servers easily. Now in this article, we are going to see how we can enable Graphical User Interface on our EC2 instance.
Getting Started
The first step to get started is to have SSH access to the instance. Connect to the instance over SSH using the following command
[email protected]:~$ ssh ubuntu@Where
NOTE: Sometimes you see an 'UNPROTECTED PRIVATE KEY FILE' error while connecting to the instance; then use the following command before connecting to the instance
[email protected]:~$ sudo chmod 400The above error occurs when your private key file has loose permissions. The above command restricts the private key file to be read-only by the current user.
Installing LXDE
Lightweight X11 Desktop Environment (LXDE) is an open-source software program used to provide a desktop environment to the Unix-like Operating systems. To enable GUI on the Ubuntu EC2 instance, we will use LXDE. LXDE is preferred over other desktop environments like GNOME as it is lightweight and uses fewer system resources than others. Update the system before installing this package
[email protected]:~$ sudo apt-get update -yInstall LXDE using the following command
[email protected]:~$ sudo apt-get install lxde -y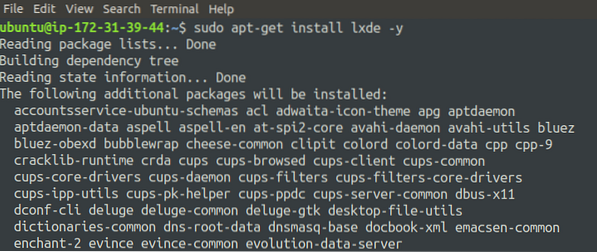
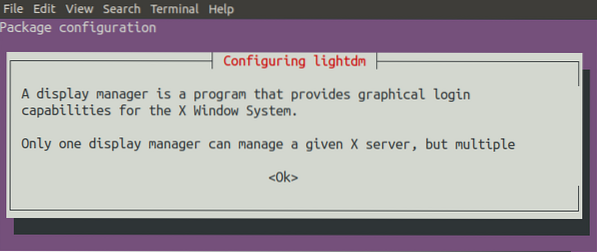
During installation, it will ask for the display manager configuration. Press the' Tab' key to highlight the 'OK' and then hit enter.
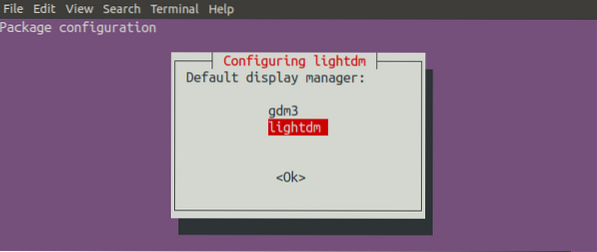
Now it will ask for selecting either 'lightdm' or 'gdm3'. The 'lightdm' and 'gdm3' are display managers, and you have to select one of them. Select 'lightdm' as it is ranked 2nd among all the display managers, and 'gdm3' is ranked 7th. Use the 'Tab', 'DOWN' and 'UP' arrow keys to switch the options in the list
After this, the installation will complete, and we will move to the next step.
Installing XRDP
After installing LXDE, we will now install the XRDP package on our ubuntu instance. XRDP is also an open-source package used to provide a desktop view to the ubuntu server as we can not have a GUI using SSH. It is actually a package to enable remote desktop protocol on Linux machines. Normally Linux servers do not come with a pre-installed desktop environment. The following command will install the XRDP package to your Ubuntu instance
[email protected]:~$ sudo apt-get install xrdp -yNow we can establish a connection between our local system and remote server using the remote desktop protocol.
Set Up Password for User
In order to connect to the remote Ubuntu instance over the remote desktop connection, we should set up a password for the user. By default, we connect with our instance over SSH using the default user 'ubuntu' using SSH key pairs. But to connect using the remote desktop protocol, we have to set up a password for the user. The following command will set up a password for the 'ubuntu' user.
[email protected]:~$ sudo passwd ubuntu
Configure Security Group
The remote desktop protocol works on port 3389, so we have to open that port in the security group of our instance to connect using the remote desktop protocol. In order to connect to our instance over SSH, we open port 22 of the instance that is the default SSH port. Without opening the 3389 port, we can not connect to our instance using the Graphical User Interface.
Connect to the Instance
Now our ubuntu instance is ready for the connection using a remote desktop protocol. We can use either Linux or Windows to connect to our instance using RDP. On Ubuntu, type
[email protected]:~$ rdesktop [IP_Address]While on Windows, search 'Remote Desktop Connection' client in the windows search bar and open it. It will ask for the DNS or IP address and username.
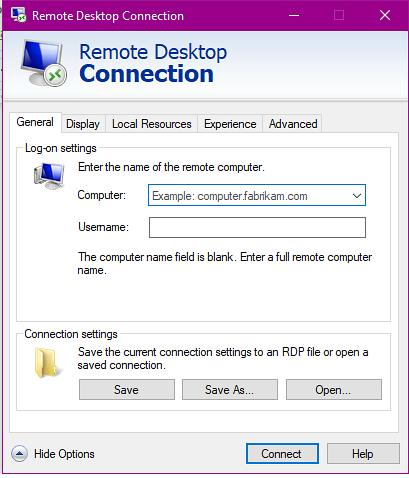
Use the IP address and username of the Ubuntu instance. You can also save the connection setting to an RDP file to use for later connection. Also, you can use the previously saved settings for this connection to connect to the instance. Now click on 'connect,' and it will ask for the password for this user.
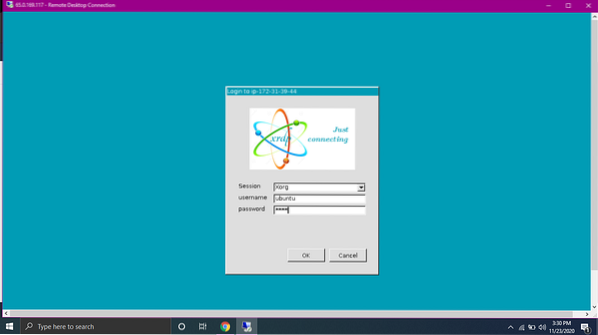
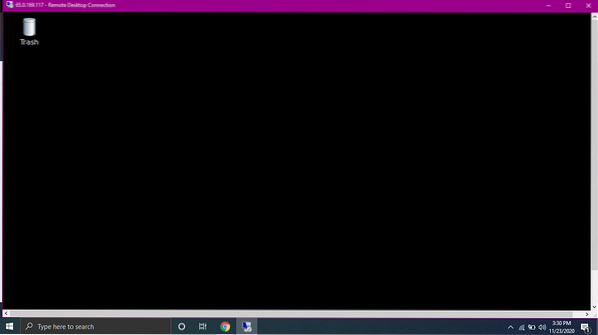
Use the password we have already set up, and it will connect with your instance with Graphical User Interface.
Conclusion
Handling remote servers using the Command-line interface can be a difficult task for beginners. So, in order to manage remote servers easily, we can configure the ubuntu server to use the remote desktop protocol to get a nice graphical user interface. In this tutorial, we have enabled a graphical user interface on the Ubuntu instance to facilitate novice Linux users.


