A simple guide for Windows 7 beginners. There are times when you need to connect your Windows 7 notebook to a wireless network, that could be when you are travelling or when working at your home or office. As almost all notebooks available today come with a wireless card, you need not to worry about the the Wireless Adapter present in your machine.

Finding and connecting to a wireless network is pretty simple. Just follow the steps given below:
1. Click on the network icon present in the system notification area (system tray) to see all available networks and their signal strengths. If you can't see a wireless network, make sure that the Wireless adapter is turned on in Windows Mobility Center. Also click the refresh button to refresh the available network connections list.
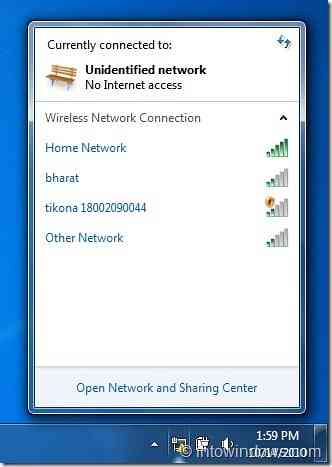
2. Next, click on the network name to see the Connect button. Uncheck the option Connect automatically if you don't like to automatically connect to the selected network in feature.

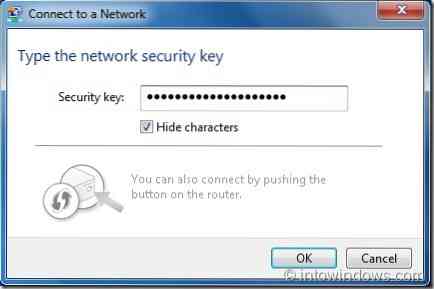
3. Click the Connect button and wait for a few seconds to see the Network Security Key prompt. Enter the security password set for the selected network to access the Internet.

4. To disconnect, simply click on the wireless icon in the notification area, select the wireless connection you are connected to and then click Disconnect button.


