The all-new release of Ubuntu 19.10, has brought many new features to the elite operating system. The interface is faster than ever, and even the theme has received a beautiful, funky revamp, with new icons and window themes. Upgrade to GNOME 3.34 has also added quite a touch of snappiness to the system.
Among all these things, there was also an addition of 'Ubuntu Media Share.' The feature allows users to share or stream the desired content over their local network including all the devices that support DLNA, which is based on UPnP (Universal Plug and Play). You can stream the selected content of your system on smart TVs, game consoles, other computers, and even smartphones.
Here is an essential guide on how to use Ubuntu Media Share.
Enabling Ubuntu Media Share
Before getting to use it, the Ubuntu Media Share feature must first be enabled. Of course, it is disabled by default for security purposes. To enable it, perform the following:
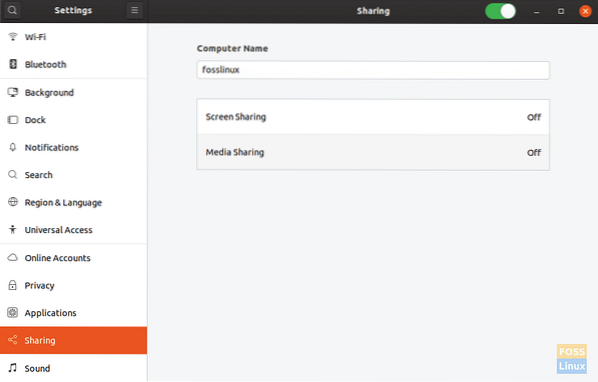
- Search for 'Sharing' using either the launcher or in the settings
- In the 'Sharing' settings window, enable sharing from the top bar
 Now you have the sharing enabled.
Setting up media sharing
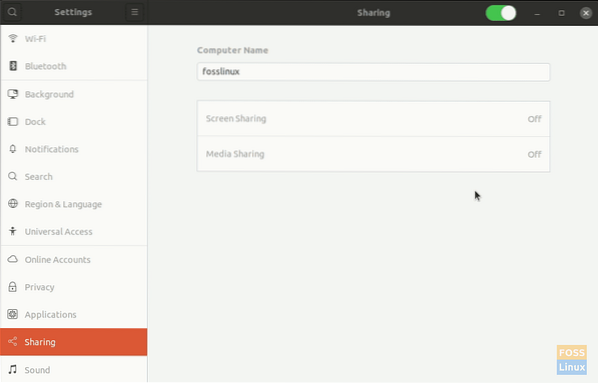
Now that your system is allowed to share things on the local network, you have to instruct the files that it can share. First of all, to enable file sharing and to stream, turn on 'Media Sharing,' which is the second option among the two options available in the 'Sharing' window.

Media sharing directories
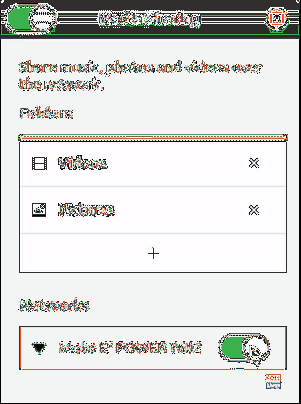
As you can see in the screenshot, the default directories to be shared over the network are Music, Videos, and Pictures. Using the cross sign on the right of the name, you can eliminate any of those directories, if you desire so, or using the plus sign that appears after scrolling down, and you can add more directories.
Networks
At the bottom of the dialog box, an option can be found to enable/disable media sharing over the specific networks. You will find a list of the networks that your system has been connected to there, and you can enable/disable the sharing for each network separately.

How to start sharing
After enabling Media Sharing, choose the directories to be shared and the networks over which Ubuntu can share the media. That's all you need to do to use Ubuntu Media Sharing.
Now you can check any of the devices on your local network that supports DLNA, and you'll be able to see the name of your Ubuntu system. For example, here is a screenshot from an Android device using the app Yaacc (also an open-source program), which is a DLNA client/receiver. The directories can be surfed, and the media can be streamed easily.

Conclusion
Ubuntu Media Sharing is yet another Ubuntu program that makes the lives of the users even more comfortable, enabling easy media sharing. It is evident that because of programs like this and a ton of others, Ubuntu is as popular as it is in the Linux community. We hope you found this article useful. If you have any questions, feel free to post them in the comments section. Cheers!
 Phenquestions


