The full form of KVM is Kernel Virtual Machine. It is the virtualization solution for Linux. KVM is a Linux kernel module that allows the Linux kernel to act as a hypervisor program like VMware ESXi or VSphere.
Up until now, you could not run KVM virtualization on Raspberry Pi devices. One of the main reasons for this was that the Raspberry Pi 3 and older versions have only 1 GB of memory. 1 GB of memory is insufficient for KVM virtualization. Docker is a better solution for these devices.
The recently released Raspberry Pi 4 8 GB model made KVM virtualization possible on the Raspberry Pi. Linux distributions like Fedora, Manjaro, etc., made KVM virtualization easy for the Raspberry Pi 4 by precompiling the KVM Linux kernel module. Our all favorite Raspberry Pi OS may follow this path someday as well.
In this article, I am going to show you how to install KVM on Raspberry Pi 4 and create a KVM virtual machine on the Raspberry Pi 4. So, let's get started.
Things You Will Need:
To follow this article, you will need the following things:
- A Raspberry Pi 4 (4 GB or 8 GB version) single-board computer.
- A USB Type-C power adapter.
- A 32 GB or higher capacity microSD card with Fedora Workstation 33 ARM image flashed onto it.
- A keyboard.
- A mouse.
- A monitor.
- Internet connectivity on the Raspberry Pi 4.
If you need any assistance on installing Fedora Workstation 33 on your Raspberry Pi 4, check my article How to Install Fedora 33 on Raspberry Pi 4.
Installing KVM, libvirt, and Virtual Machine Manager:
Before you can create KVM virtual machines, you need to have KVM and all the required tools installed on your Fedora Workstation 33. Luckily, KVM and all the required tools are available in the official package repository of Fedora Workstation 33.
First, update the DNF package repository cache with the following command:
$ sudo dnf makecache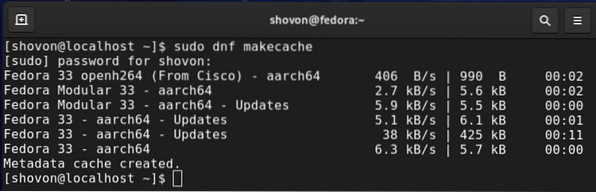
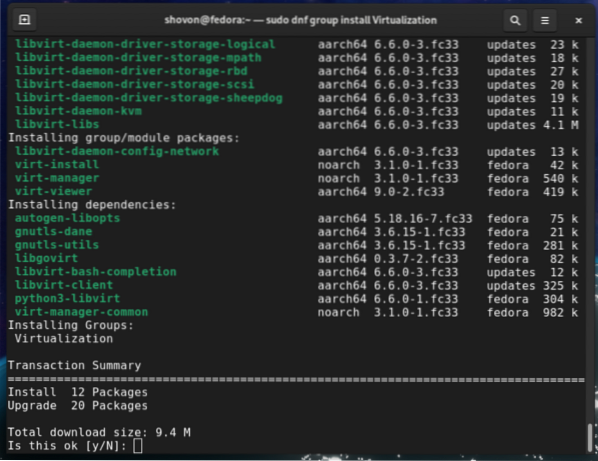
You can install KVM and all the required tools with the following command:

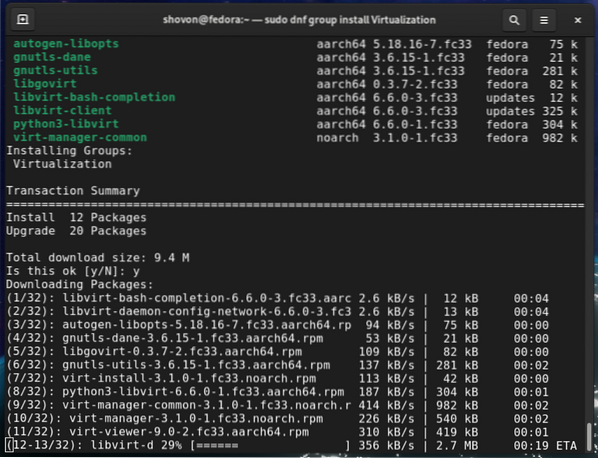
To confirm the installation, press Y and then press <Enter>.
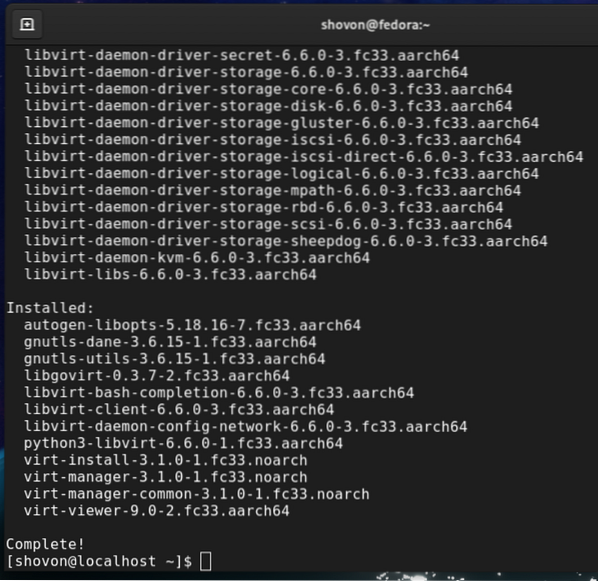
The DNF package manager will automatically download and install all the required packages. It may take a while to complete.
At this point, KVM and all the required tools should be installed.
Add your login user to the libvirt group with the following command:

For the changes to take effect, reboot your Raspberry Pi 4 with the following command:

Downloading Ubuntu Server ARM Installation Image:
Canonical has an official Ubuntu Server ARM release, which works great as a KVM guest (virtual machine) on the Raspberry Pi 4.
In this article, I will show how to install Ubuntu Server 20.04 LTS as a KVM virtual machine on the Raspberry Pi 4 as a demonstration. In a later section of this article, I will show you what other alternatives are available at the time of this article.
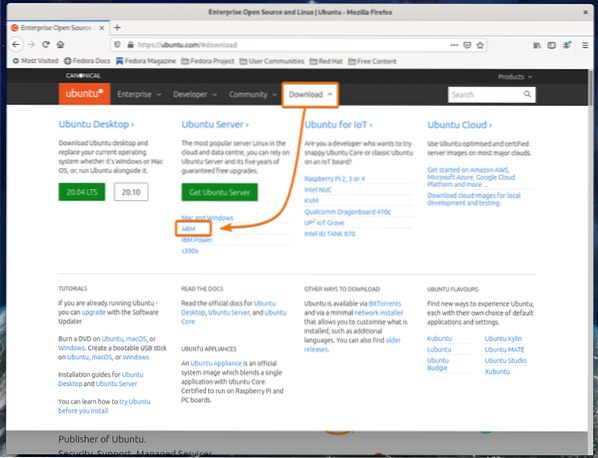
First, visit the official website of Ubuntu. Once the page loads, click on Download and then ARM from the Ubuntu Server section as marked in the screenshot below.
Click on the Download Ubuntu 20.04.1 LTS download button as marked in the screenshot below.

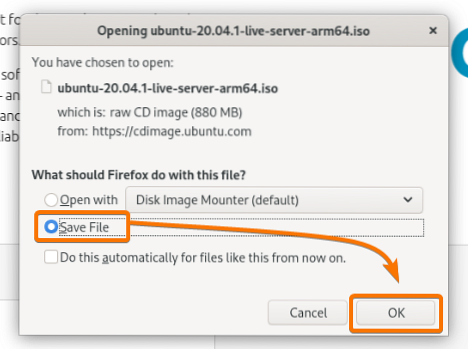
Select Save File and click on OK.
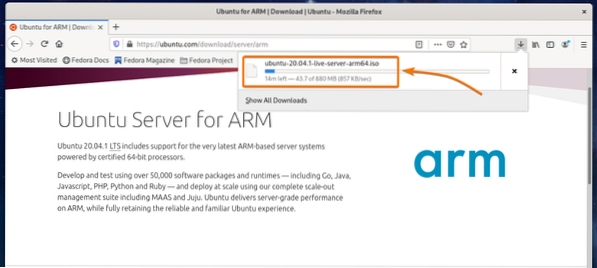
Your browser should start downloading the Ubuntu Server 20.04.1 LTS ARM ISO image. It may take a while to complete.
Moving Ubuntu Server ISO Image to the KVM Image Directory:
Once the Ubuntu Server 20.04.1 ARM ISO image is downloaded, you should be able to find it in the ~/Downloads directory, as you can see in the screenshot below.
$ ls -lh ~/Downloads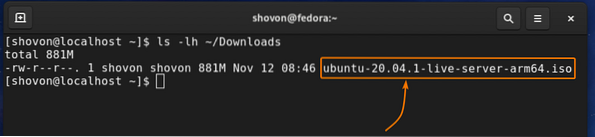
The default KVM image directory is /var/lib/libvirt/image/. You should copy your Ubuntu Server 20.04.1 ARM ISO image to the /var/lib/libvirt/image/ directory.
To move the Ubuntu Server 20.04.1 ARM ISO image to the /var/lib/libvirt/image/ directory, run the following command:
$ sudo mv -v ~/Downloads/ubuntu-20.04.1-live-server-arm64.iso /var/lib/libvirt/images/
Creating a Ubuntu Server 20.04.1 LTS KVM Virtual Machine:
In this section, I will show you how to create a KVM virtual machine and install Ubuntu Server 20.04.1 LTS on it using the KVM graphical management app Virtual Machine Manager (VMM).
First, search for Virtual Machine Manager in the Application Menu of your Fedora Workstation 33 desktop environment. Then, click on the Virtual Machine Manager icon as marked in the screenshot below.
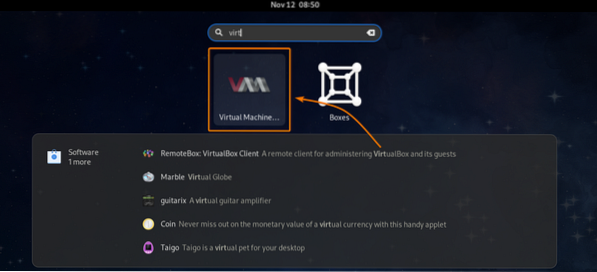
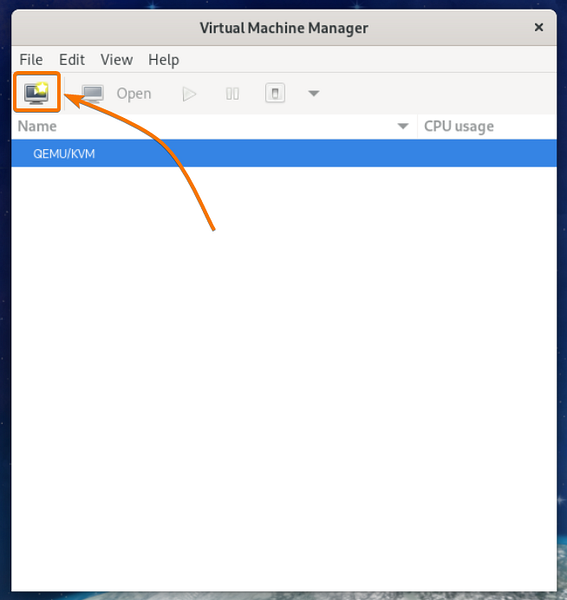
Virtual Machine Manager should be opened.

To create a KVM virtual machine, click on the icon( ) as marked in the screenshot below.
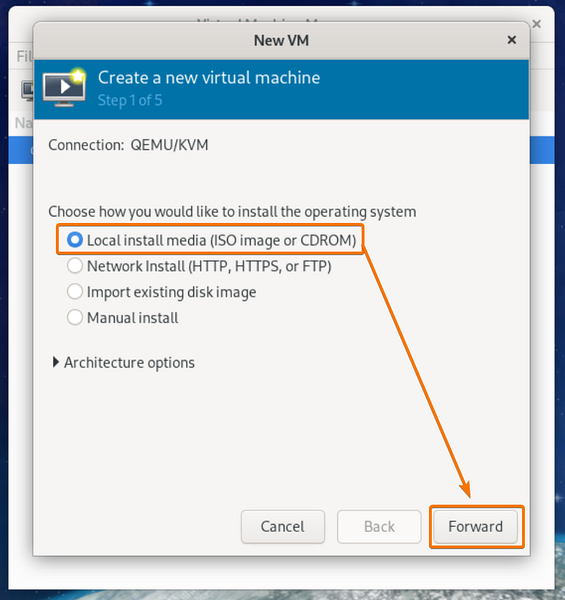
Select Local install media (ISO image or CDROM) and click on Forward.
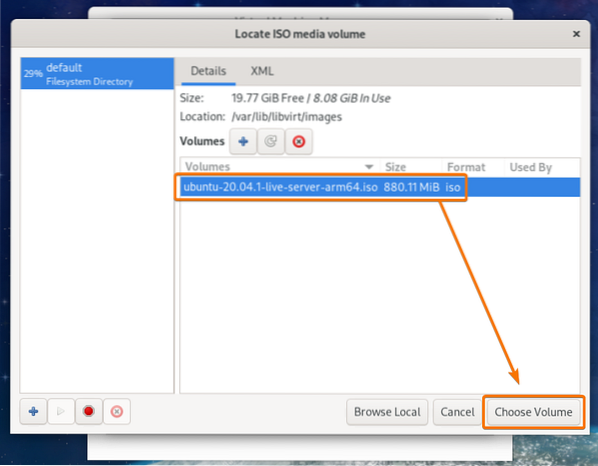
Click on Browse…

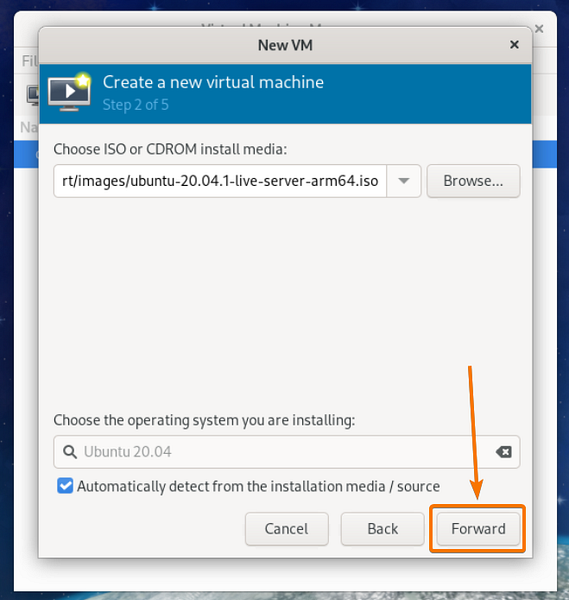
Select the Ubuntu Server 20.04.1 ARM ISO installation image from the list and click on Choose Volume.
Click on Forward.
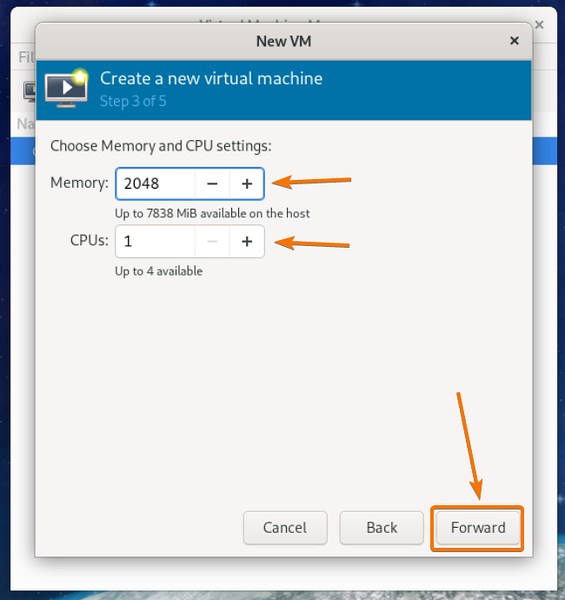
Type in the amount of memory (in megabytes/mebibytes) and the number of CPU cores you want for this virtual machine.
I will use 2 GB or 2048 MB of memory and 1 CPU core for this virtual machine.
Once you're done, click on Forward.
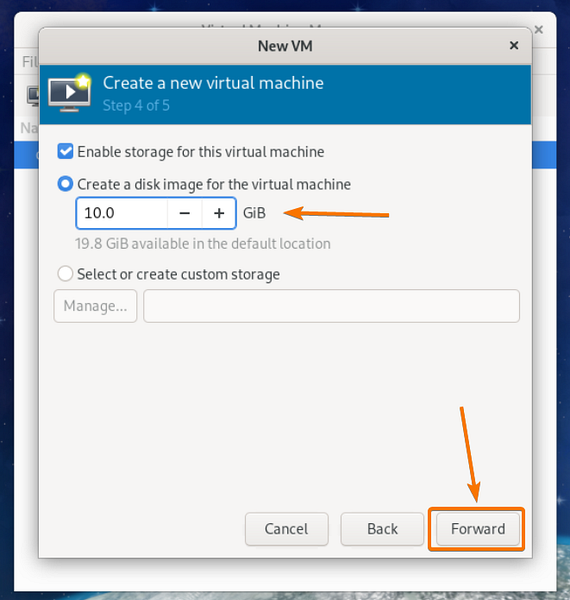
Type in the amount of disk space you want to allocate for this virtual machine (in gigabytes/gibibytes). I will allocate 10 GB of disk space for this virtual machine.
Once you're done, click on Forward.
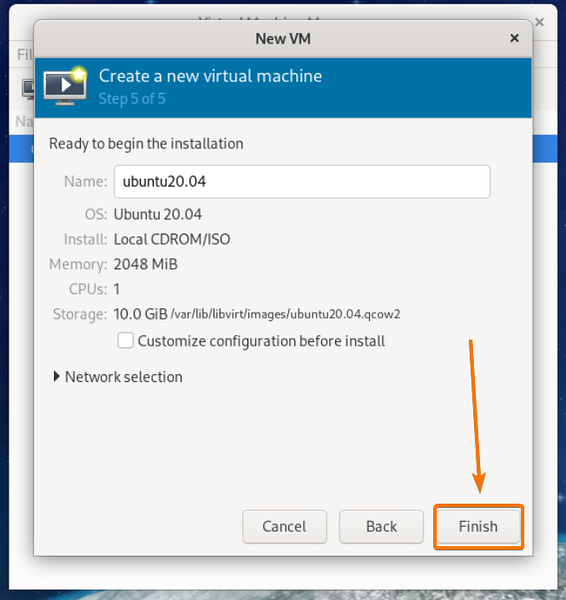
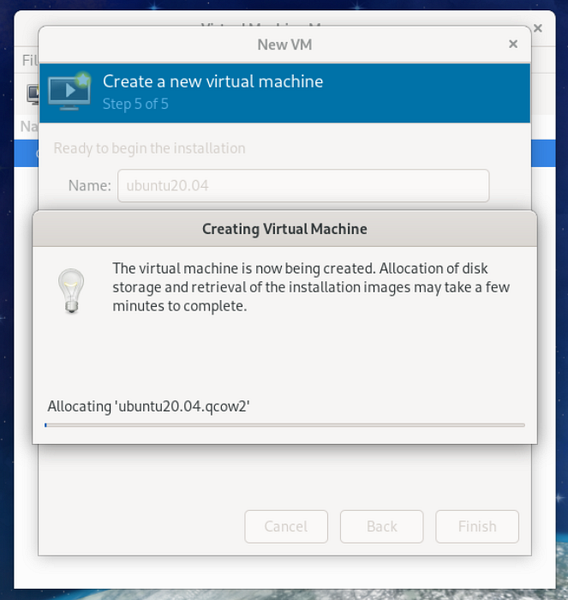
Click on Finish.
The virtual machine is being created. It may take a few seconds to complete.
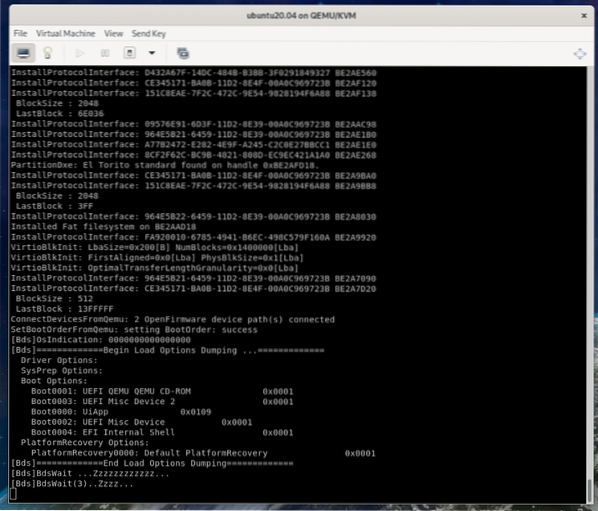
Once the virtual machine is created, it should start and boot from the Ubuntu Server 20.04.1 ARM ISO image.
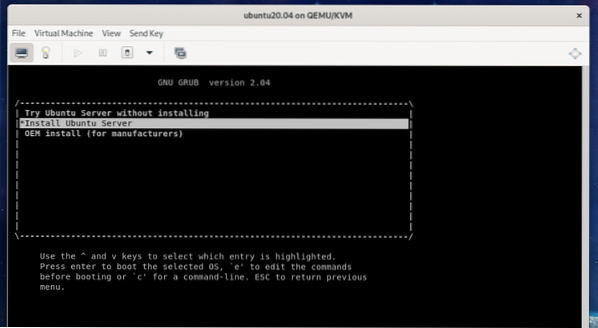
Once you see the following GRUB menu, select Install Ubuntu Server and press <Enter>.
The Ubuntu Server installer is being loaded from the Ubuntu Server 20.04.1 LTS ISO image. It may take a few seconds to complete.
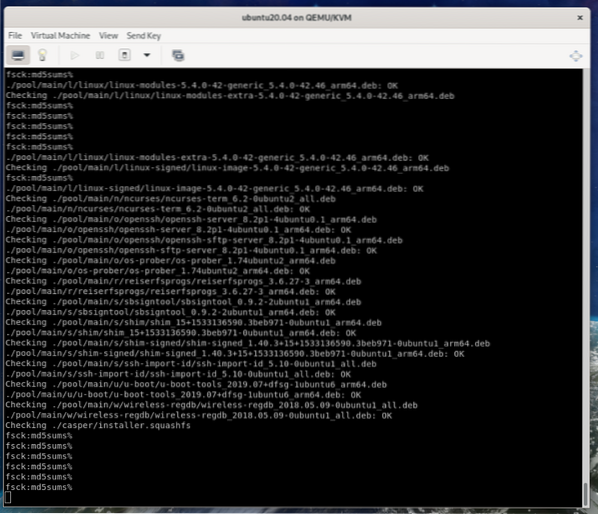
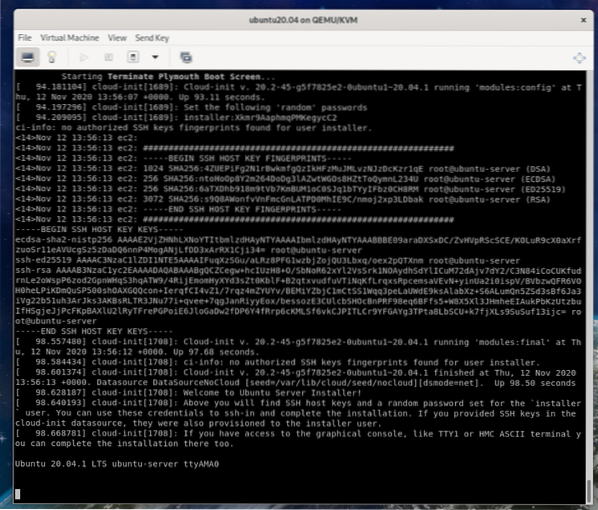
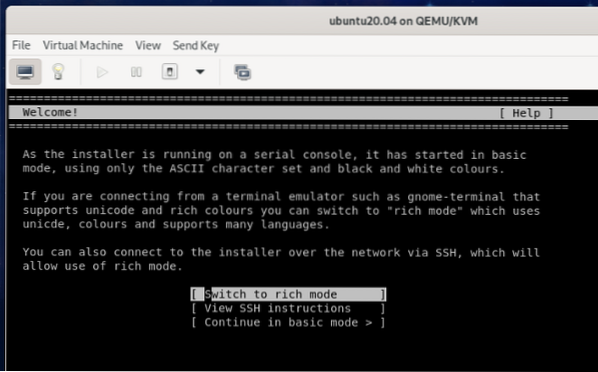
Once the Ubuntu Server installer is ready, you should see the following window.
Select Switch to the rich mode and press <Enter>.
The Ubuntu installer should switch to rich mode.
NOTE: This article is about enabling KVM virtualization on the Raspberry Pi 4. So, I won't focus on explaining the ins and outs of the Ubuntu Server 20.04.1 LTS installer. To learn what each of the Ubuntu installer options does and how to configure it as you want, read my article Installing Ubuntu Server 20.04 LTS.
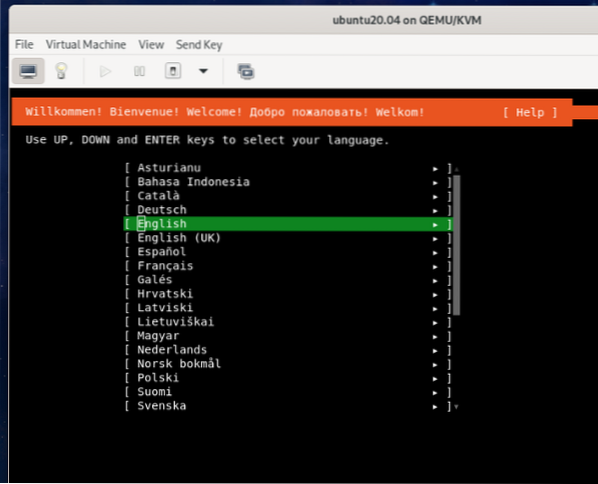
Select your language and press <Enter>.
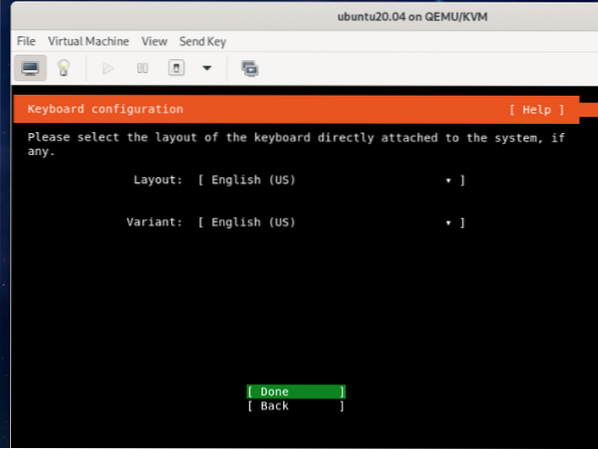
Select your keyboard layout.
Once you're done, select Done and press <Enter>.
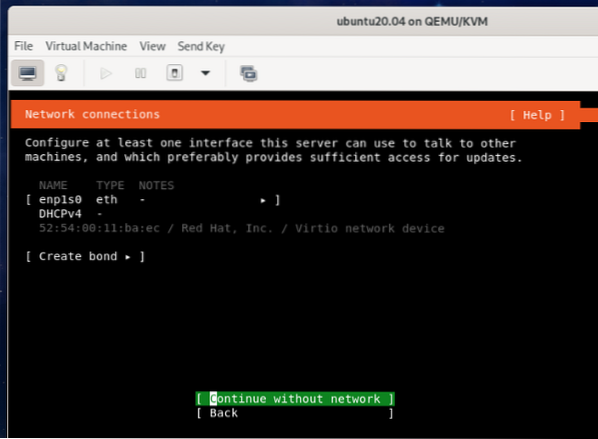
Select Continue without network and press <Enter>.
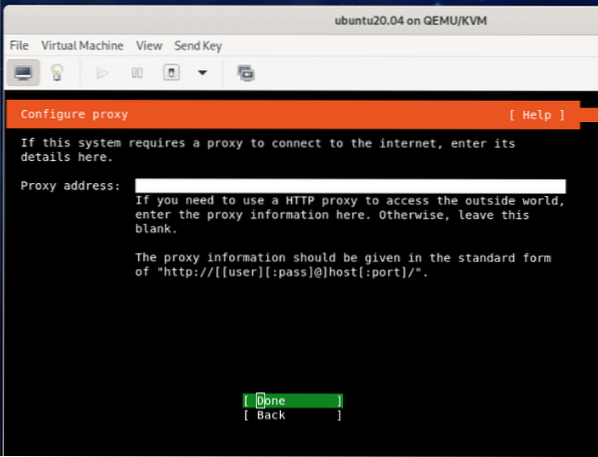
Select Done and press <Enter>.
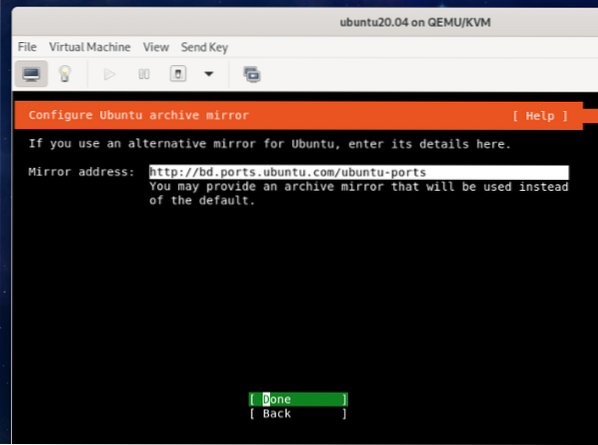
Select Done and press <Enter>.
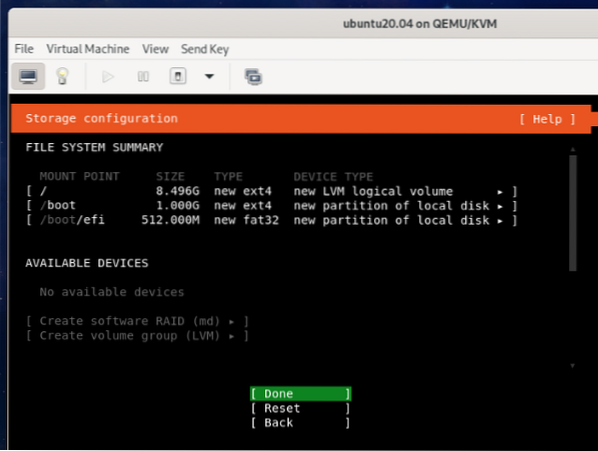
Select Done and press <Enter>.

Select Done and press <Enter>.
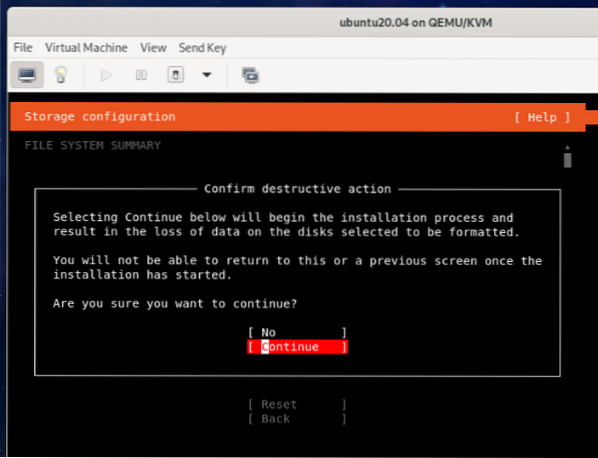
Select Continue and press <Enter>.
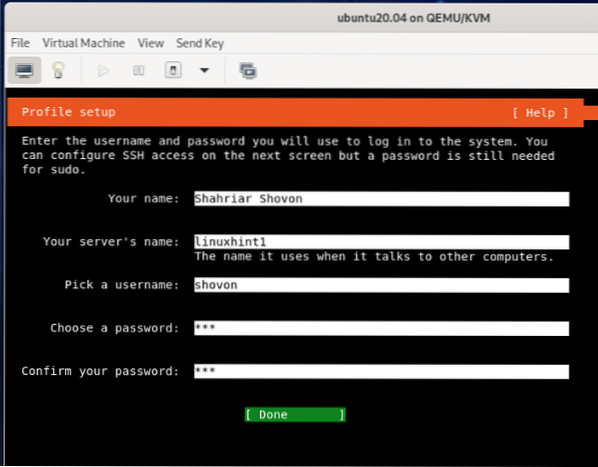
Type in your full name, hostname (server name), login username, and password.
Once you're done, select Done and press <Enter>.
To install the OpenSSH SSH server, you must check Install OpenSSH server as marked in the screenshot below.
To do that, select Install OpenSSH server and press <Space Bar>.
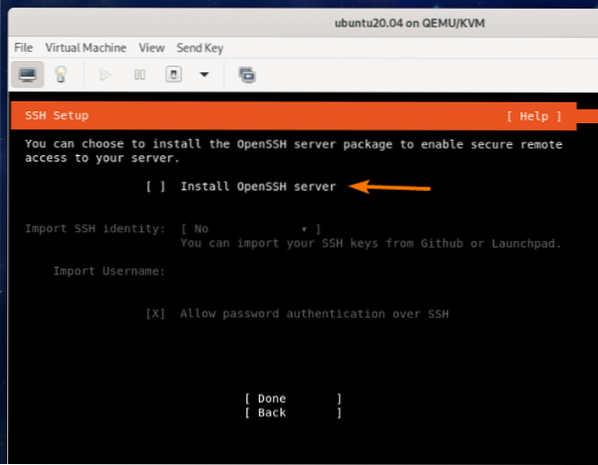
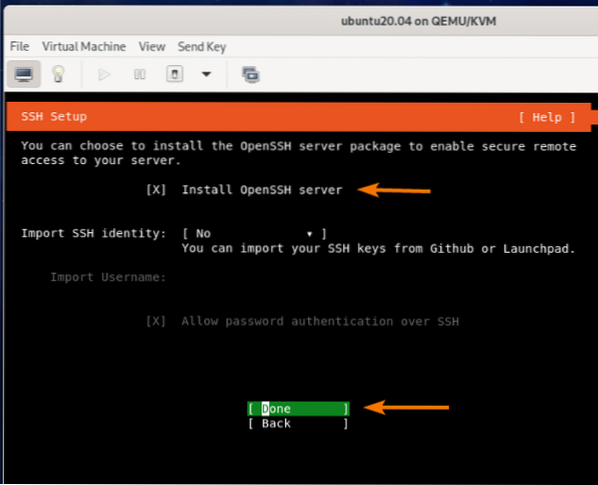
Install OpenSSH server should be checked.
Then, select Done and press <Enter>.
Select Done and press <Enter>.
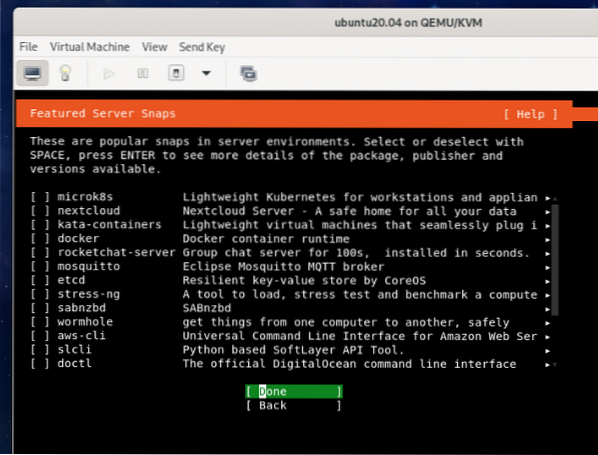
Ubuntu installer should start installing Ubuntu Server 20.04 LTS on the virtual machine. It will take a while to complete.
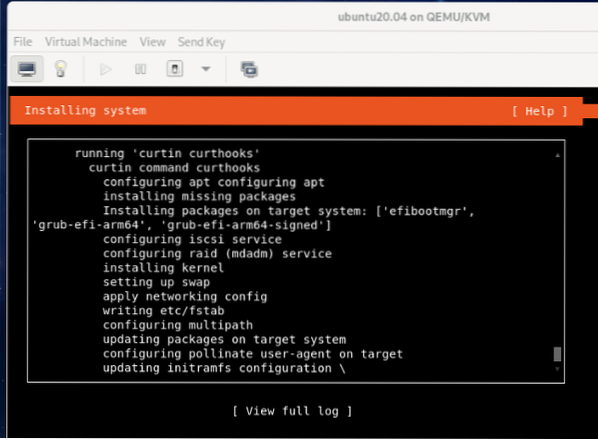
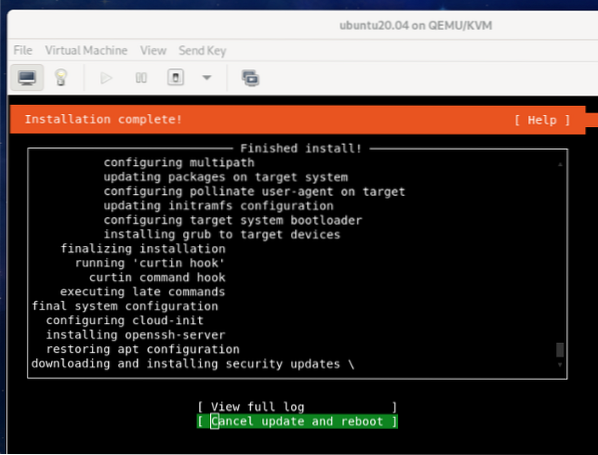
Once the installation is complete, it will automatically install all the necessary updates. It will take a while to complete.
If you want, you can select Cancel update and reboot and press <Enter> to cancel the updates. You can install the updates later using the APT package manager. I will just let it continue.
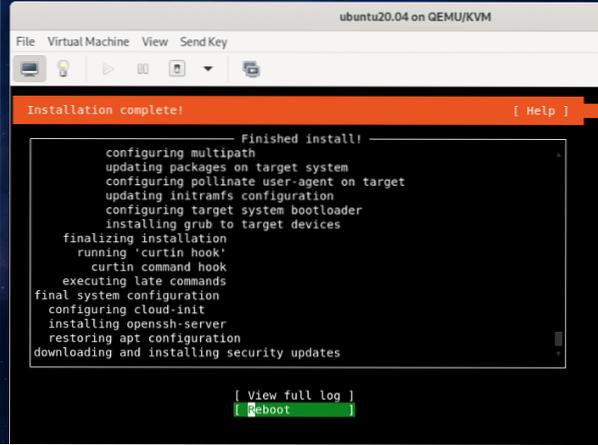
Once the updates are installed, select Reboot and press <Enter> to reboot your virtual machine.
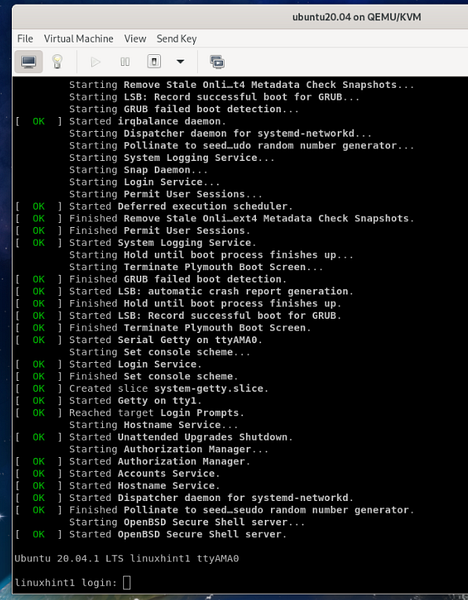
Once the virtual machine boots, you should see the Ubuntu Server 20.04.1 LTS login window.
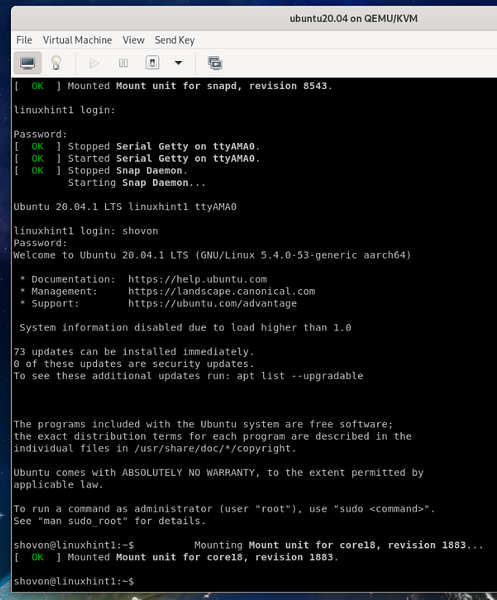
You can log into the Ubuntu Server virtual machine using the login username and password you've set during the installation.
As you can see, I am logged into the Ubuntu Server virtual machine.
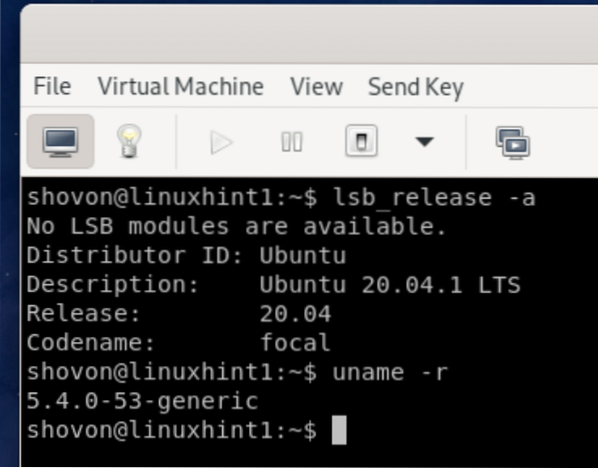
I am running Ubuntu Server 20.04.1 LTS on a KVM virtual machine. On my Raspberry Pi 4! Amazing!
You can manage your KVM virtual machines from the Virtual Machine Manager. As you can see, the Ubuntu Server 20.04 LTS KVM virtual machine I have created earlier is listed in the Virtual Machine Manager dashboard.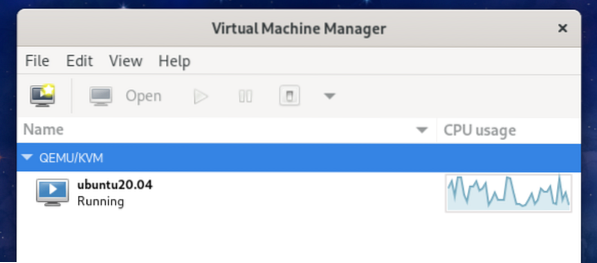
Other ARM Linux ISO Installation Images for KVM:
At the time of this writing, besides Ubuntu Server 20.04 LTS, you can also install Fedora Server 33 and CentOS 8 on the Raspberry Pi 4 as a KVM virtual machine.
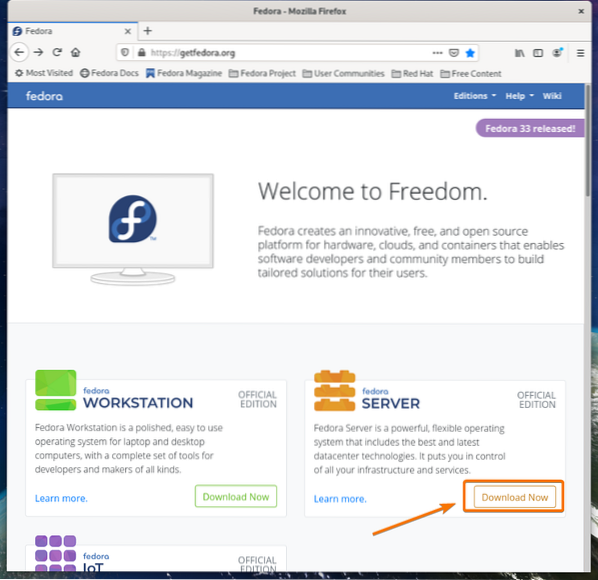
To download the ISO installation image of Fedora Server 33, visit the official website of Fedora from a web browser.
Click on the Download Now button of Fedora Server as marked in the screenshot below.
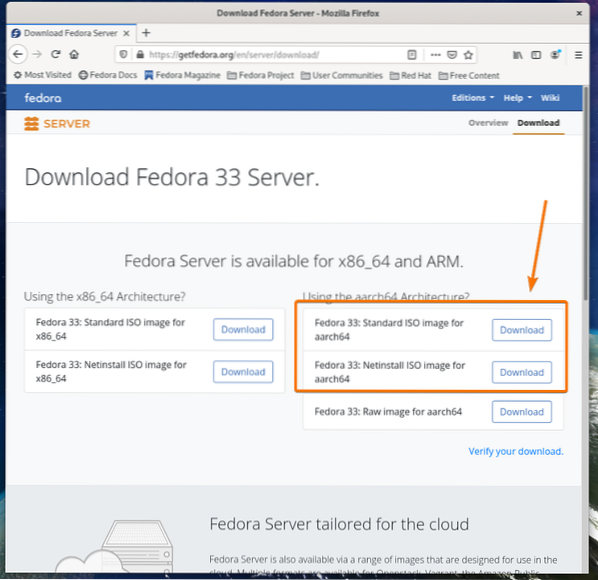
Click on the Download button of either the aarch64 Fedora 33 standard ISO image or the netinstall ISO image as marked in the screenshot below.
Once the ISO image is downloaded, you can create a Fedora Server 33 KVM virtual machine using the Virtual Machine Manager app.
To download the ISO installation image of CentOS 8, visit the official website of CentOS from a web browser.
Click on the Download link as marked in the screenshot below.

Click on either the CentOS 8 ARM64 (aarch64) or the CentOS Stream ARM64 (aarch64) link as marked in the screenshot below.

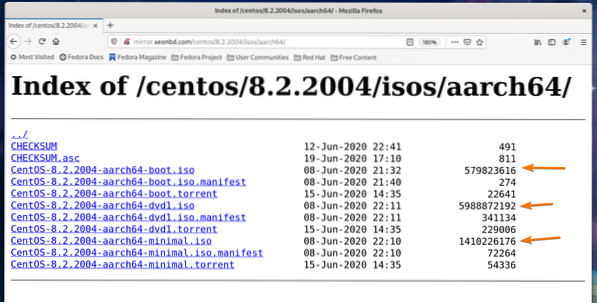
Click on one of the mirror links.

From the FTP mirror of CentOS, you can download either the CentOS aarch64 netboot ISO image, the minimal ISO image, or the DVD1 ISO image.
Once the ISO image is downloaded, you can create a CentOS 8 or CentOS Stream KVM virtual machine using the Virtual Machine Manager app.
Conclusion:
In this article, I have shown you how to enable KVM virtualization on Raspberry Pi 4 and create a Ubuntu Server 20.04 LTS KVM virtual machine on the Raspberry Pi 4. I have used the Fedora Workstation 33 as the operating system for the Raspberry Pi 4 in this article. This article should help you get started with KVM virtualization on the Raspberry Pi 4.


