The Btrfs filesystem-level encryption feature is still not available. But you can use a 3rd party encryption tool like dm-crypt to encrypt the entire storage devices of your Btrfs filesystem.
In this article, I am going to show you how to encrypt the storage devices added to a Btrfs filesystem with dm-crypt. So, let's get started.
Abbreviations
- LUKS - Linux Unified Key Setup
- HDD - Hard Disk Drive
- SSD - Solid-State Drive
Prerequisites
To follow this article:
- You must be running either Fedora 33 Workstation or Ubuntu 20.04 LTS Linux distribution on your computer.
- You must have a free HDD/SSD on your computer.
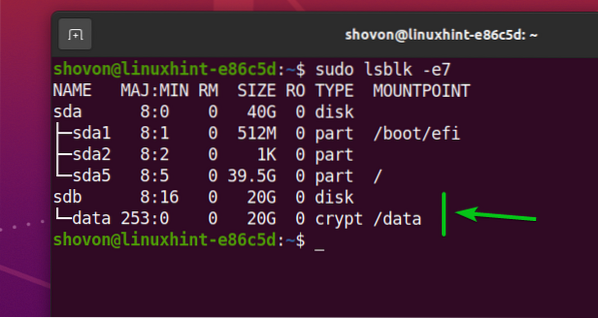
As you can see, I have an HDD sdb on my Ubuntu 20.04 LTS machine. I will encrypt it and format it with the Btrfs filesystem.
$ sudo lsblk -e7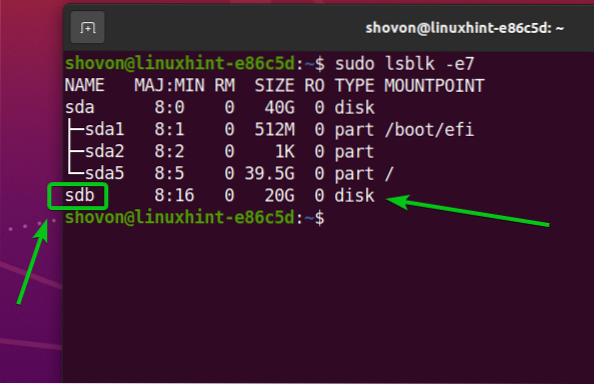
Installing Required Packages on Ubuntu 20.04 LTS
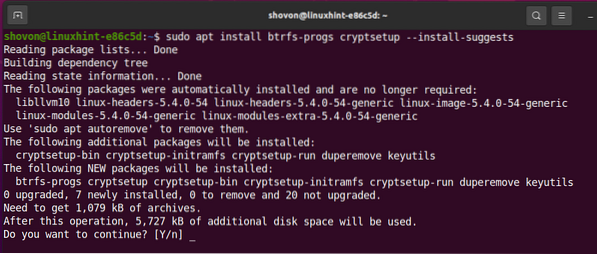
To encrypt storage devices and format them with the Btrfs filesystem, you need to have the btrfs-progs and cryptsetup packages installed on your Ubuntu 20.04 LTS machine. Luckily, these packages are available in the official package repository of Ubuntu 20.04 LTS.
First, update the APT package repository cache with the following command:
$ sudo apt update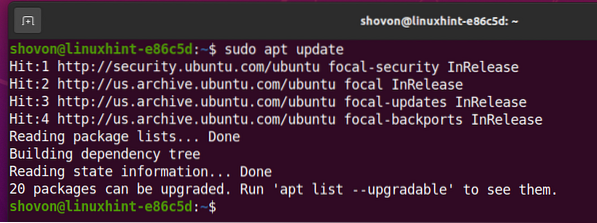
To install btrfs-progs and cryptsetup, run the following command:

To confirm the installation, press Y and then press <Enter>.
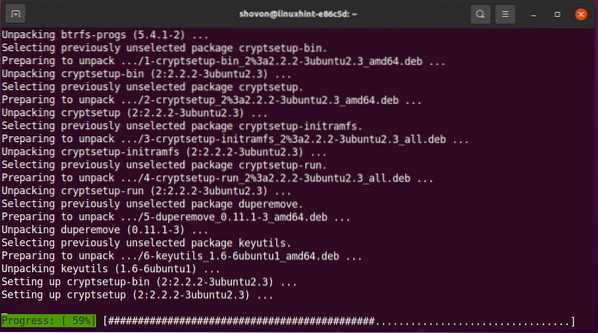
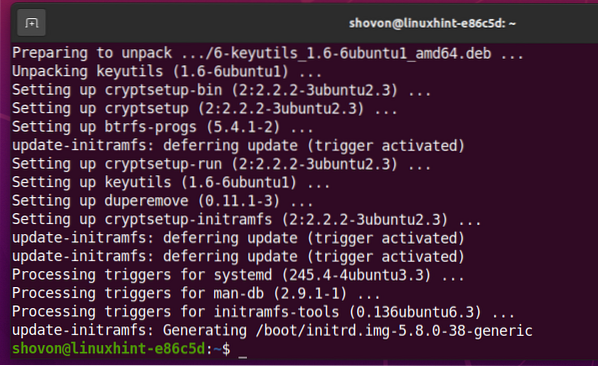
The btrfs-progs and cryptsetup packages and their dependencies are being installed.
The btrfs-progs and cryptsetup packages should be installed at this point.
Installing Required Packages on Fedora 33
To encrypt storage devices and format them with the Btrfs filesystem, you need to have the btrfs-progs and cryptsetup packages installed on your Fedora 33 Workstation machine. Luckily, these packages are available in the official package repository of Fedora 33 Workstation.
First, update the DNF package repository cache with the following command:
$ sudo dnf makecache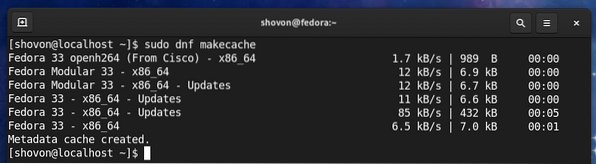
To install btrfs-progs and cryptsetup, run the following command:

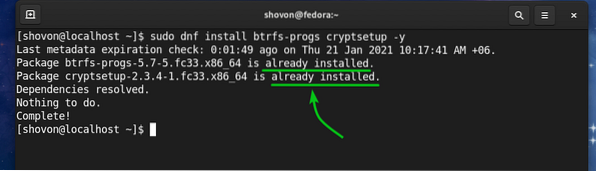
Fedora 33 Workstation uses the Btrfs filesystem by default. So, it's more likely that you will have these packages installed already, as you can see in the screenshot below. If for some reason, they are not installed, they will be installed.
Generating an Encryption Key
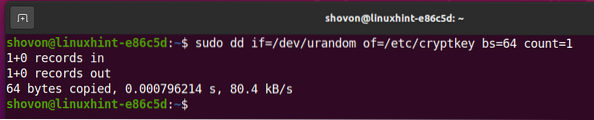
Before you can encrypt your storage devices with cryptsetup, you need to generate a 64 bytes long random key.
You can generate your encryption key and store it in the /etc/cryptkey file with the following command:
$ sudo dd if=/dev/urandom of=/etc/cryptkey bs=64 count=1
A new encryption key should be generated and stored in the /etc/cryptkey file.
The encryption key file /etc/cryptkey can be read by everyone by default, as you can see in the screenshot below. This is a security risk. We want only the root user to be able to read/write to the /etc/cryptkey file.

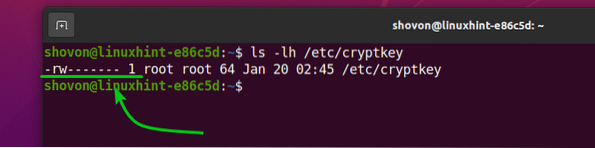
To allow only the root user to read/write to the /etc/cryptkey file, change the file permissions as follows:

As you can see, only the root user has read/write (rw) permission to the /etc/cryptkey file. So, no one else can see what's in the /etc/cryptkey file.
Encrypting the Storage Devices with dm-crypt
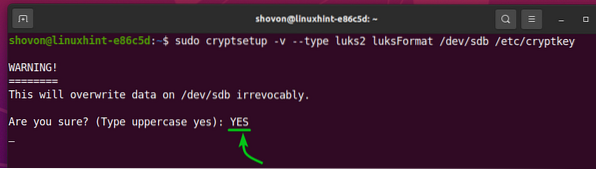
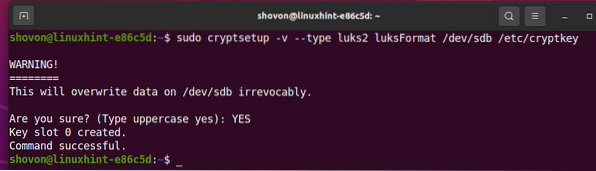
Now that you have generated an encryption key, you can encrypt your storage device. let's say, sdb, with the LUKS v2 (version 2) disk encryption technology as follows:
$ sudo cryptsetup -v --type luks2 luksFormat /dev/sdb /etc/cryptkey
cryptsetup will prompt you to confirm the encryption operation.
NOTE: All the data of your HDD/SSD should be removed. So, make sure to move all of your important data before you attempt to encrypt your HDD/SSD.
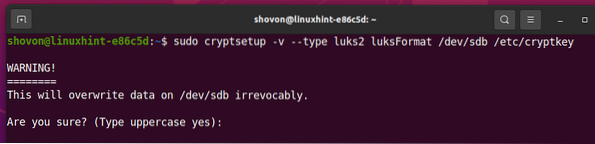
To confirm the disk encryption operation, type in YES (in uppercase) and press
At this point, the storage device /dev/sdb should be encrypted with the encryption key /etc/cryptkey.
Opening Encrypted Storage Devices
Once you've encrypted a storage device with cryptsetup, you need to open it with the cryptsetup tool to be able to use it.
You can open the encrypted storage device sdb and map it to your computer as a data storage device as follows:
$ sudo cryptsetup open --key-file=/etc/cryptkey --type luks2 /dev/sdb data
Now, the decrypted storage device will be available in the path /dev/mapper/data. You have to create your desired filesystem in the /dev/mapper/data device and mount the /dev/mapper/data device instead of /dev/sdb from now on.
Creating Btrfs Filesystem on Encrypted Devices:
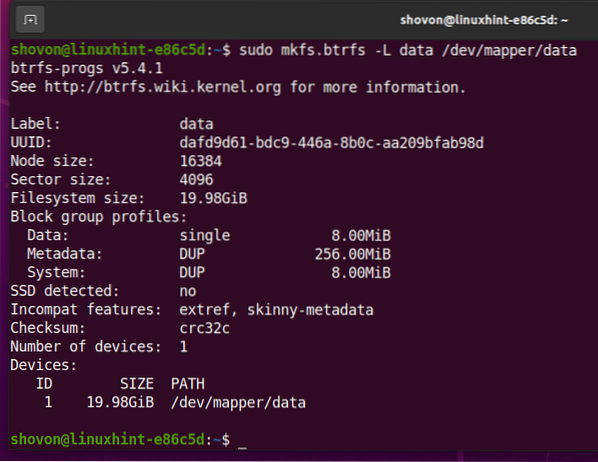
To create a Btrfs filesystem on the decrypted storage device /dev/mapper/data with the label data, run the following command:
$ sudo mkfs.btrfs -L data /dev/mapper/data
A Btrfs filesystem should be created on the /dev/mapper/data storage device, which is decrypted from the storage device /dev/sdb (encrypted with LUKS 2).
Mounting Encrypted Btrfs Filesystem
You can mount the Btrfs filesystem you have created earlier as well.
Let's say, you want to mount the Btrfs filesystem you've created earlier in the /data directory.
So, create the /data directory as follows:
$ sudo mkdir -v /data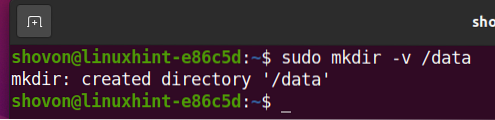
To mount the Btrfs filesystem created on the /dev/mapper/data storage device in the /data directory, run the following command:

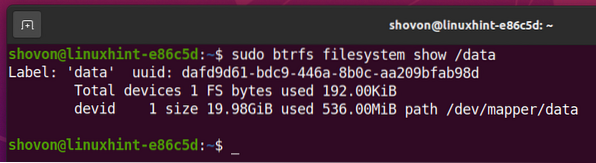
As you can see, the Btrfs filesystem created on the encrypted storage device sdb is mounted in the /data directory.
Automatically Mounting Encrypted Btrfs Filesystem at Boot-Time
You can mount the encrypted Btrfs filesystem at boot time as well.
To mount the encrypted Btrfs filesystem at boot time, you need to:
- decrypt the storage device /dev/sdb at boot time using the /etc/cryptkey encryption key file
- mount the decrypted storage device /dev/mapper/data to the /data directory
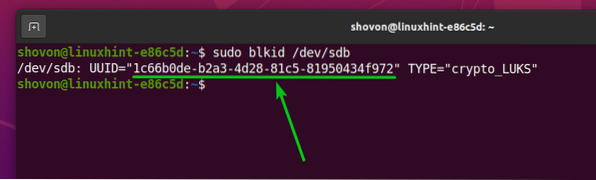
First, find the UUID of the sdb encrypted storage device with the following command:
$ sudo blkid /dev/sdb
As you can see, the UUID of the sdb encrypted storage device is 1c66b0de-b2a3-4d28-81c5-81950434f972. It will be different for you. So, make sure to change it with yours from now on.
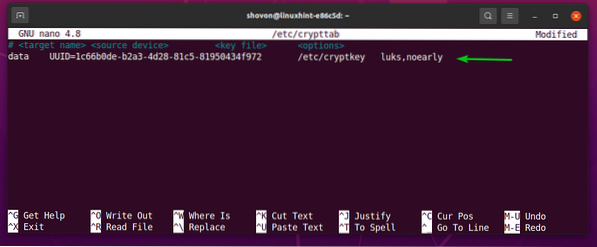
To automatically decrypt the sdb storage device at boot time, you have to add an entry for it on the /etc/crypttab file.
Open the /etc/crypttab file with the nano text editor as follows:
$ sudo nano /etc/crypttab
Add the following line at the end of the /etc/crypttab file if you're using an HDD.
Add the following line at the end of the /etc/crypttab file if you're using an SSD.
data UUID=1c66b0de-b2a3-4d28-81c5-81950434f972 /etc/cryptkey luks,noearly,discardOnce you're done, press <Ctrl> + X, followed by Y, and <Enter> to save the /etc/crypttab file.
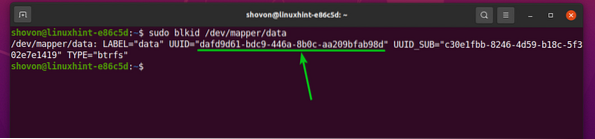
Now, find the UUID of the decrypted /dev/mapper/data storage device with the following command:

As you can see, the UUID of the /dev/mapper/data decrypted storage device is dafd9d61-bdc9-446a-8b0c-aa209bfab98d. It will be different for you. So, make sure to change it with yours from now on.
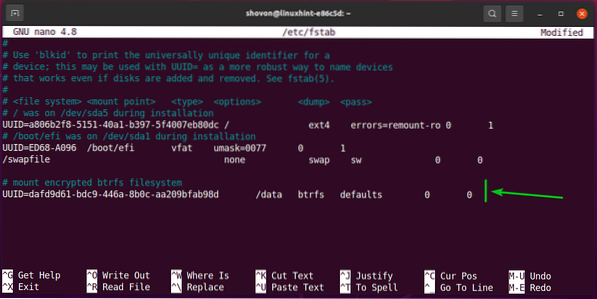
To automatically mount the decrypted storage device /dev/mapper/data in the /data directory at boot time, you have to add an entry for it on the /etc/fstab file.
Open the /etc/fstab file with the nano text editor as follows:
$ sudo nano /etc/fstab
Now, add the following line at the end of the /etc/fstab file:
Once you're done, press <Ctrl> + X, followed by Y, and <Enter> to save the /etc/fstab file.
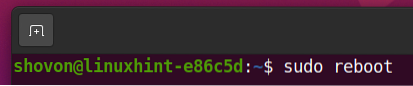
Finally, reboot your computer for the changes to take effect.
The encrypted storage device sdb is decrypted into a data storage device, and the data storage device is mounted in the /data directory.
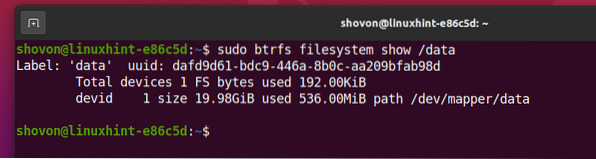
As you can see, the Btrfs filesystem, which was created on the decrypted /dev/mapper/data storage device is mounted in the /data directory.
Conclusion
In this article, I have shown you how to encrypt a storage device using the LUKS 2 encryption technology with cryptsetup. You also learn how to decrypt the encrypted storage device and format it with the Btrfs filesystem as well. As well as how to automatically decrypt the encrypted storage device and mount it at boot time. This article should help you get started with Btrfs filesystem encryption.


