In this article, I am going to show you how to install KVM on CentOS 8 and create a simple KVM virtual machine with it. So, let's get started.
Enabling Hardware Virtualization:
You must enable hardware virtualization extension from the BIOS of your computer for KVM to work. For Intel processors, you should enable the processor feature VT-x or VT-d from the BIOS. For AMD processors, you should enable the processor feature AMD-v from the BIOS.
Once you have hardware virtualization enabled in the BIOS, run the following command to verify whether VT-x/VT-d or AMD-v extension is enabled.
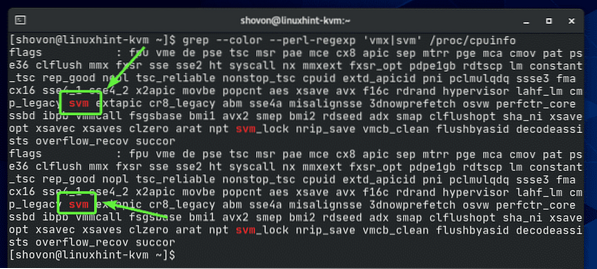
$ grep --color --perl-regexp 'vmx|svm' /proc/cpuinfo
You should have either the svm or vmx flag available in the output if you have hardware virtualization enabled in the BIOS.
I am using an AMD processor. So, the svm flag is available in my case. If you're using an Intel processor, then it will be vmx.
Upgrading the System:
Before installing KVM, you should upgrade all the existing software packages of your CentOS 8 machine.
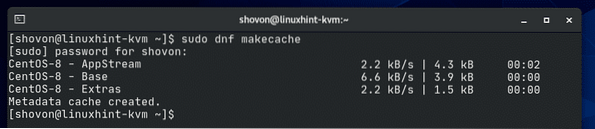
First, update the DNF package repository cache of your CentOS 8 machine with the following command:
$ sudo dnf makecache
The DNF package repository cache should be updated.
Upgrade all the existing software packages of your CentOS 8 machine with the following command:
$ sudo dnf update
To confirm the upgrade, press Y and then press
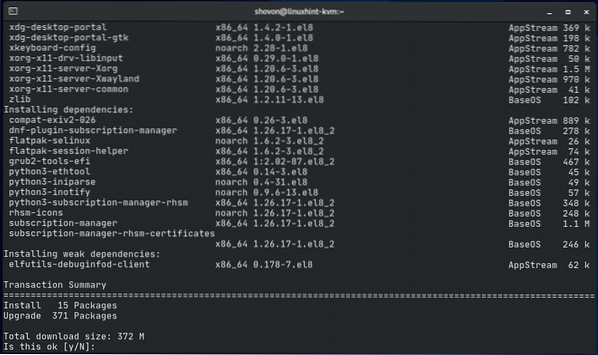
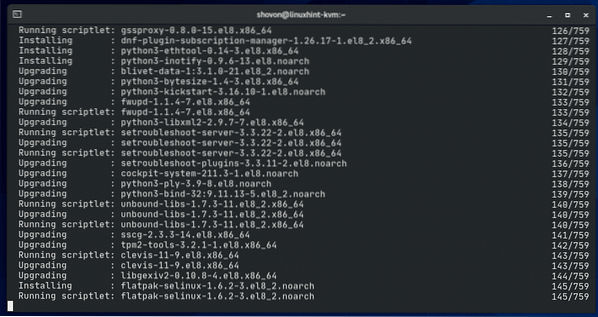
The DNF package manager should download all the required packages from the internet.
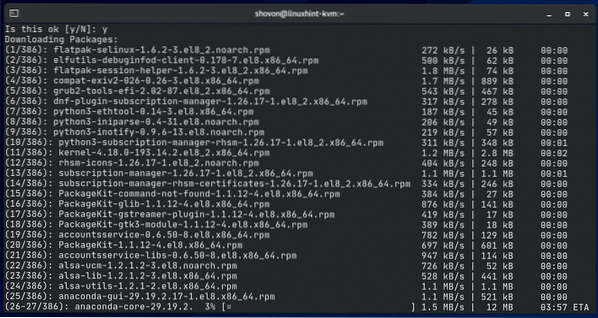
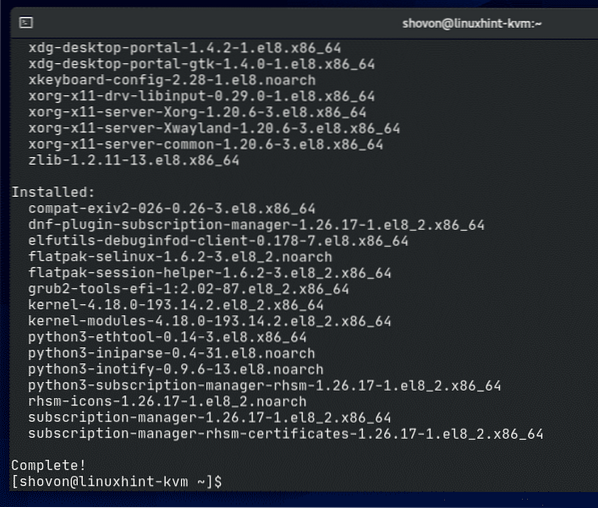
Once the package download is complete, it should install all the downloaded packages. It may take a while to complete.
At this point, your CentOS 8 system should be up to date.
For the changes to take effect, reboot your CentOS 8 machine with the following command:
$ sudo reboot
Setting SELinux to Permissive Mode:
Configuring SELinux for KVM is out of the scope of this article. If you leave SELinux in enforcing mode (default), you will get permission denied errors while creating KVM virtual machines. If you don't have experience with SELinux, you should set it to permissive mode. Otherwise, you won't be able to create KVM virtual machines.
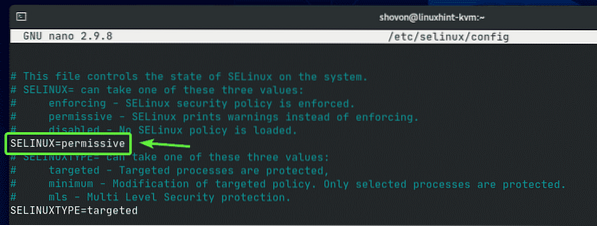
To set SELinux to permissive mode, open the /etc/selinux/config file with a text editor (i.e. nano) with the following command:
$ sudo nano /etc/selinux/config
Change the line SELINUX=enforcing to SELINUX=permissive as marked in the screenshot below.
Once you're done, press
For the changes to take effect, reboot your computer with the following command:
$ sudo reboot
Installing KVM:
You can easily install all the required packages for KVM virtualization on CentOS 8 by simply installing the Virtualization Host package group.
You can install the Virtualization Host package group on your CentOS 8 machine with the following command:
$ sudo dnf groupinstall "Virtualization Host"
To confirm the installation, press Y and then press
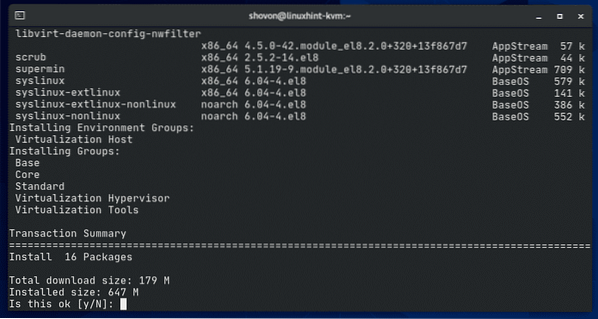
The DNF package manager should download all the required packages from the internet.
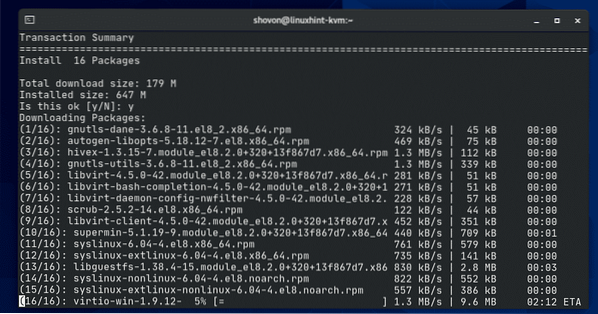
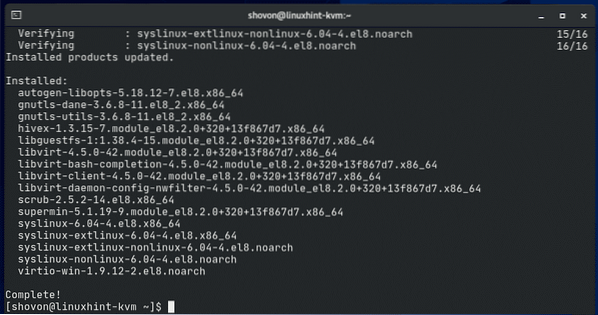
Once the package download is complete, it should install all the downloaded packages. It may take a while to complete.
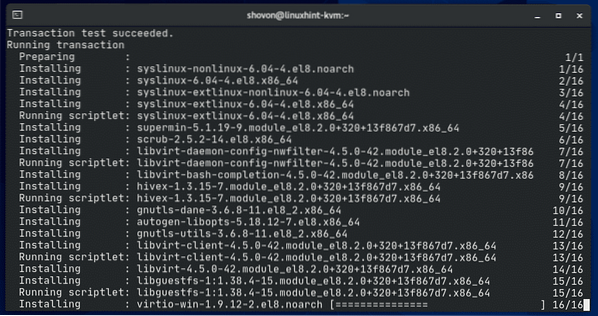
At this point, KVM should be installed.
Now, check whether the libvirtd service is running with the following command:
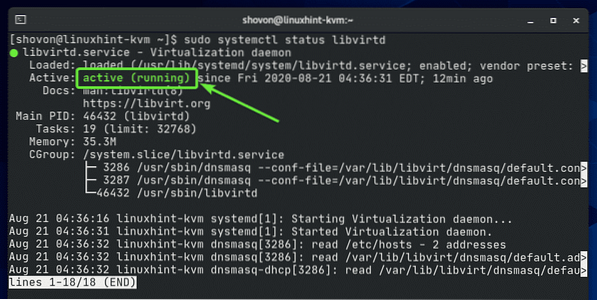
$ sudo systemctl status libvirtd
As you can see, the libvirtd service is active/running. libvirtd service is very important. If it is not running, you won't be able to administer KVM.
If the libvirtd service is not running in your case, you can start it with the following command:
$ sudo systemctl start libvirtdCheck whether you can run the KVM management command virsh as follows:
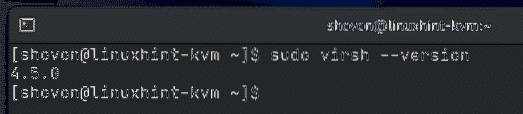
$ sudo virsh --version
The command should print the version information as you can see in the screenshot below.
Installing virt-install:
virt-install is a command-line tool for easily creating KVM virtual machines. virt-install is based on libvirt. So, the virtual machines created using virt-install can also be managed with virsh and virt-manager.
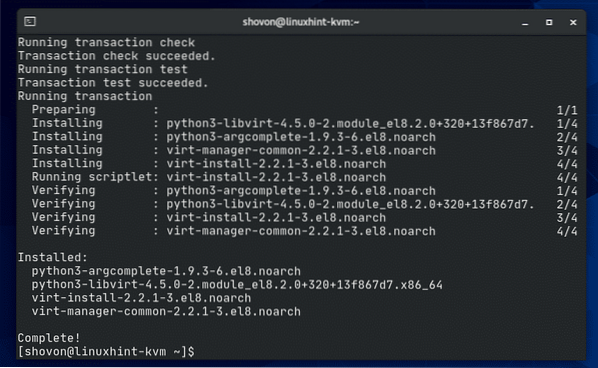
You can install virt-install with the following command:
$ sudo dnf install virt-install
To confirm the installation, press Y and then press
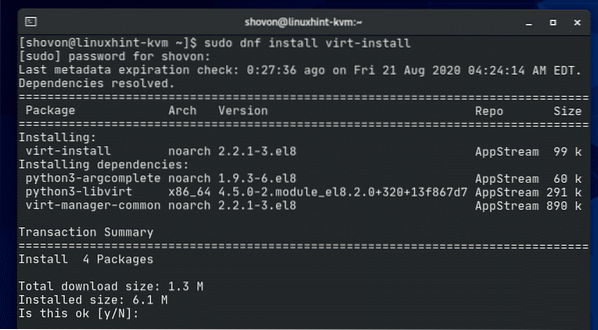
virt-install should be installed.
Setting Up Required KVM Directories:
I think it's a good idea to keep all the virtual machine data organized. I usually keep all the KVM virtual machine data in /kvm/ directory. In the /kvm/ directory, I create 2 subdirectories disk/ and iso/. In the disk/ subdirectory, I keep all the virtual machine (VM) hard disk files. In the iso/ subdirectory, I keep the ISO installation images of different operating systems (i.e. Ubuntu, Debian, CentOS, etc.).
You can create the same directory structures with the following command:
$ sudo mkdir -pv /kvm/disk,iso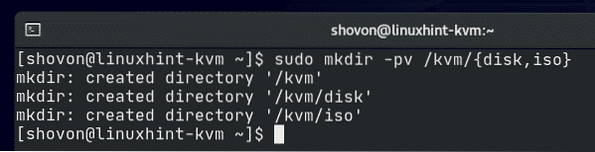
Creating a KVM Virtual Machine:
In this section, I am going to show you how to create an Ubuntu Desktop 20.04 LTS KVM virtual machine.
First, you have to download the Ubuntu Desktop 20.04 LTS ISO installation image. To keep all the virtual machine files/data organized, it's a good idea to store the ISO image in the /kvm/iso/ directory.
So, navigate to the /kvm/iso/ directory with the following command:
$ cd /kvm/iso
You can download the Ubuntu Desktop 20.04 LTS ISO image from the official website of Ubuntu with the following command:
$ sudo wget https://releases.ubuntu.com/20.04/ubuntu-20.04.1-desktop-amd64.iso
wget should start downloading the Ubuntu Desktop 20.04 LTS ISO image. It will take a while to complete.
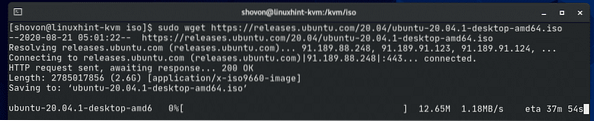
At this point, the Ubuntu Desktop 20.04 LTS ISO image should be downloaded.

The Ubuntu Desktop 20.04 LTS ISO image is available in the /kvm/iso/ directory as you can see in the screenshot below.

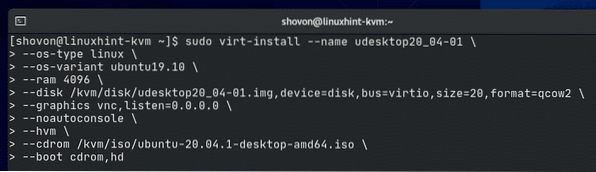
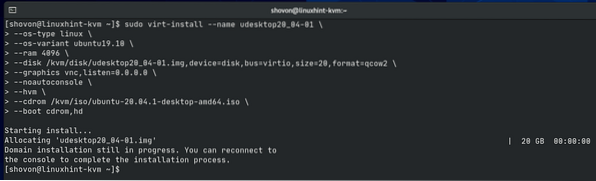
Once the Ubuntu Desktop 20.04 LTS ISO image is downloaded, you can create a KVM virtual machine with the following command:
$ sudo virt-install --name udesktop20_04-01 \--os-type linux \
--os-variant ubuntu19.10 \
--ram 4096 \
--disk /kvm/disk/udesktop20_04-01.img,device=disk,bus=virtio,size=20,format=qcow2 \
--graphics vnc,listen=0.0.0.0 \
--noautoconsole \
--hvm \
--cdrom /kvm/iso/ubuntu-20.04.1-desktop-amd64.iso \
--boot cdrom,hd
Here, the name of the virtual machine will be udesktop20_04-01.

The operating system we will be installing is Linux.

The operating system variant is ubuntu19.10. The OS database of CentOS 8 does not have an entry for Ubuntu 20.04 LTS at the time of this writing. So, I have used the information for Ubuntu 19.10.

The OS type and OS variant values are not random. You can find the OS type and OS variant for your desired Linux distribution with the osinfo-query command. As you can see, no entry for Ubuntu 20.04 LTS is available. But an entry for Ubuntu 19.10 is available. The OS type of Ubuntu 19.10 is Linux and the OS variant is ubuntu19.10.
$ osinfo-query os --fields=name,short-id,family | grep -i Ubuntu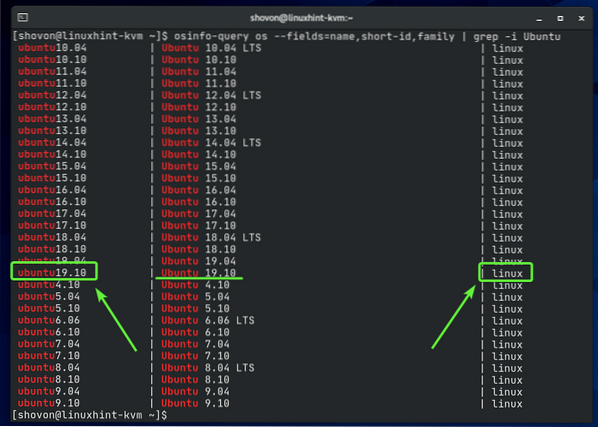
The RAM (Random Access Memory) of the VM will be 4096 MB (Megabytes) or 4 GB (Gigabytes).

The virtual disk of the VM will be saved in the /kvm/disk/udesktop20.04-01.img file. The virtual disk is about 20 GB in size and the format is QCOW2 (QEMU Copy-On-Write v2)

The virtual machine will be accessible via VNC (Virtual Network Computing) remote desktop protocol and the VNC server will be listening on all available network interfaces configured on your CentOS 8 KVM host.

CentOS 8 KVM host won't automatically try to connect to the virtual machine once the virtual machine is created. The virtual machine will keep running in the background.

Use full virtualization for the virtual machine. This will make virtual machines perform better.

Use the Ubuntu Desktop 20.04 LTS ISO image we have just downloaded as the virtual CD/DVD ROM of the virtual machine. Used for installing Ubuntu Desktop 20.04 LTS on the virtual machine.

Set's the boot order of the virtual machine. The first boot entry is the virtual CD/DVD ROM and then the virtual hard drive. So, the virtual machine will be able to boot from the Ubuntu Desktop 20.04 LTS ISO image and install Ubuntu Desktop 20.04 LTS on the hard drive.

That's all the options you need to create a KVM virtual machine.
Once you run the virt-install command, KVM should start creating the virtual machine. It may take a while depending on your virtual machine configuration.
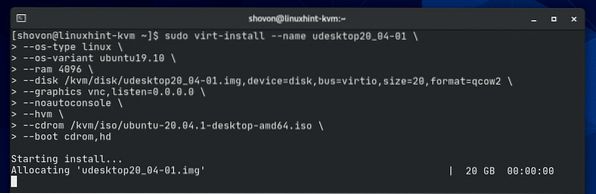
At this point, the KVM virtual machine should be created.
Listing KVM Virtual Machines:
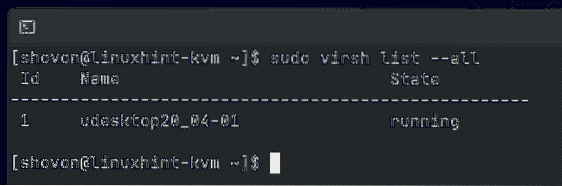
Once the KVM virtual machine is created, you can list it with the following command:
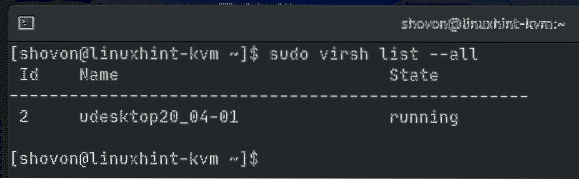
$ virsh list --all
The command should show you all the KVM virtual machines you have. Right now, I have only 1 virtual machine udesktop20_04-01. This is the one I have just created. As you can see, the virtual machine udesktop20_04-01 is running. You should be able to connect to it using any VNC client.
Configuring the Firewall for Remote Access to the KVM Virtual Machines:
To access the KVM virtual machine remotely, you must allow firewall access to the VNC port of the virtual machine.
To find the VNC port of the KVM virtual machine udesktop20_04-01, run the following command:
$ virsh vncdisplay udesktop20_04-01
As you can see, the VNC port number of the udesktop20_04-01 virtual machine is 0.
Here, port 0 means port 5900. The same way, port 1 means port 5901 and so on.

As you can see, the KVM virtual machine udesktop20_04-01 is running on port 5900 (:0).
$ sudo netstat -tln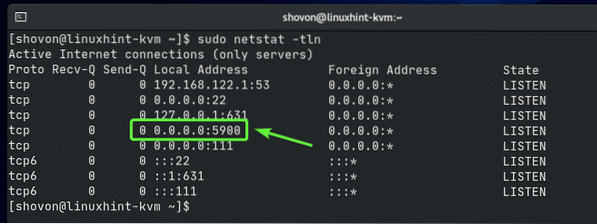
To allow access to port 5900, run the following command:
$ sudo firewall-cmd --add-port=5900/tcp --permanent
For the firewall changes to take effect, run the following command:
$ sudo firewall-cmd --reload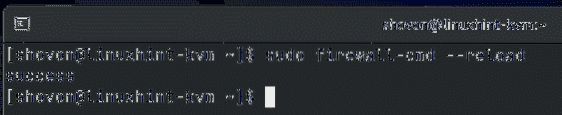
Remotely Connecting to the KVM Virtual Machines with VNC Client:
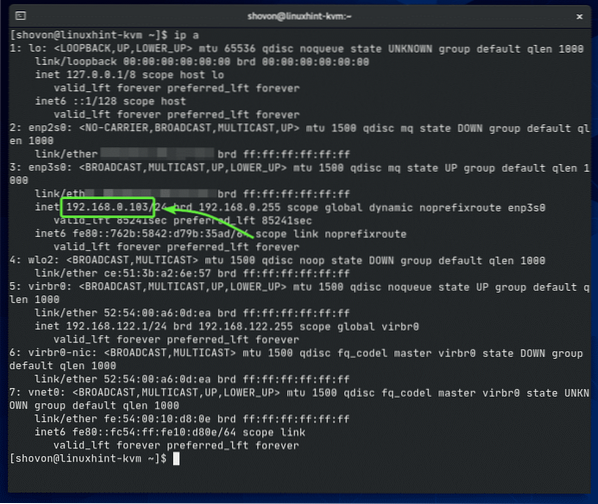
To connect to the virtual machine via VNC, you must know the IP address of your CentOS 8 KVM host.
You can find the IP address of your CentOS 8 KVM host with the following command:
$ ip aIn my case, the IP address is 192.168.0.103. It will be different for you. So, make sure to replace it with yours from now on.
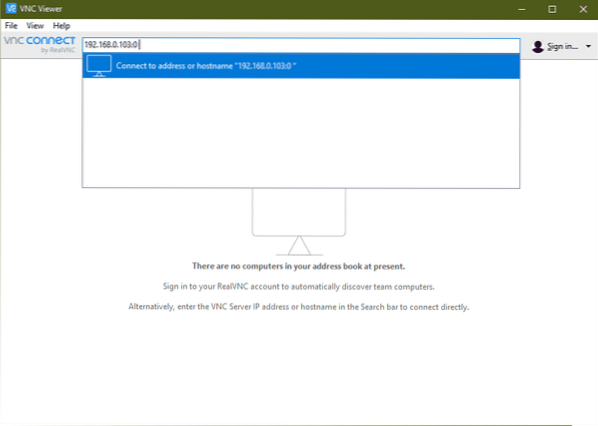
Open any VNC client and connect to the address 192.168.0.103:0.
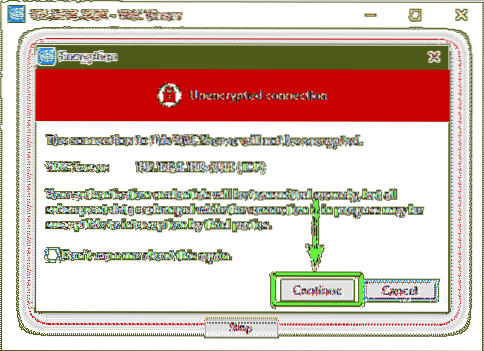
Click on Continue.

Click on Continue.
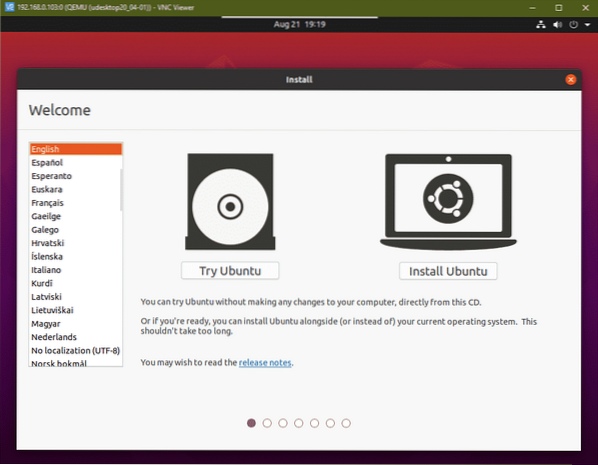
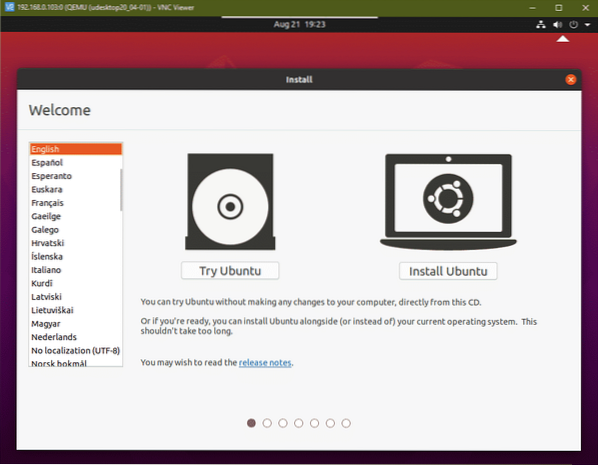
You should be connected to the display of the udesktop20_04-01 KVM virtual machine as you can see in the screenshot below.
Now, you can install your desired operating system on the virtual machine.
In my case, I will install the Ubuntu Desktop 20.04 LTS operating system on the virtual machine.
Ubuntu Desktop 20.04 LTS is being installed on the KVM virtual machine. It may take a while to complete.

Once the installation is complete, click on Restart Now.

Press
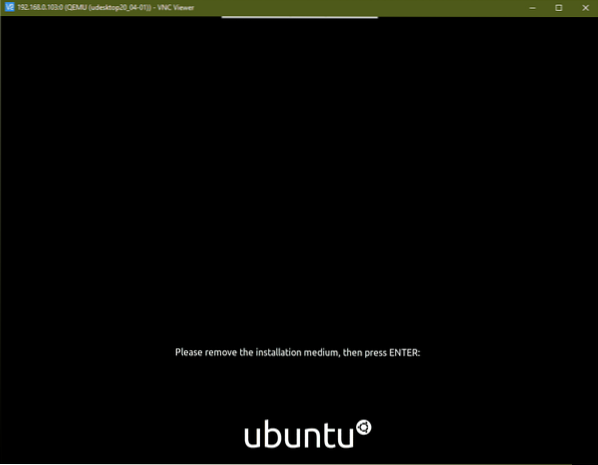
The VNC connection should be closed.
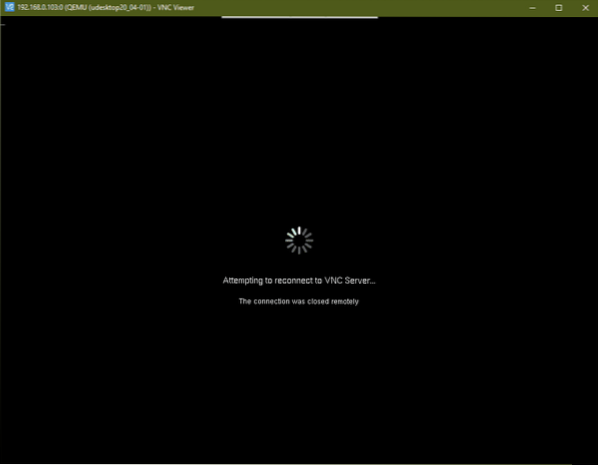
The virtual machine should be powered off automatically once the OS installation is complete as you can see in the screenshot below.
$ sudo virsh list --all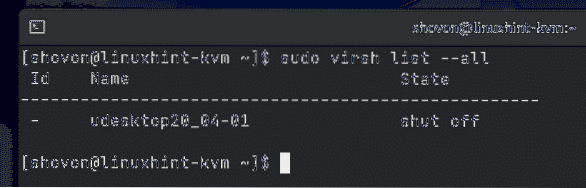
Start the udesktop20_04-01 KVM virtual machine with the following command:
$ virsh start udesktop20_04-01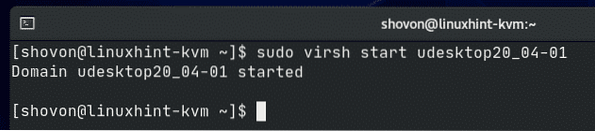
The virtual machine udesktop20_04-01 should be started.
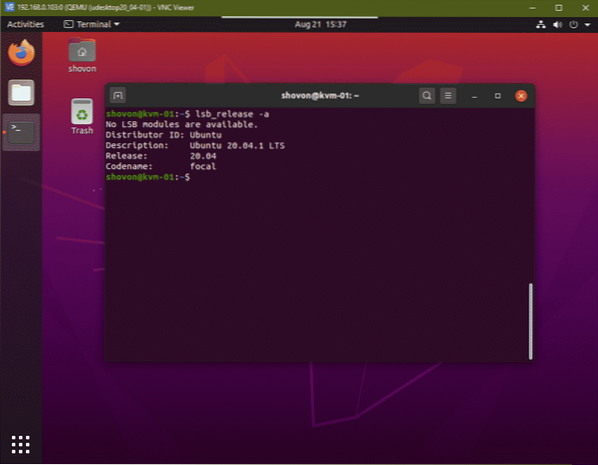
Now, you can connect to the udesktop20_04-01 virtual machine from a VNC client as before. As you can see, the Ubuntu Desktop 20.04 LTS is running just fine in the KVM virtual machine.
Removing KVM Virtual Machines:
You can also remove a KVM virtual machine very easily with the virsh command-line tool.
As you can see, I have 2 KVM virtual machines (udesktop20_04-01 and udesktop20_04-02) running on my CentOS 8 KVM host. Let's remove udesktop20_04-02 KVM virtual machine.
$ virsh list --all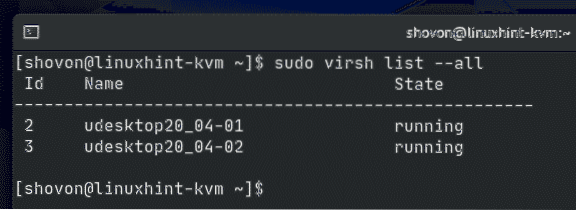
As you can see, the udesktop20_04-02 KVM virtual machine is running. You must stop it before you remove it.
$ virsh list --all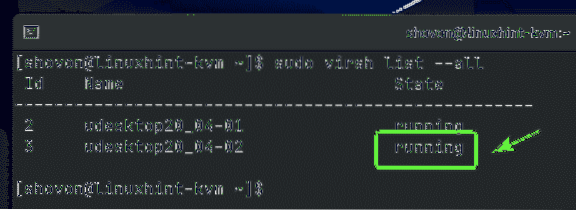
To force stop the udesktop20_04-02 KVM virtual machine, run the following command:
$ virsh destroy udesktop20_04-02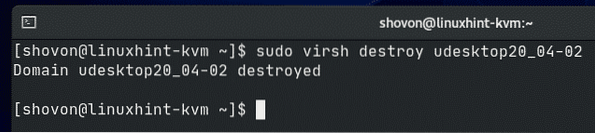
As you can see, the udesktop20_04-02 virtual machine is powered off.
$ virsh list --all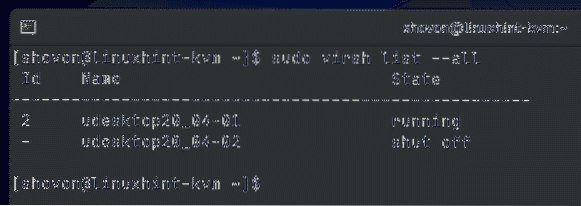
You can permanently remove the udesktop20_04-02 virtual machine and all of its attached virtual hard disks with the following command:
$ virsh undefine --remove-all-storage udesktop20_04-02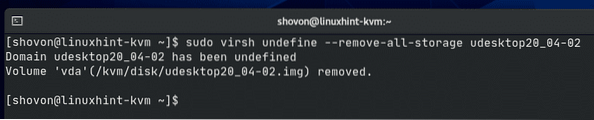
As you can see, the udesktop20_04-02 virtual machine is no longer available.
$ virsh list --all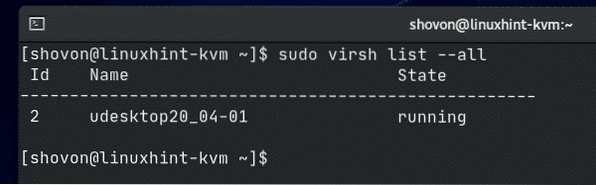
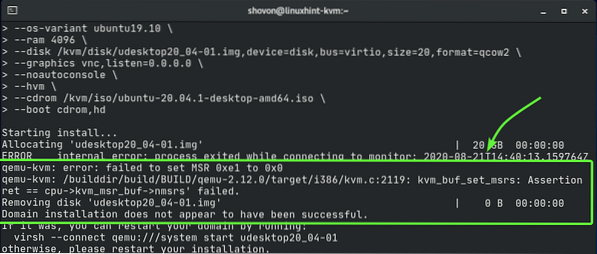
Issue#1: Fixing cpu->kvm_msr_buf->nmsrs Assertion Error
While creating a KVM virtual machine on CentOS 8 KVM host, you may see the following error message. It's a kernel bug. Usually, this happens when you run KVM inside another virtual machine. I am running KVM inside a VMware virtual machine. This is why I got this error I believe. It is easy to fix.
Open the configuration file /etc/modprobe.d/kvm.conf with the following command:
$ sudo nano /etc/modprobe.d/kvm.conf
The /etc/modprobe.d/kvm.conf file should be opened. You have to enable the processor-specific option for KVM nested virtualization from here.
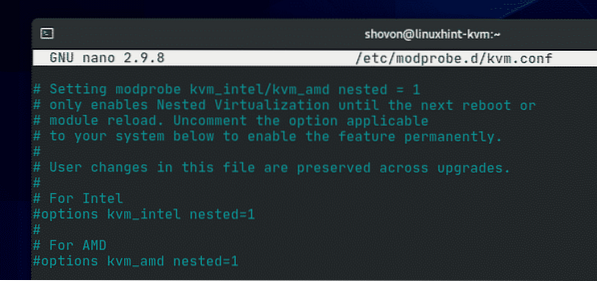
If you're using an Intel processor, uncomment the line as marked in the screenshot below.

If you're using an AMD processor, uncomment the line as marked in the screenshot below.
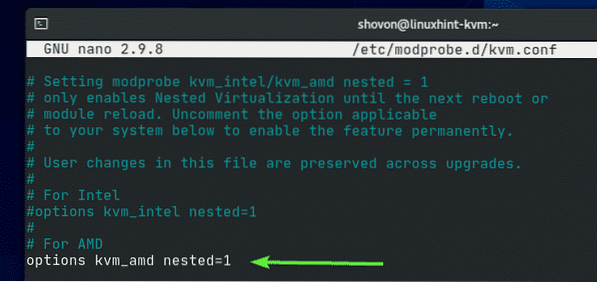
Then, add the line options kvm ignore_msrs=1 at the end of the file as shown in the screenshot below.
Once you're done, press

Then, reboot your CentOS 8 KVM host with the following command for the changes to take effect.
$ sudo reboot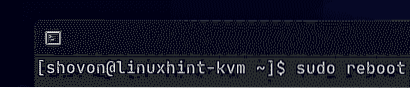
Your problem should be solved.
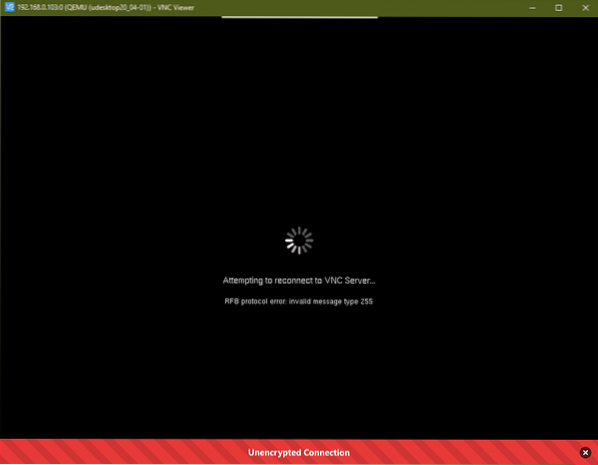
Issue#2: Fixing RFB Protocol Error of VNC Client:
When you connect to the KVM virtual machine using a VNC client, you may see the following error message. This error message is displayed when the picture quality of the VNC client is set to Automatic. It is easy to fix.
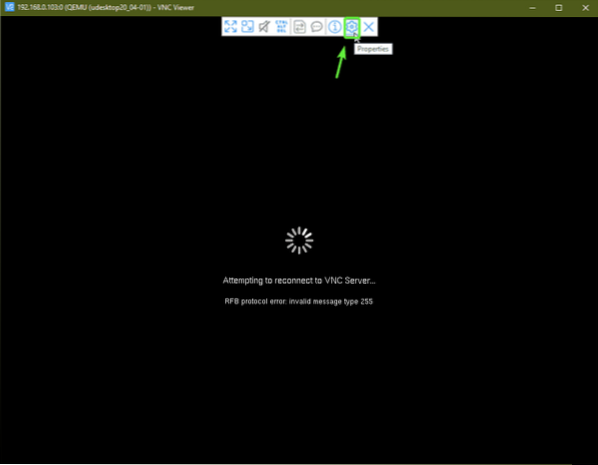
Click on the Properties icon of your VNC client.
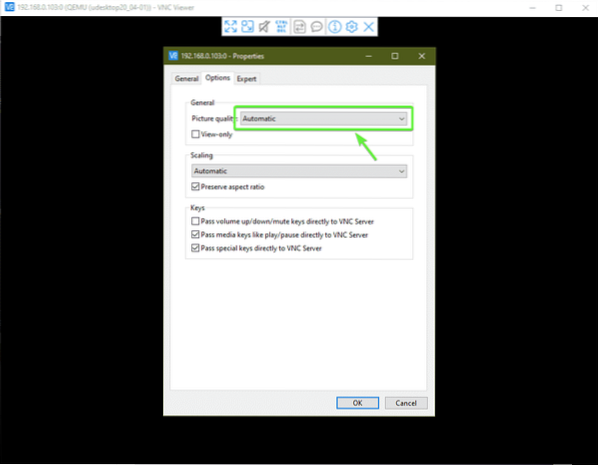
As you can see, the Picture quality is set to Automatic.
To solve this problem, select either Low, Medium, or High from the Picture quality dropdown menu.
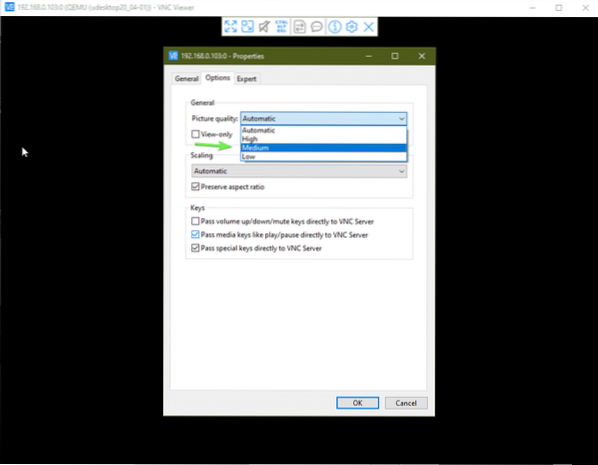
Once you're done, click on OK.
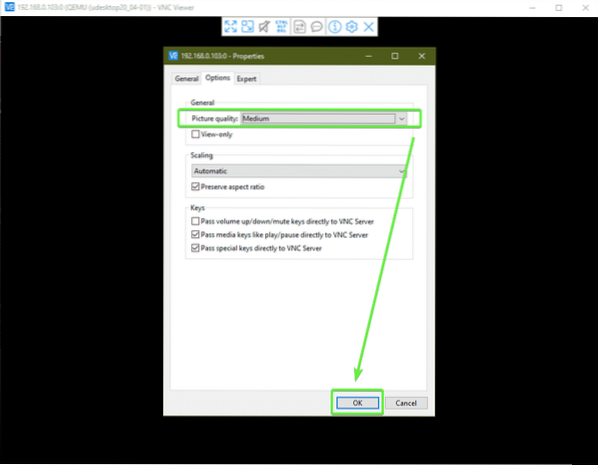
Your problem should be solved.
Conclusion:
In this article, I have shown you how to install KVM on CentOS 8 and create KVM virtual machines from the command line. I have also shown you how to remove KVM virtual machines and solutions to some common KVM problems. This should help you get started with Linux KVM virtualization.


