In this article, we will help you with how to restrict mouse cursor to a specific part of Windows 10 screen. You can define an area (top, bottom, left, right) on Windows 10 screen and then the mouse cursor won't go beyond that range. It can come in handy for different reasons like you don't want the mouse cursor to click on some unwanted area accidentally while working on a particular application. Natively it is not possible to do that in Windows 10, but you can use a free tool named Lock Cursor Tools to lock the mouse cursor movement to a particular part of the desktop screen.
This tool also lets you restrict mouse cursor movement to a particular window only. Once set, the mouse cursor won't cross that window. No matter the size of the selected window, the mouse cursor will remain within that window only. Let's check how to use this tool.
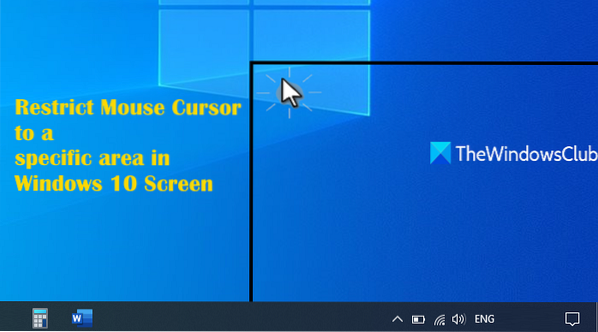
Restrict mouse cursor to a specific part of Windows 10 screen
You need to grab its zip file and extract it. Install the tool and it will start running in the system tray. Now, the very first thing you need to do is set up the available options. For that, click on its system tray icon. After that, you will see the available options. These are:
- User defined
- Set area
- Windows application
- Monitor.

Let's check how to configure and use these options.
1] User defined
This option works only when you have already set an area. Simply turn on the User defined button and press OK.
2] Set area
This option lets you define or set an area of your choice and the mouse cursor will work in that particular area only. Click on the Set area button, press n hold the left mouse button, and drag n drop mouse cursor to select the area. After that, turn on User defined button and press OK.
3] Windows application
Using this option, you can select any of the running applications, and the mouse cursor will work within that window. When that window is minimized, the mouse cursor will work on the entire screen. As soon as that window is maximized or restored, the mouse cursor will remain and work in that window only.
Use the Select application button and you will see the list of all the opened applications or windows. Select an application and press OK.
4] Monitor
You can restrict the mouse cursor to work on Monitor 1 or Monitor 2 if you have 2 monitors. Simply turn on the button for a particular monitor and press OK.
Once you've set up the options, use an option, and then press the OK button. After that, press Ctrl+Alt+I hotkey. The mouse cursor movement will be restricted immediately based on the option set by you.
Now to unlock the mouse cursor to work again on the entire screen, press the same Ctrl+Alt+I hotkey.
In addition to that, you can also set custom shortcuts to lock/unlock the cursor, lock user-defined area, lock mouse cursor to Monitor 1 area or Monitor 2 area, as visible in the screenshot below.

Read next: Best free keyboard and mouse locker software for Windows 10.
To add custom shortcuts or hotkeys, right-click on the system tray icon of this tool and use the Shortcuts option. A window will pop up where you can add shortcuts of your choice for each of the available options. Once the shortcuts are added, press the OK button to save them. After that, use those shortcuts to lock the mouse cursor area.
Hope you like this tool.


