
A kernel is the most essential piece of code to any computer that is using an operating system. It links as a communication interface between the hardware and the operating system. In Ubuntu, you can find the kernel file stored in your “/boot” with the name “vmlinuz-version”.
Reasons to Upgrade Linux Kernel
There are several reasons for why you need to upgrade your kernel but the following reasons are considered the most important:
- Keep your system safe, by protecting yourself from emerging new security threats.
- Improve system stability, by solving various issues that can cause your system to crash and behave abnormally.
- Update system drivers, as the newly upgraded kernel, contains the latest drivers for your machine.
- Enjoy new kernel features that are being added.
So, if you need to get the most out of your system then it's important to upgrade your kernel and keep your system up-to-date.
Upgrading Linux Kernel in Ubuntu and its derivatives
In this article, we are going to discuss two different methods to upgrade the Ubuntu Linux Kernel. The below guide is tested to be working in Ubuntu but should also work on Linux Mint without any issues.
The first method is a lengthy command-line process for the geeks and the second method describes the easiest way by using Ukuu, a GUI method for newbies to Linux.
First Method: Manual Kernel Upgrading (Terminal Way)
Step 1. Check the installed kernel version on your machine using the following command.uname -sr

Step 2. To Upgrade your kernel, go to https://kernel.ubuntu.com/~kernel-ppa/mainline/ and choose the latest stable version and download it. (At the time of writing this tutorial, v4.20.8 was the latest stable version)

Step 3. Check if your system is 32 or 64 bit.
uname -i

This means your system is 64 bit or in other words, it is amd64.
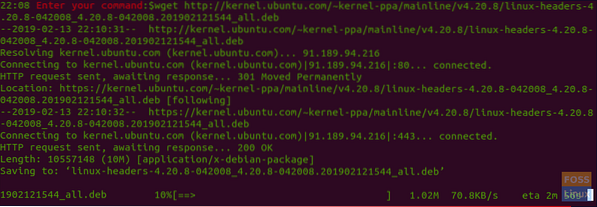
Step 4. From your terminal, download the kernel depending on your system is it 32 or 64 bit. So in our case, we will download the amd64 using the following commands.
wget http://kernel.ubuntu.com/~kernel-ppa/mainline/v4.20.8/linux-headers-4.20.8-042008_4.20.8-042008.201902121544_all.deb
wget http://kernel.ubuntu.com/~kernel-ppa/mainline/v4.20.8/linux-headers-4.20.8-042008-generic_4.20.8-042008.201902121544_amd64.deb
wget http://kernel.ubuntu.com/~kernel-ppa/mainline/v4.20.8/linux-image-unsigned-4.20.8-042008-generic_4.20.8-042008.201902121544_amd64.deb
wget http://kernel.ubuntu.com/~kernel-ppa/mainline/v4.20.8/linux-modules-4.20.8-042008-generic_4.20.8-042008.201902121544_amd64.deb
Step 5. Now install the downloaded packages.
sudo dpkg -i *.deb
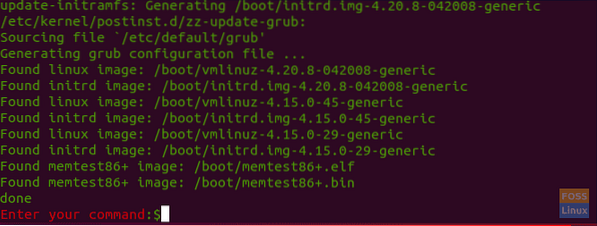
Step 6. After successful installation, reboot your machine.
reboot
Step 7. After rebooting your system, open your terminal and verify that the new kernel is installed successfully.
uname -sr

Downgrading Linux Kernel due to problematic upgrade
In case you have faced any problems during kernel upgrading, there is no need to panic we are here to help you revert back to your oldest kernel. So, you can use the next few steps to downgrade system kernel.
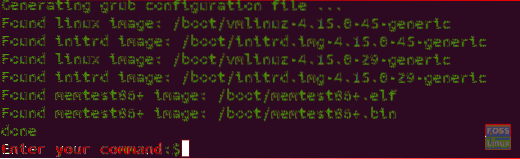
Step 1. Reboot your system, press and hold the Shift key when you see the Ubuntu logo. This will bring you the Grub Menu screen.
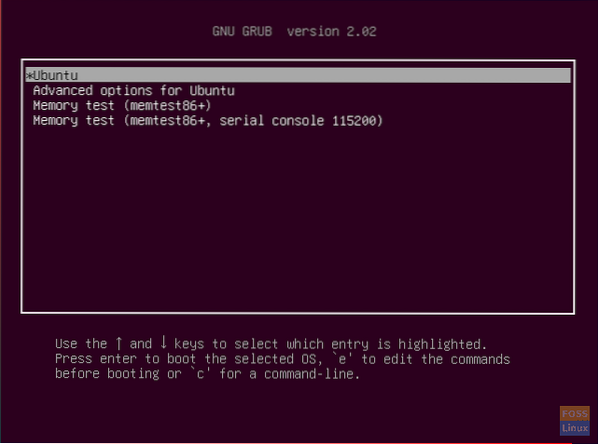
Step 2. Choose the second option which is “Advanced options for Ubuntu” then press the Enter button. You will see the current Linux kernels found.
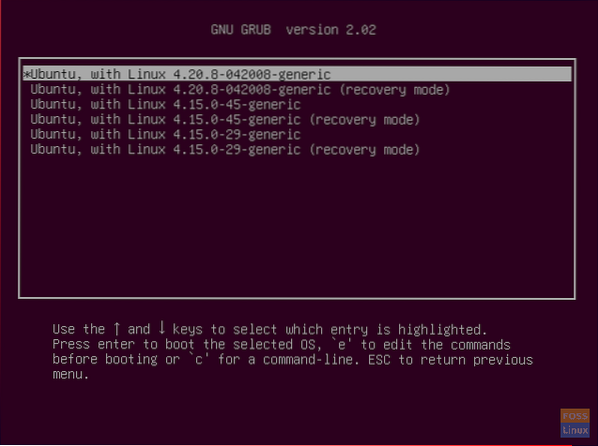
Step 3. Move with arrows up/down and select the kernel you need to downgrade to it. Then press the Enter button. Now the system will reboot using your oldest kernel.
Step 4. After rebooting, open the Terminal and use the next command to completely remove the latest kernel packages from the system.
sudo apt remove linux-image-unsigned-4.20.8-042008-generic linux-headers-4.20.8-042008-generic
Step 5. Now reboot your system to use the oldest safe kernel.
reboot
Step 6. Finally, check that you have downgraded to the oldest kernel.
uname -sr

Second Method: By using Ukuu Kernel Upgrade Utility (Easy way)
In this method, we are going to use the Ukuu tool to upgrade the Ubuntu kernel. Ukuu is a short version of “Ubuntu Kernel Upgrade Utility”. Ukuu is a simple yet powerful tool that can be used on Ubuntu systems to install and upgrade the kernel. Ukuu can be used to remove old kernels after installing new ones.
Also, it can send you a notification when there is a new kernel update is available. Ukuu can be used on both Desktop and Server Ubuntu versions. Next, we will show you how to use Ukuu to upgrade your kernel.
Step 1. Open your Terminal and add the PPA for Ukuu to the repository using the following command.
sudo apt-add-repository -y ppa:teejee2008/ppa

Step 2. Update your system.
sudo apt-get update
Step 3. Install Ukuu using the following command.
sudo apt-get install ukuu
Step 4. Run the following command to open Ukuu tool.
sudo ukuu-gtk
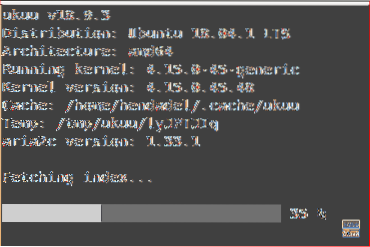
Ukuu interface should be something like this:

As you can see, Ukuu lists all the available kernel releases that can be downloaded. Also, it shows you a little hint about the currently installed kernel and the last available one that can be downloaded.
Step 5. Now to upgrade your kernel, all you have to do is that just select the kernel and press Install.

Ukuu will handle all the manual steps that we have mentioned in the above section. So it will download the best kernel version that is the best fit for your system architecture and will install it automatically.
Step 6. Just enjoy applying the kernel without the need to worry about anything.
Step 7. This message will appear after installing the kernel.
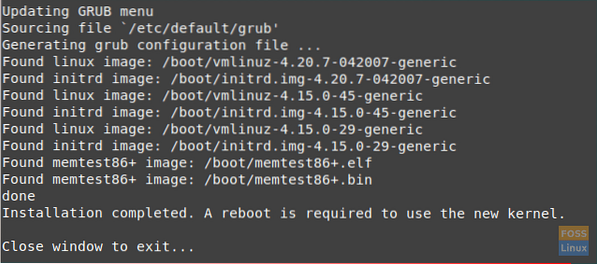
Step 8. Reboot your system to use the new kernel.
reboot
Step 9. After rebooting, check the installed kernel version.
uname -sr

Finally, be careful while applying the previously mentioned commands. And in case you faced any issues just leave a comment and we will be glad to help you fix it.


