PulseAudio allows users to perform complicated manipulations on sound data, from mixing sound samples to customizing audio channels. This also includes multiplexing - a technique by which users can direct different audio outputs to different speakers.
This article provides a tutorial on how to set up and begin using PulseAudio in ArchLinux.
Step 1: Update the Package database
First, update the package database to refresh the listing. Run the following command to do so:
$ sudo pacman -Syu
Step 2: Install PulseAudio
Next, enter the following command to install PulseAudio:
$ sudo pacman -S PulseAudio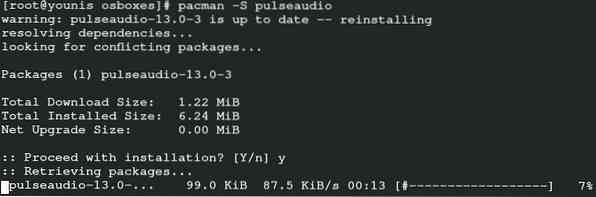
This command will install PulseAudio on your system.
Step 3: Activate Graphical User Interface
There are many supporting utilities available in the official ArchLinux Repository that allow you to choose between using GUI or CLI as the default interface for PulseAudio. For the purpose of this demonstration, we will use three different GUI utilities to get started with PulseAudio.
PulseAudio Volume Control
PulseAudio is best suited to those who are fond of the Genome ToolKit applications. Run the following command to install PulseAudio Volume Control:
$ sudo pacman -S pavucontrol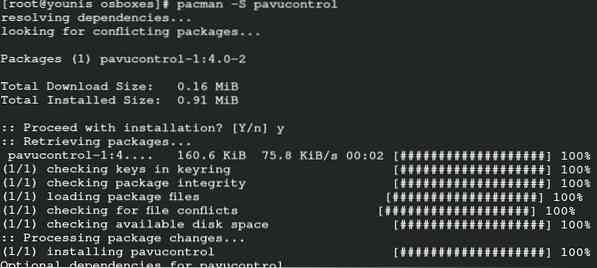
PulseAudio Manager
The PulseAudio Manager is a great option for those who are just starting out with PulseAudio. The Manager features a pretty basic interface and is fairly easy to get used to. Enter the following command to run the installer:
$ yay -S paman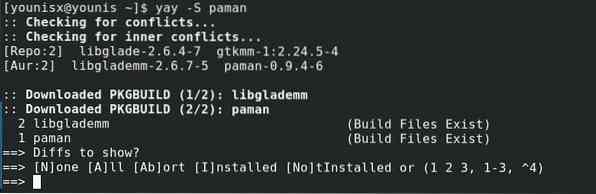
kMix
If you happen to already be using KDE plasma, you should also get kMix. Run the following command to install kMix:
$ sudo pacman -S kmix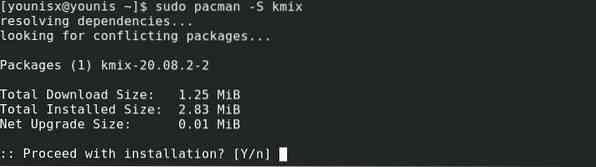
kMix should now be installed on your system.
Step 4: Getting started with PulseAudio
Now, we will show you a rundown of each of the GUI front-end features that we have recommended:
PulseAudio Volume Control
Go to the search query and type “PulseAudio Volume Control,” then click the icon for the Volume Control feature.
The interface includes many tabs. The Playback tab includes options to change the volume settings.
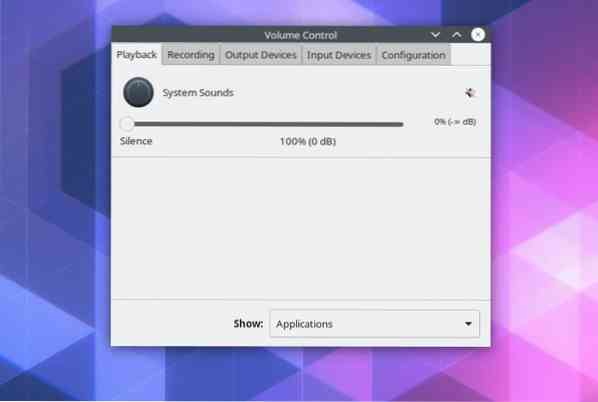
The Recording tab lists all applications that are saving audio outputs from specific or all sources.
Click the Output Devices tab to see options for customizing latency offsets. This tab also lists all the devices dedicated to carrying the audio output to the output devices.
To see the listed devices in use to detect audio inputs, click the Input Devices tab.
The Configuration tab lets you select a sound profile best suited for your system specifications. The sound profile is particularly important, as it facilitates clear audio transmission.
Each tab features three buttons in the top-right corner. These buttons are Mute/Unmute, Lock Channels Together, and Set As Fallback, in left to right progression.

The Lock Channels Together button enables the user to change the left-right audio output manually, whereas the Set As Fallback option sets one of the audio sources as a fallback in case playback crashes. You can also mute/unmute any individual sound source.
kMix
kMix also features a very navigable interface that you can use to manipulate audio output. For instance, you can customize the audio settings by accessing the volume control dialog box via the speaker icon at the bottom-left corner.
Conclusion
This tutorial showed you how to set up PulseAudio on your ArchLinux system. PulseAudio gives its users better control of their audio output. We have recommended that you also install kMix, PulseAudio Manager, and PulseAudio Volume control to interact with PulseAudio in the Graphical User Interface.
That is it for today. We hope that you found this tutorial helpful and easy to follow. Stay tuned at linuxhint.com for more articles and tutorials.


