QPushButton Methods
The QPushButton class has many methods to perform various button-related tasks. Some of the more commonly used methods of this class are mentioned below:
| Method Name | Purpose |
|---|---|
| text() | Used to read the caption of the button. |
| setText() | Used to set text in the caption of the button. |
| setIcon() | Used to set an icon in the caption of the button. |
| setDefault() | Used to set the default button. |
| setEnabled() | Used to enable or disable buttons. A value of True is used to enable the button, and a value of False is used to disable the button. |
| setCheckable() | Used to identify whether the button is pressed or released. |
| isChecked() | Used to read the state of the button that is a boolean value. |
| toggle() | Used to toggle between states. If the current value of the button state is True, then the value will change to False, and vice versa. |
QPushButton Usage
The following sections provide several simple examples to explain the usage of QPushButton.
Example 1: Create A Simple Push Button
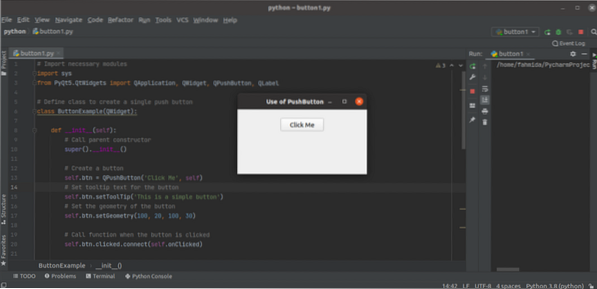
The following script is used to create a single button in the window. The script will attach a custom function with the clicked event of the button to check whether the button has been clicked. The window will display a button following the execution of the code. If the user clicks the button, the text 'Button is pressed' will show in the label.
# Import necessary modulesimport sys
from PyQt5.QtWidgets import QApplication, QWidget, QPushButton, QLabel
# Define class to create a single push button
class ButtonExample(QWidget):
def __init__(self):
# Call parent constructor
super().__init__()
# Create a button
self.btn = QPushButton('Click Me', self)
# Set tooltip text for the button
self.btn.setToolTip('This is a simple button')
# Set the geometry of the button
self.btn.setGeometry(100, 20, 100, 30)
# Call function when the button is clicked
self.btn.clicked.connect(self.onClicked)
# Define label at the bottom of the button
self.msgLabel = QLabel(", self)
# Set the geometry of the label
self.msgLabel.setGeometry(90, 60, 290, 60)
# Set the title of the window
self.setWindowTitle('Use of PushButton')
# Set the geometry of the main window
self.setGeometry(10, 10, 300, 150)
# Set the position of the main window in the screen
self.move(850, 300)
# Display the window
self.show()
# Define function to handle the click event of the button
def onClicked(self):
# Set text for the label
self.msgLabel.setText('Button is pressed.')
# Create app object and execute the app
app = QApplication(sys.argv)
button = ButtonExample()
app.exec()
The following window will appear after executing the script.
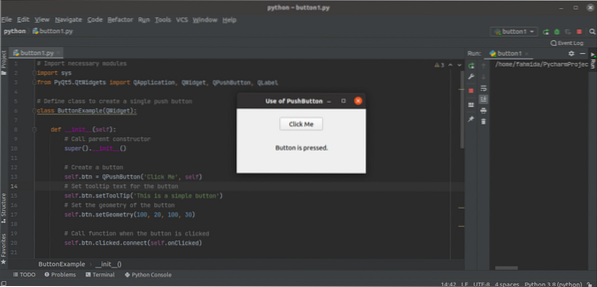
If the user clicks the Çlick Me button, then the following text will appear in the caption beneath the button.
Example 2: Create Multiple Push Buttons
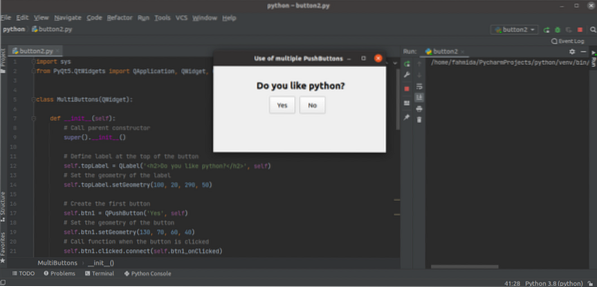
The following script will create multiple pushbuttons using the QPushButton class. Two buttons are created in the script. The clicked event of the 'Yes' button is attached to a method named btn1_onClicked(), and the clicked event of the 'No' button is attached to a method named btn2_onClicked(). A caption created below the buttons will display the specified message based on the button clicked by the user. The setGeometry() function is used for each label and button to set the position of the objects in the window.
import sysfrom PyQt5.QtWidgets import QApplication, QWidget, QPushButton, QLabel
class MultiButtons(QWidget):
def __init__(self):
# Call parent constructor
super().__init__()
# Define label at the top of the button
self.topLabel = QLabel('
Do you like python?
', self)# Set the geometry of the label
self.topLabel.setGeometry(100, 20, 290, 50)
# Create the first button
self.btn1 = QPushButton('Yes', self)
# Set the geometry of the button
self.btn1.setGeometry(130, 70, 60, 40)
# Call function when the button is clicked
self.btn1.clicked.connect(self.btn1_onClicked)
# Create the second button
self.btn2 = QPushButton('No', self)
# Set the geometry of the button
self.btn2.setGeometry(200, 70, 60, 40)
# Call function when the button is clicked
self.btn2.clicked.connect(self.btn2_onClicked)
# Define label at the bottom of the button
self.msgLabel = QLabel(", self)
# Set the geometry of the label
self.msgLabel.setGeometry(130, 120, 300, 80)
# Set the title of the window
self.setWindowTitle('Use of multiple PushButtons')
# Set the geometry of the main window
self.setGeometry(10, 10, 400, 200)
# Set the position of the main window in the screen
self.move(850, 300)
# Display the window
self.show()
def btn1_onClicked(self):
# Set text for the bottom label
self.msgLabel.setText('
You clicked Yes.
')def btn2_onClicked(self):
# Set text for the bottom label
self.msgLabel.setText('
You clicked No.
')# Create app object and execute the app
app = QApplication(sys.argv)
button = MultiButtons()
app.exec()
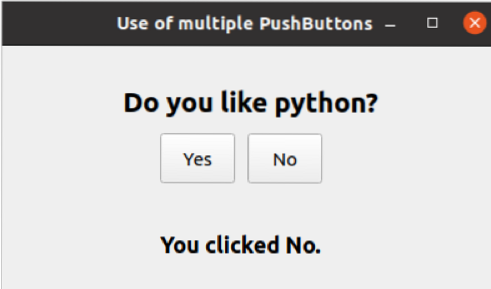
The following window will appear after executing the script.
If the user clicks the Yes button, the message, 'You clicked Yes' will be displayed as the label text.
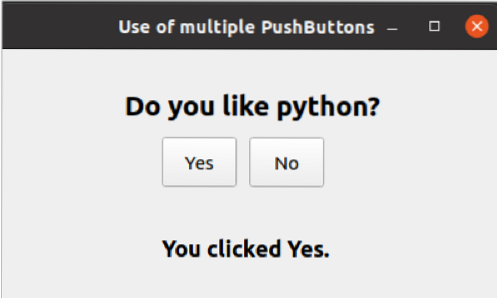
If the user clicks the No button, the message, 'You clicked No' will be displayed as the label text.
Conclusion
The QPushButton class allows users to create one or more buttons based on the application requirements. This tutorial showed the usage of this class for creating one or multiple buttons, as well as how to handle click events of buttons using custom event handler functions.


