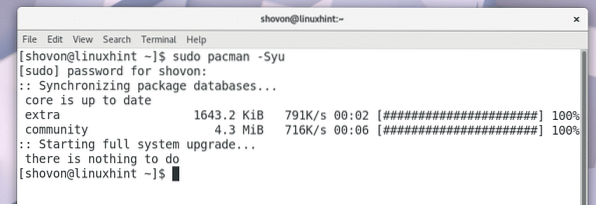
First you have to update all the installed packages of your operating system. To do that, run the following command:
$ sudo pacman -SyuAll the installed packages of your Arch Linux operating system should be updated.
Now you have to install Git. If you don't know what Git is, it is a version control system. You need to clone a Github repository to follow this article. That's why you need to have Git installed.
To install Git, run the following command:
$ sudo pacman -S gitPress 'y' and press
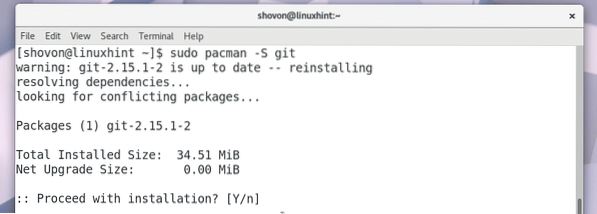
Git should be installed.

Now go to the github repository of OpenVPN-install at https://github.com/Angristan/OpenVPN-install
You should see this page as shown in the screenshot below.
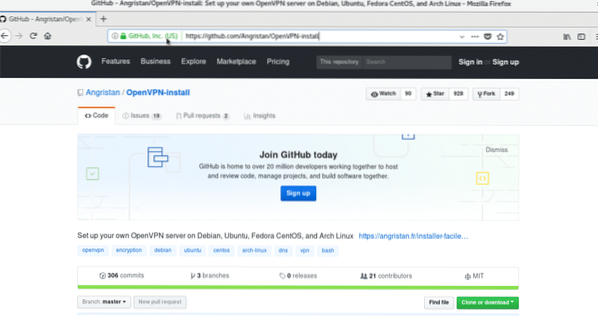
Click on the green “Clone or download” button.

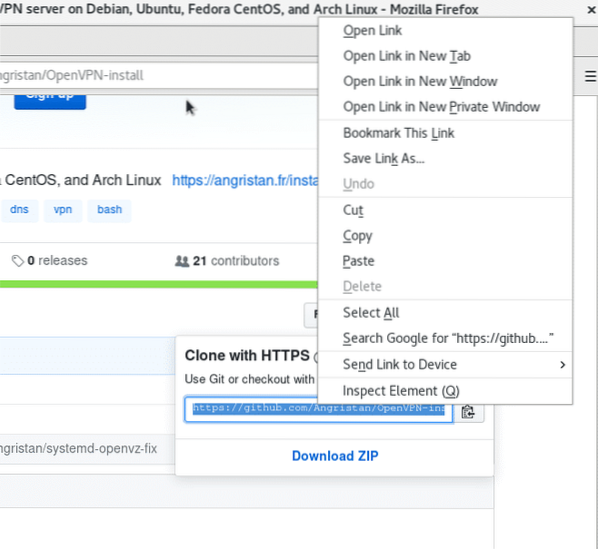
You should see a repository URL as marked in the screenshot below.

While the repository URL is selected, right click and select “Copy”.
Now open a Terminal and run the following command to navigate to the Downloads/ directory in the user's $HOME directory.
$ cd ~/Downloads
Now you have to clone the Github repository.
Run the following command to clone the Github repo using the URL you just copied.
$ git clone https://github.com/Angristan/OpenVPN-install.gitThe OpenVPN-install github repository should be cloned as you can see in the screenshot below.

If you list the contents of the Downloads/ directory, you should see a directory 'OpenVPN-install'.

Now run the following command to navigate to the 'OpenVPN-install' directory.
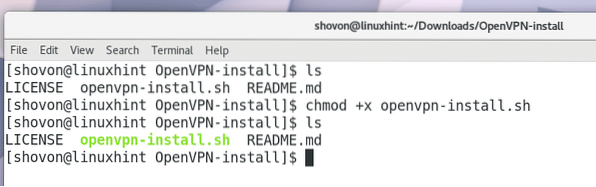
$ cd OpenVPN-install/If you list the contents of the 'OpenVPN-install' directory, you should see 'LICENSE', 'openvpn-install.sh' and 'README.md' file as shown in the screenshot below.

Now you have to make 'openvpn-install.sh' script executable. Run the following command to do so:
$ chmod +x openvpn-install.shYour 'openvpn-install.sh' script should be executable as shown in the screenshot below:
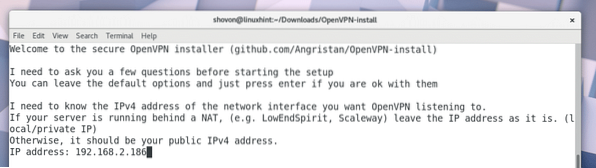
Now as root, run the 'openvpn-install.sh' script with the following command:
$ sudo ./openvpn-install.sh
OpenVPN installer should ask you for an IP address that OpenVPN will listen to. Usually it is the IP address of one of the attached network interfaces of your computer. You can run 'ip a' or 'ifconfig' command to find that out. Once you put in the IP address, press
OpenVPN installer should ask you for the port that OpenVPN will use. You may leave the default. Once you're done, press

Now OpenVPN should ask you for the protocol you want to use. UDP is a lot faster than TCP. So you may leave the default. Once you're done, press

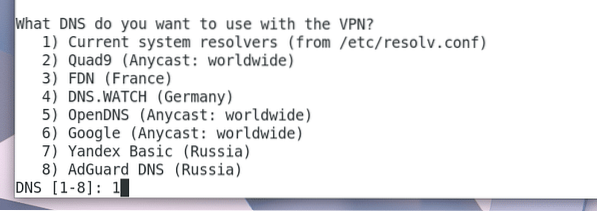
Now OpenVPN should ask you which DNS service you want to use. Just pick any one of them and press
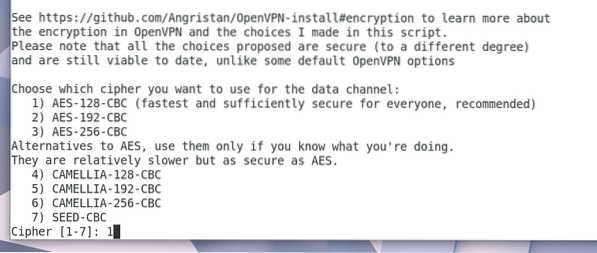
Now OpenVPN should ask you for the encryption method it should use. I will leave the defaults. If you know what these are, you may use a different option. Once you're done, press
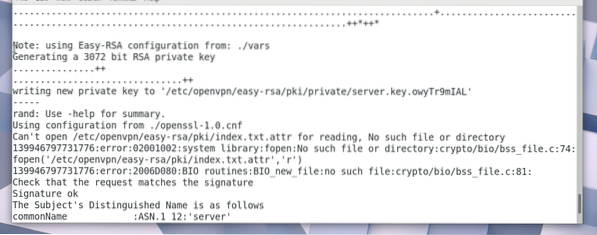
Then OpenVPN should ask you for Diffie-Hellman key bits. I will leave the default 3072 bits. You may change it if you want. Once you're done, press

Now OpenVPN should ask you how many bits of RSA key you want to generate. I will leave the default 3072 bits. You may choose other options according to your need. Once you're done, press

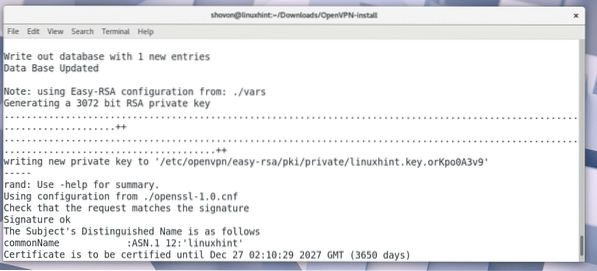
Now OpenVPN should ask you for a name as which it will save it's client configuration file. This is the file you will be using to connect to the OpenVPN server. The default filename is 'client' and it generates 'client.ovpn' file. You can leave the default or change it if you want.

I will change it to 'linuxhint'. So it will generate 'linuxhint.ovpn' file.

Now press

Press 'y' and press

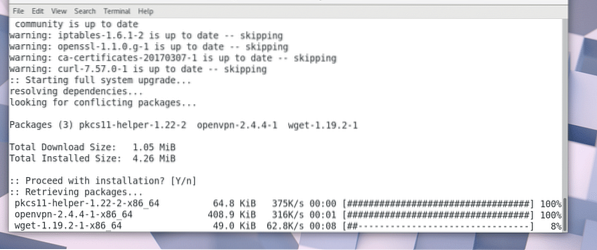
OpenVPN should start downloading new packages.
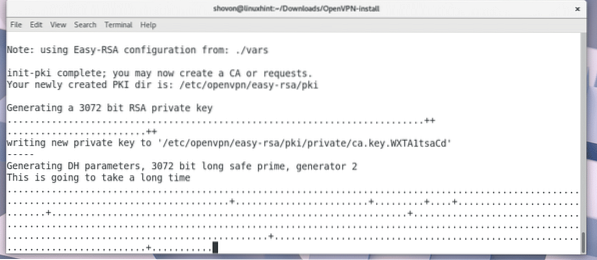
RSA key is being generated. It should take a long time.
After the key is generated, OpenVPN installer should ask you for your Public IP or domain name. You may leave it blank if you want. In that case, your OpenVPN server won't be accessible from the internet.
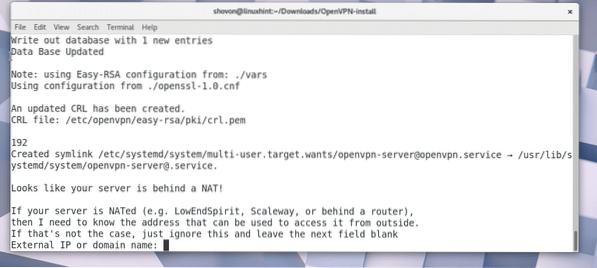
You can go to https://www.whatsmyip.org and find out your Public IP if you don't know already.

Copy and paste the IP from whatsmyip and press
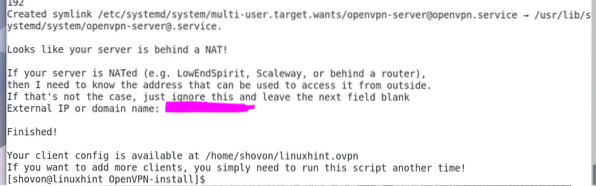
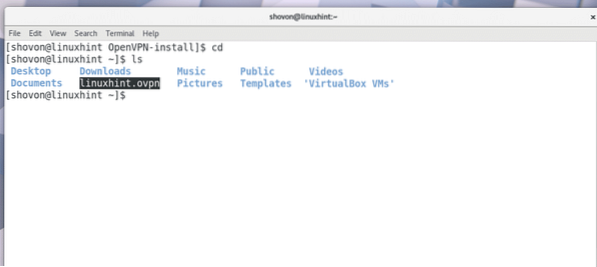
In your HOME directory a new file 'linuxhint.ovpn' or 'client.ovpn' should be generated depending on the name you used.
Now you can connect to your VPN server with the following command:
$ openvpn --config linuxhint.ovpnYour openvpn client should be connected to the openvpn server.

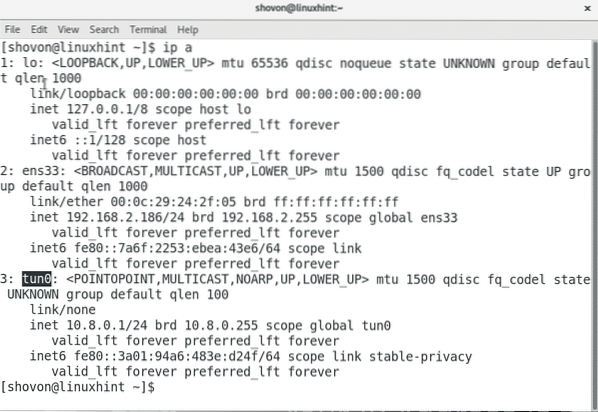
Run the following command to find out what network interfaces you have on your computer.
$ ip aYou should see a 'tun0' interface in the output of 'ip a' command as shown in the screenshot below. So everything worked perfectly.
That is how you install and configure OpenVPN server on Arch Linux. Thanks for reading this article.


