
After setting up any server among the first usual steps linked to security are the firewall, updates and upgrades, ssh keys, hardware devices. But most sysadmins don't scan their own servers to discover weak points as explained with OpenVas or Nessus, nor do they setup honeypots or an Intrusion Detection System (IDS) which is explained below.
There are several IDS in the market and the best are free, Snort is the most popular, I only know Snort and OSSEC and I prefer OSSEC over Snort because it eats less resources but I think Snort is still the universal one. Additional options are: Suricata , Bro IDS, Security Onion.
The most official research on IDS effectivity is pretty old, from 1998, the same year in which Snort was initially developed, and was carried out by DARPA, it concluded such systems were useless before modern attacks. After 2 decades, IT evolved at geometric progression, security did too and everything is almost up to date, adopting IDS is helpful for every sysadmin.
Snort IDS
Snort IDS works in 3 different modes, as sniffer, as packet logger and network intrusion detection system. The last one is the most versatile for which this article is focused.
Installing Snort
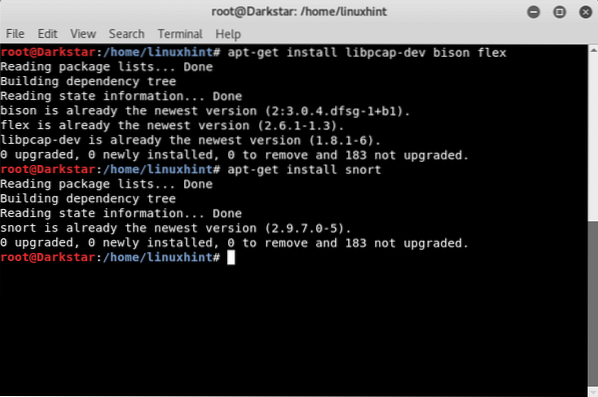
apt-get install libpcap-dev bison flexThen we run:
apt-get install snortIn my case the software is already installed, but it wasn't by default, that's how it was installed on Kali (Debian).
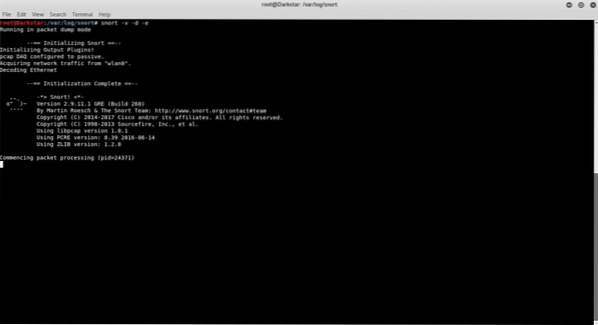
Getting started with Snort's sniffer mode
The sniffer mode reads the network's traffic and displays the translation for a human viewer.
In order to test it type:
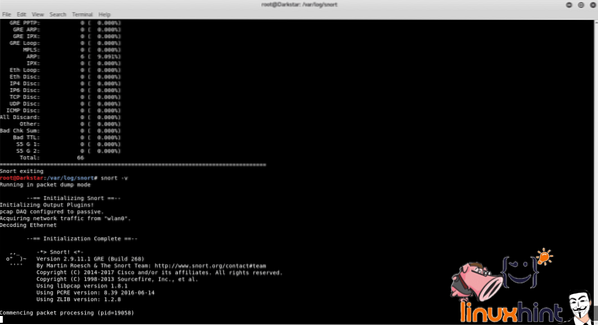
This option should not be used normally, displaying the traffic requires too much resources, and it is applied only to show the command's output.
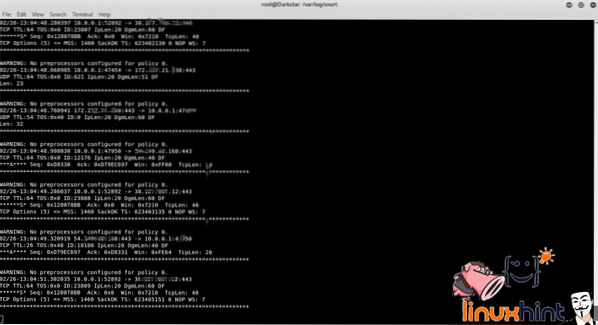
In the terminal we can see headers of traffic detected by Snort between the pc, the router and internet. Snort also reports the lack of policies to react to the detected traffic.
If we want Snort to show the data too type:
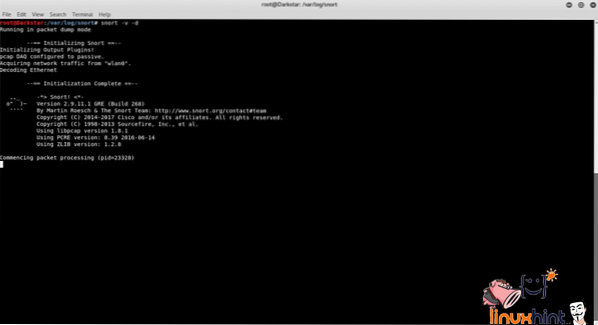
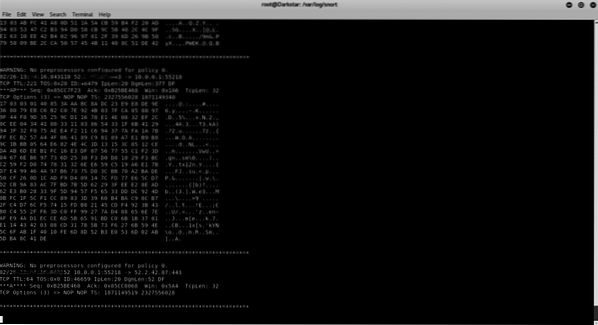
To show the layer 2 headers run:
# snort -v -d -eJust like the “v” parameter, “e” represents a waste of resources too, it's usage should be avoided for production.
Getting started with Snort's Packet Logger mode
In order to save Snort's reports we need to specify to Snort a log directory, if we want Snort to show only headers and log the traffic on the disk type:
# mkdir snortlogs# snort -d -l snortlogs
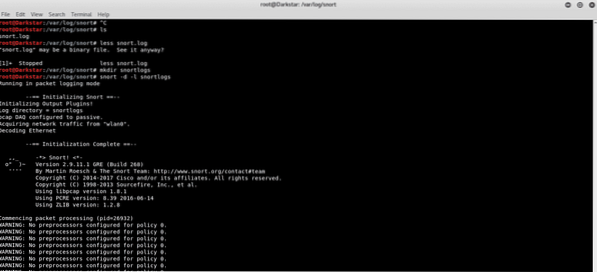
The log will be saved inside snortlogs directory.
If you want to read the log files type:
# snort -d -v -r logfilename.log.xxxxxxx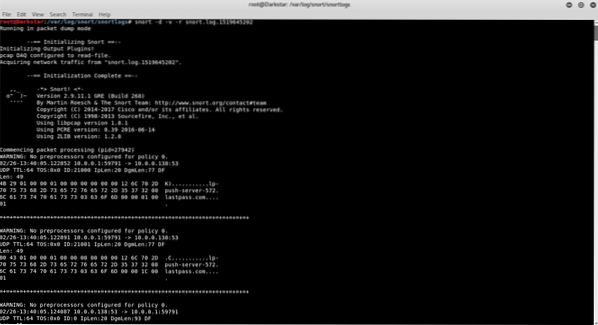
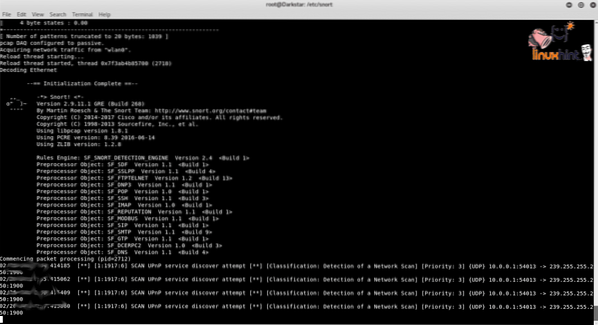
Getting started with Snort's Network Intrusion Detection System (NIDS) mode
With the following command Snort reads the rules specified in the file /etc/snort/snort.conf to filter the traffic properly, avoiding reading the whole traffic and focusing on specific incidents
referred in the snort.conf through customizable rules.
The parameter “-A console” instructs snort to alert in the terminal.
# snort -d -l snortlog -h 10.0.0.0/24 -A console -c snort.conf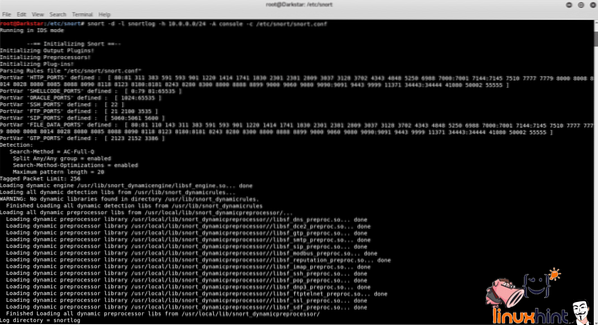
Thank you for reading this introductory text to Snort's usage.


