SQLite is a lightweight database software. It is a command line application. You must use the command line or SQLite API on other programming languages to use SQLite database. SQLite has a graphical front end SQLite Browser for working with SQLite databases graphically.
SQLite 3 is the latest version at the time of this writing. SQLite 3 is available in the official package repository of Ubuntu 18.04 LTS. SQLite Browser is also available in the official package repository of Ubuntu 18.04 LTS.
In this article, I will show you how to install SQLite 3 and SQLite Browser on Ubuntu 18.04 LTS. I will also show you some of the basic queries of SQLite 3. Let's get started.
Installing SQLite 3
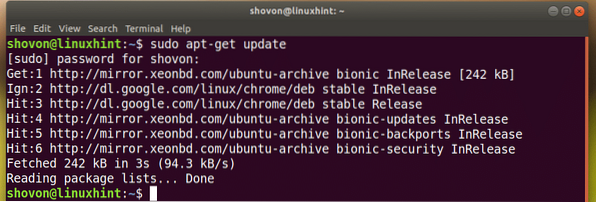
First update the apt package repository cache with the following command:
$ sudo apt-get update
The apt package repository cache should be updated.
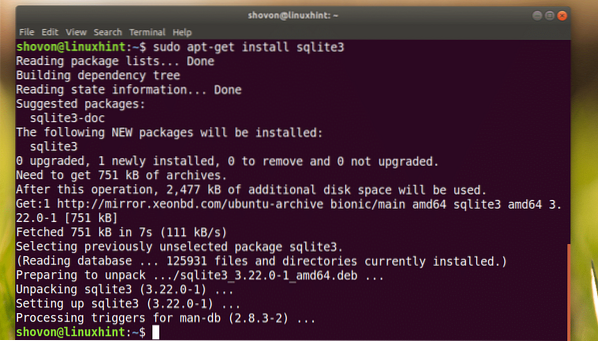
Now to install SQLite 3, run the following command:
$ sudo apt-get install sqlite3
SQLite 3 should be installed.
Now you can check whether SQLite 3 is working with the following command:
$ sqlite3 --version
Installing SQLite Browser
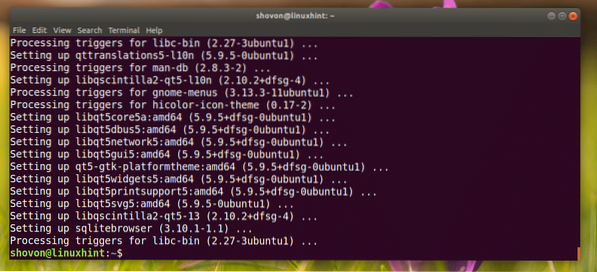
Run the following command to install SQLite Browser:
$ sudo apt-get install sqlitebrowser
Now press y and then press

SQLite Browser should be installed.
Using SQLite using SQLite Browser
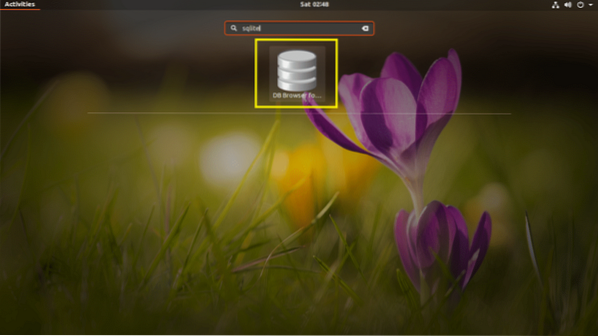
Now you can go to the Application Menu and search for SQLite Browser. You should see a database icon as marked in the screenshot below. Click on it.
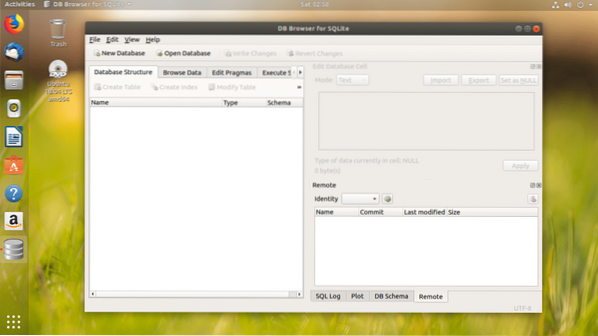
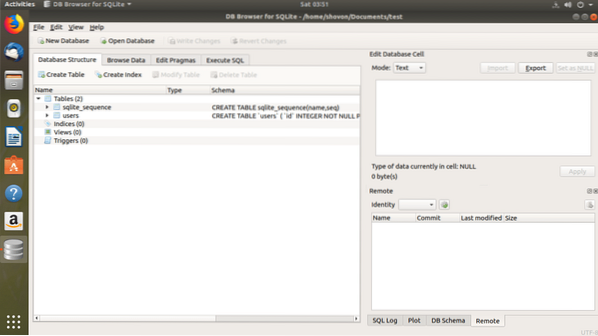
SQLite Browser should start as you can see in the screenshot below.
Getting Started with SQLite 3 using SQLite Browser
In this section, I will show you the basics of SQLite 3 database with SQLite Browser graphical user interface.
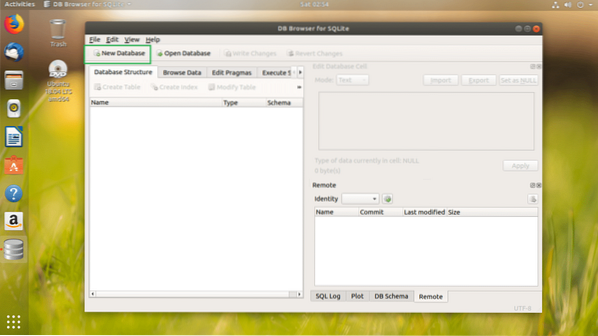
First click on New Database to create a new database using SQLite Browser.
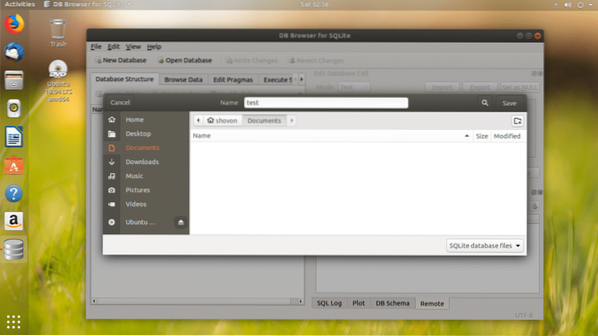
You should see the following dialog window. Type in a filename and save it somewhere on your filesystem.
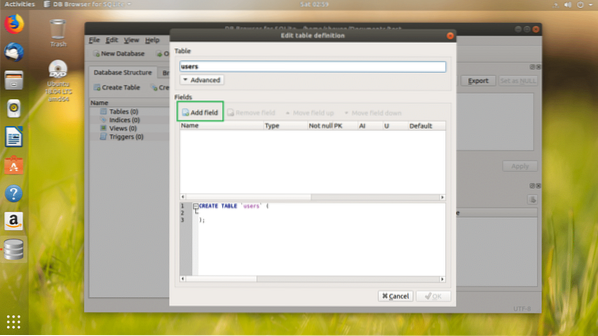
Now you should the following window. Using this window, you can create your first SQLite 3 table.

Enter the name of the table. If you want to follow along, users table it is.
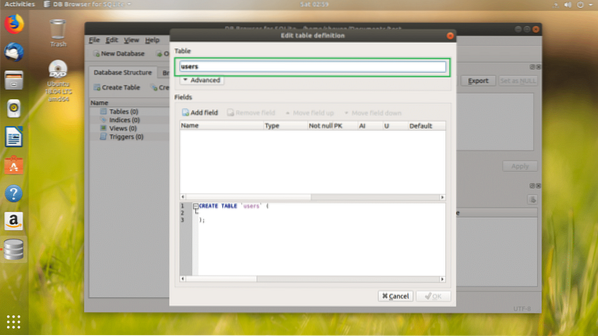
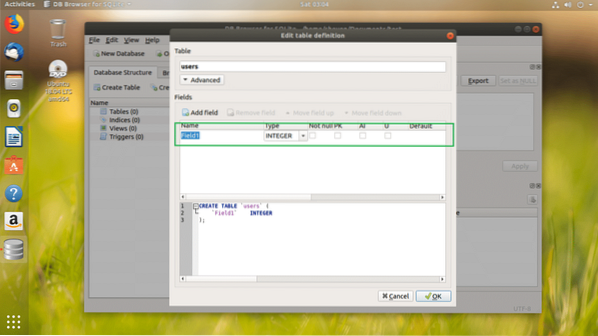
Now you can click on Add field button to add as many fields or columns on your table.
Once you click on Add field button, you should see a new field as marked in the screenshot below.
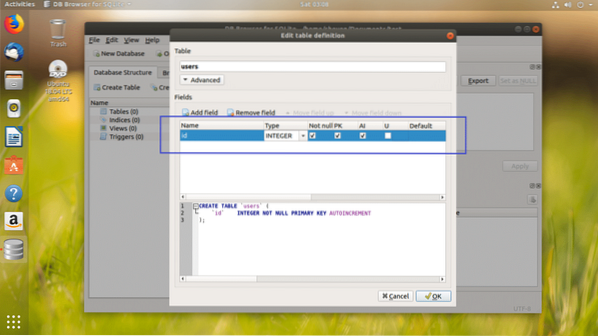
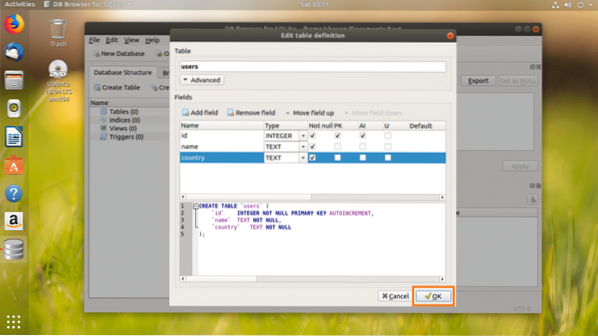
I named the field id, changed the Type to INTEGER, checked the Not null, PK (Primary Key), AI (Auto Increment) checkboxes.
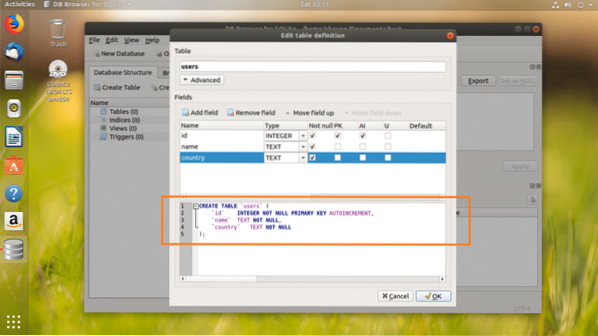
I added name and country field, set their Type to TEXT and checked the Not null checkboxes.

In the marked section of the screenshot below, you can find the SQL code. You can run this code in the SQLite 3 command line interface and create an identical users table as well. SQLite Browser is an awesome tool to lean SQLite as well.
Once you're happy with your table, click on OK.
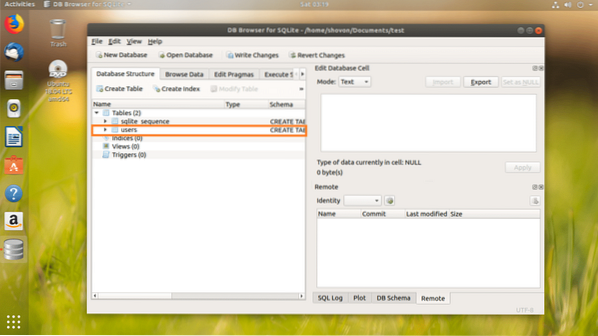
users table should be created.

Now I will show you how to insert data into the users table.
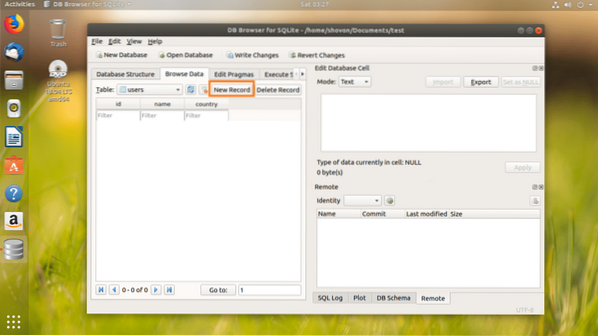
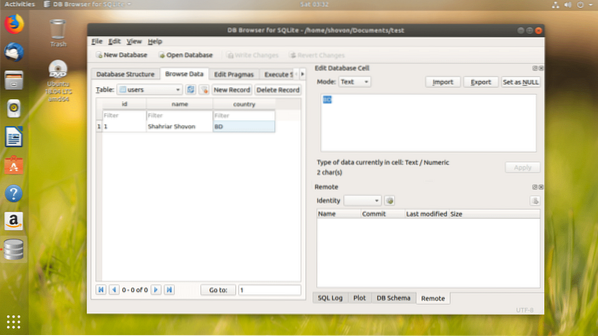
First go to the Browse Data tab as marked in the screenshot below.
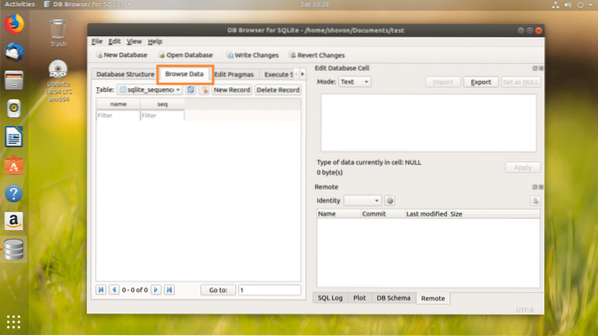
Now select the users table from the marked section of the screenshot below.
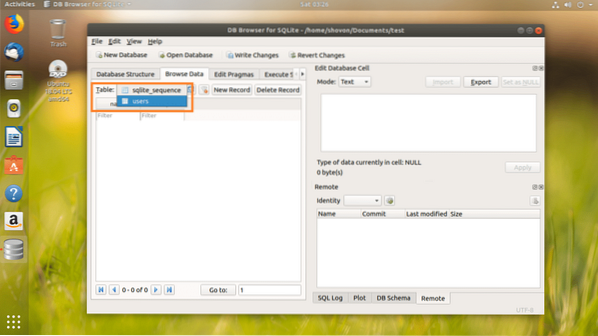
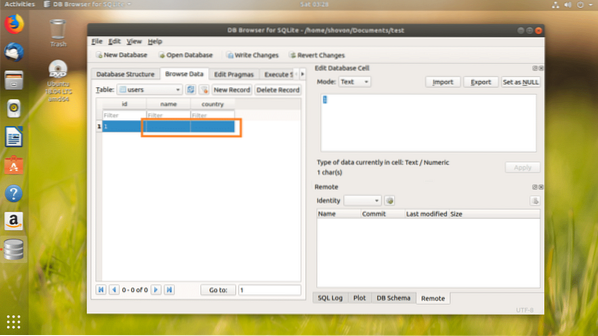
Once users table is selected, click on New Record button to add a new row or data into the table.
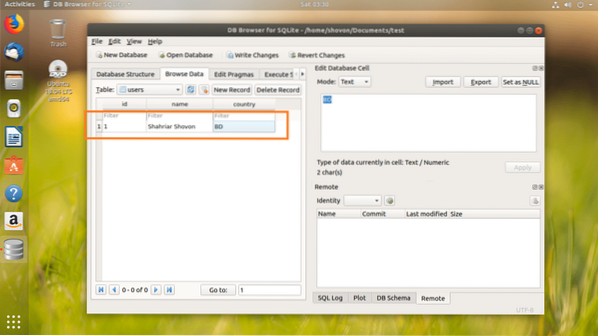
The id should be auto generated. The name and the country field should be blank. Click on each of them and type in your desired data.
As you can, I added a new row to the users table.
Now to save the changes, click on Write Changes button as marked in the screenshot below.
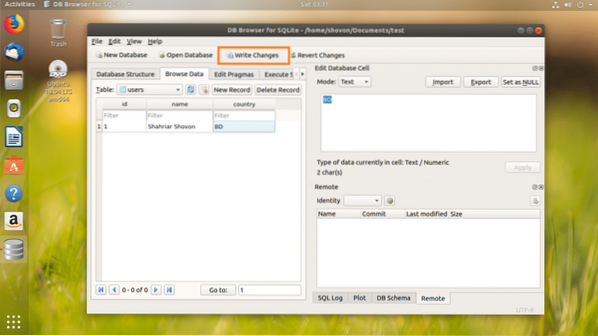
The changes should be written to the file on your filesystem.
If you want, you can execute SQL statements on SQLite Browser as well.
To execute SQL statements, first go to the Execute SQL tab as marked in the screenshot below.
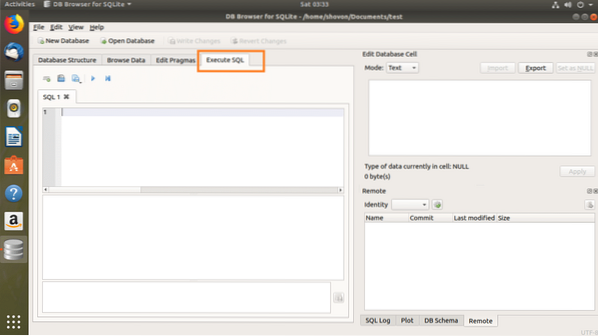
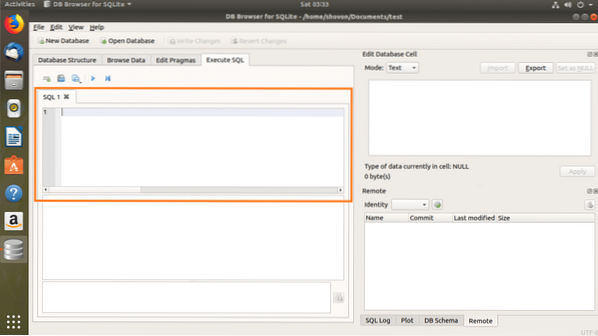
Enter your SQL statements in the marked section of the screenshot below.
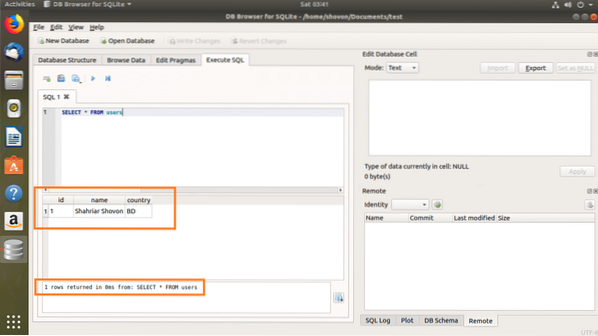
I wrote a simple SQL statement, SELECT * FROM users.
Now if you want to execute the SQL statement, click on the play button as marked in the screenshot below. You can also press F5 or
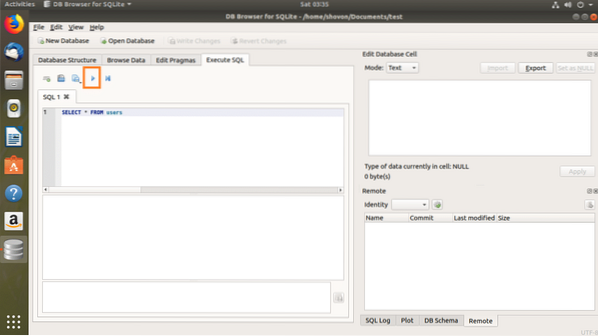
As you can see, the data is returned.
You can insert into the users table with the following SQL command:
INSERT INTO users(name, country) VALUES('John Doe', 'US');
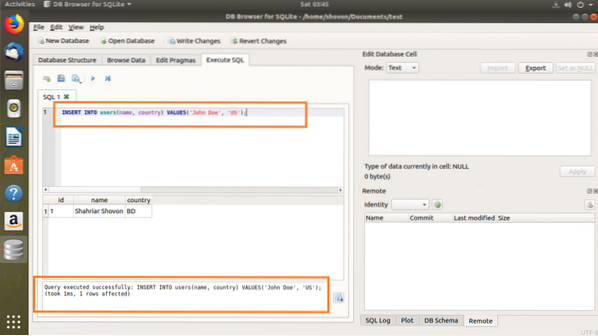
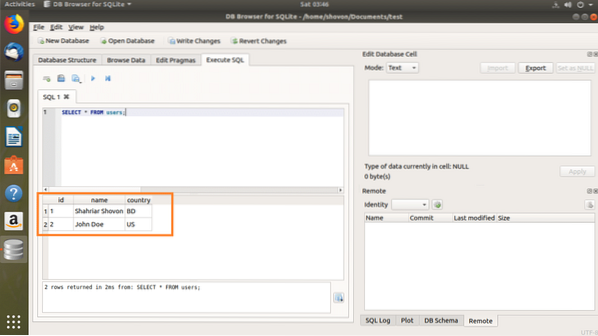
Now if you run SELECT * FROM users again, you should see the new data.
Exporting SQLite Database using SQLite Browser
You can export the SQLite database using SQLite Browser.
First open the SQLite database from File > Open Database…

Now select your SQLite database file and click on Open.
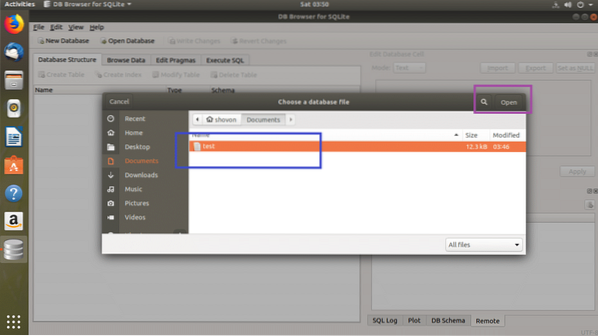
Your database should be opened.
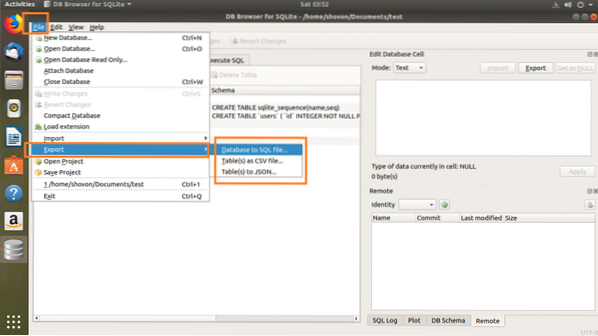
Now you can click on File > Export and then select either Database to SQL file… or Table(s) as CSV file… or Table(s) to JSON… to export the database to your desired format.
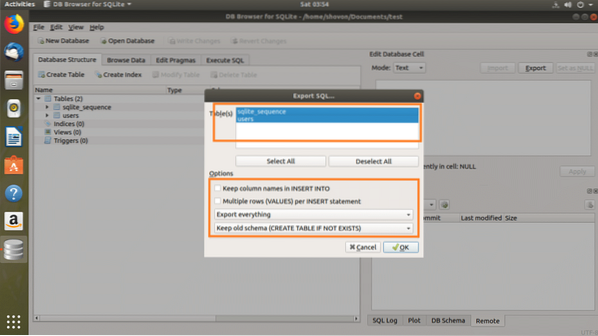
You should see the following window. Now select the tables that you want to export from the Table(s) section. By default, all the tables are selected.
You can also change some options to configure how the exported file should be formatted.
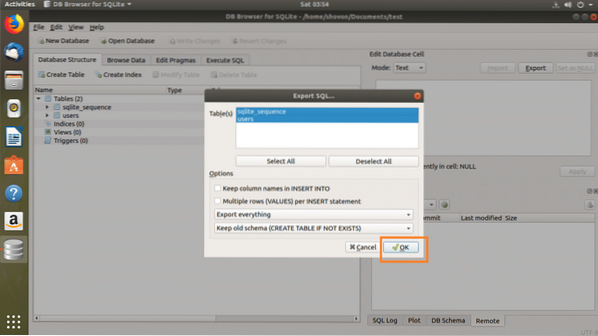
Once you're happy, click on OK.
Now select the file path, type in a filename and click on Save.

The database should be exported, now click on OK.
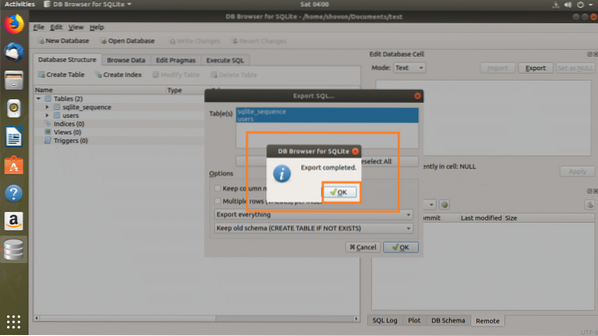
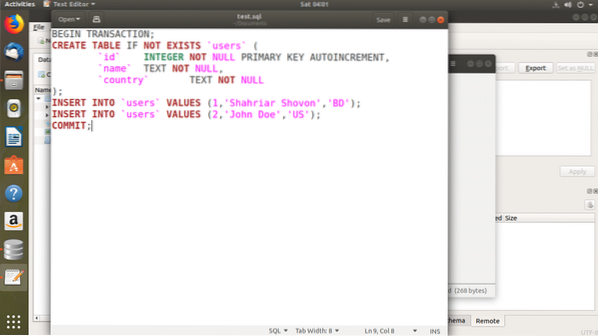
As you can see, the database was exported as SQL.
So that's how you install SQLite 3 and SQLite Browser on Ubuntu 18.04 LTS, and use SQLite Browser. Thanks for reading this article.


