In this article, I will show you how to install Ubuntu Budgie 18.04 LTS. Let's get started.
Downloading Ubuntu Budgie 18.04 LTS
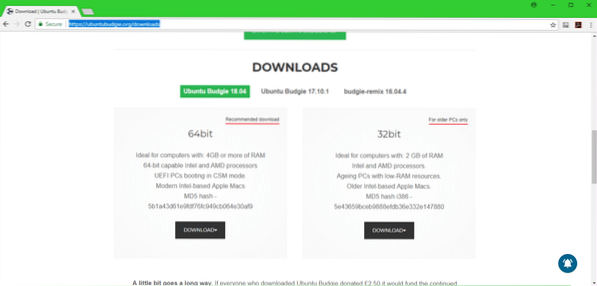
First go to the official website of Ubuntu Budgie 18.04 LTS at https://ubuntubudgie.org/downloads and download an iso image of Ubuntu Budgie 18.04 LTS as you can see from the screenshot below. 64bit and 32bit iso images are available for download.
Making a Bootable USB of Ubuntu Budgie 18.04 LTS
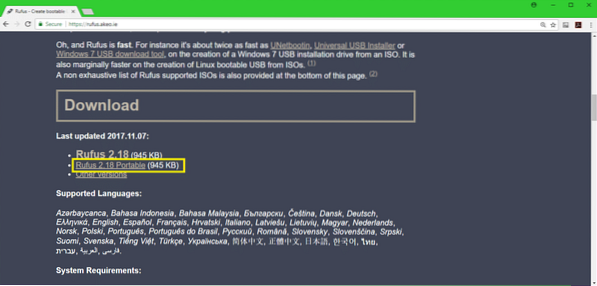
You can make a USB bootable drive of Ubuntu Budgie 18.04 LTS with a utility called Rufus on Windows. You can download Rufus from the official website of Rufus at https://rufus.akeo.ie/ Just go to the official website of Rufus and click on Rufus Portable download link as marked in the screenshot below.
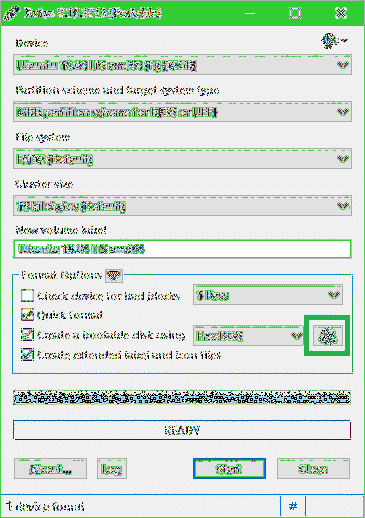
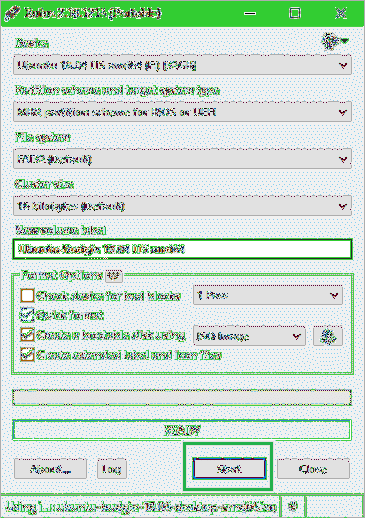
Once Rufus is downloaded, open Rufus and insert the USB drive that you want to make bootable. You should see something like this. Now click on the DVD ROM icon as marked in the screenshot below.
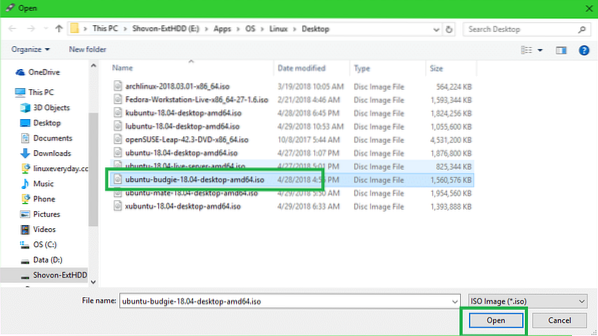
Select Ubuntu Budgie 18.04 LTS iso image that you've just downloaded and click on Open as marked in the screenshot below.
Now click on Start.
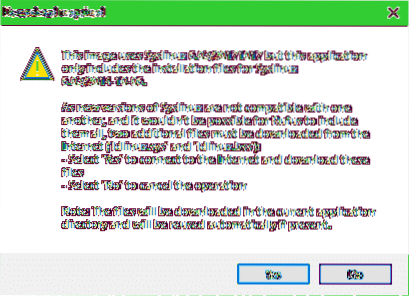
Click on Yes.
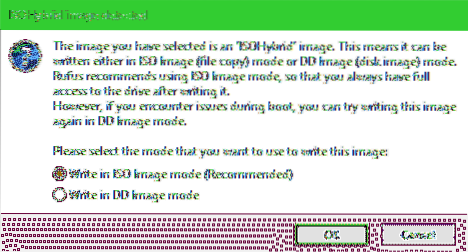
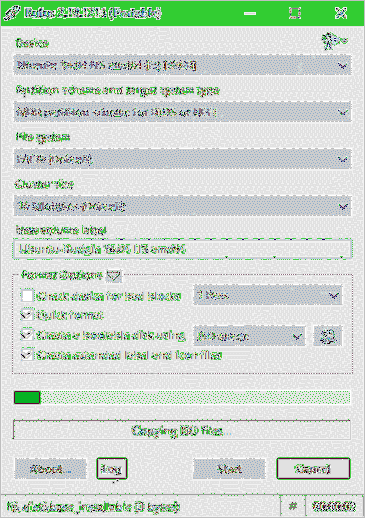
Leave the defaults and click on OK.
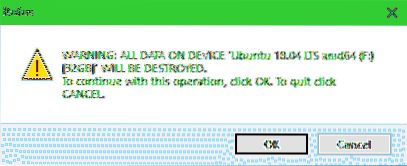
Now click on OK. Note that, this will remove everything from your USB drive.
Rufus should make your USB device Ubuntu Budgie 18.04 LTS bootable. The process should take a while. Once you're done, you can eject it and boot from it.
Booting from the DVD/USB Drive and Installing Ubuntu Budgie 18.04 LTS
First insert the bootable DVD or USB drive to your computer and boot from it. The procedure for booting from a DVD or USB depends on what type of motherboard you have on your computer. Usually F12 or Delete button is pressed right after the power button of your computer is pressed to go to the BIOS of your computer, from where you can select the device you want to boot from.
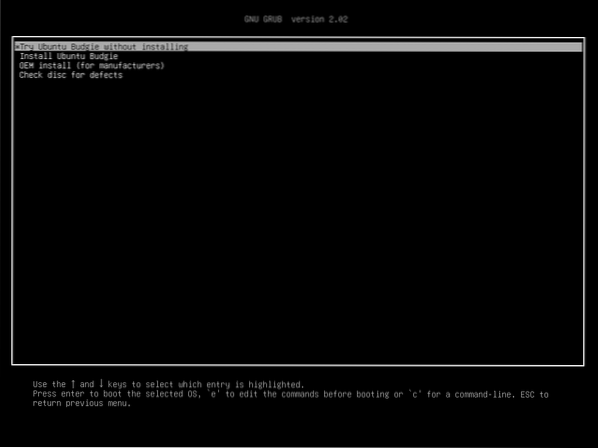
Once you boot, you should see the following GRUB menu. Select Try Ubuntu Budgie without installing and press
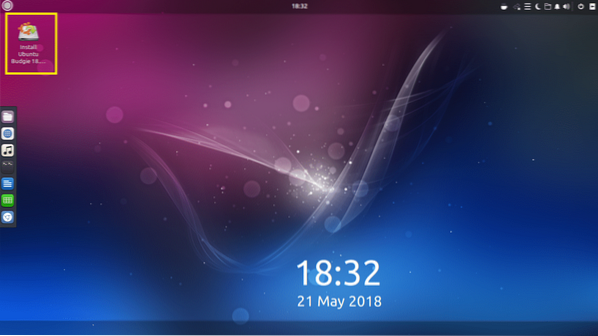
You should see the following window. This is the Ubuntu Budgie 18.04 LTS Live session. Try and see if your hardware works. It you like it, and you want to install it on your hard drive, click on Install Ubuntu Budgie 18.04 icon as marked in the screenshot below.
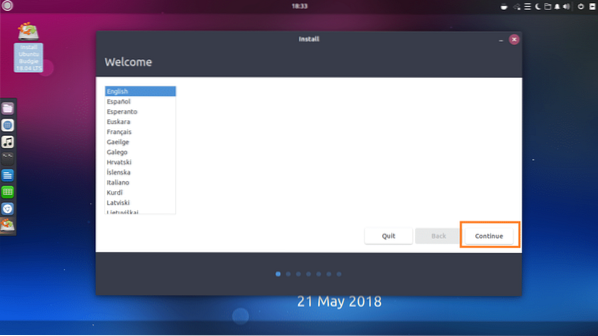
The installer should show up. Select your language and click on Continue.
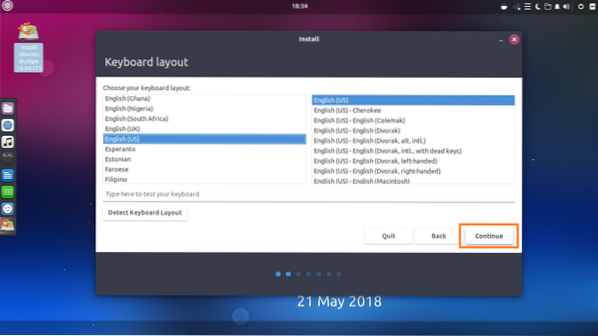
Select your Keyboard layout and click on Continue.
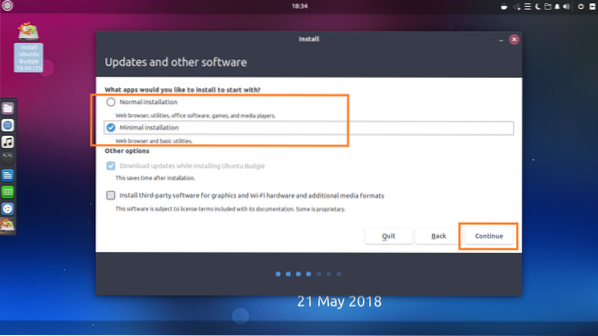
Now select either Normal installation or Minimal installation. If you select Minimal installation, then only the most basic utilities will be installed. If you select Normal installation, all the default softwares will be installed. Minimal installation takes less disk space than Normal installation. Once you're done, click on Continue.
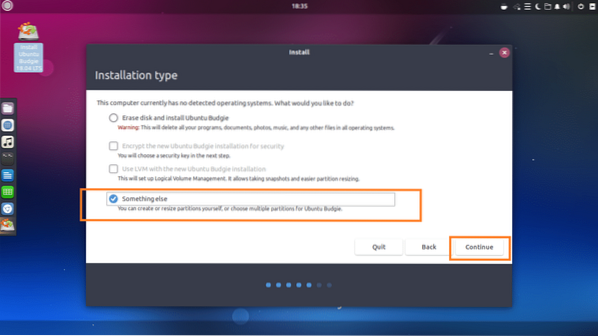
If you have an empty hard drive, you may click on Erase disk and install Ubuntu Budgie, this will format your whole hard drive and install Ubuntu Budgie in it. If you want more control over how your disk will be partitioned, click on Something else and then click on Continue. I will cover manual disk partitioning in this article as this is the one that most people get stuck.
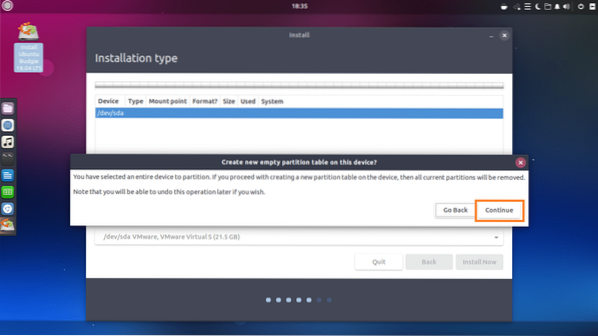
Once you select Something else, you should see the following window. As you can see, I have a virtual hard drive installed, and it does not have a partition table at the moment. Click on New Partition Table… to create an empty partition table.
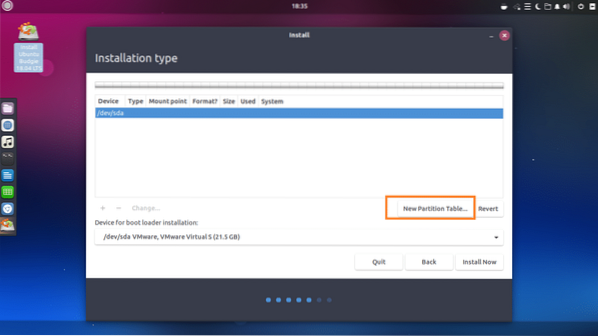
Then click on Continue.
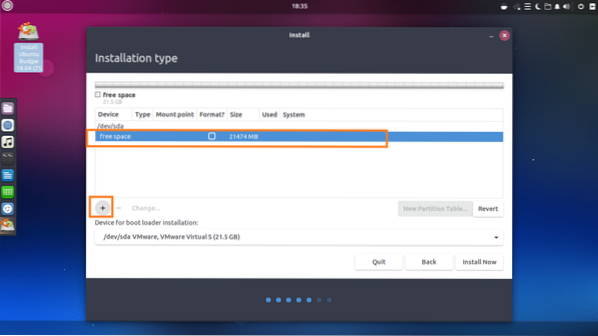
A new partition table should be created. Now to create a new partition, select the free space and click on the + button as marked in the screenshot below.
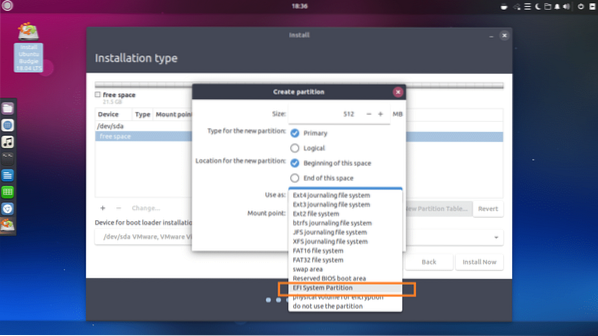
You should see the following window. You need at least 2 partitions to install Ubuntu Budgie 18.04 LTS on UEFI based hardware. One is the root (/) partition and the other one is the EFI System Partition.
On BIOS based hardware, only the root (/) partition is required.
First I am going to create a EFI System Partition of about 512 MB of total free disk space as I am installing Ubuntu Budgie 18.04 LTS on a UEFI based hardware.

Set Use as to EFI System Partition.
Once you're done, click on OK.
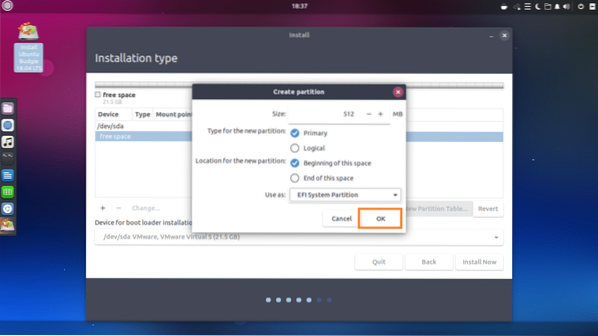
The EFI System Partition should be created.
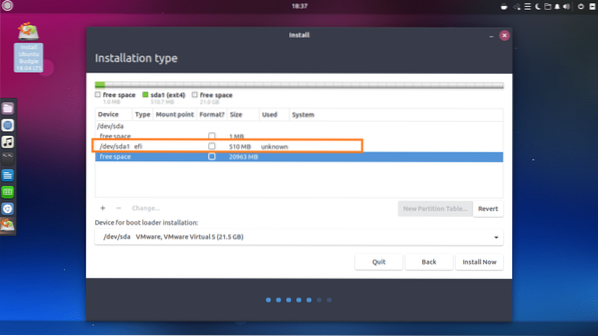
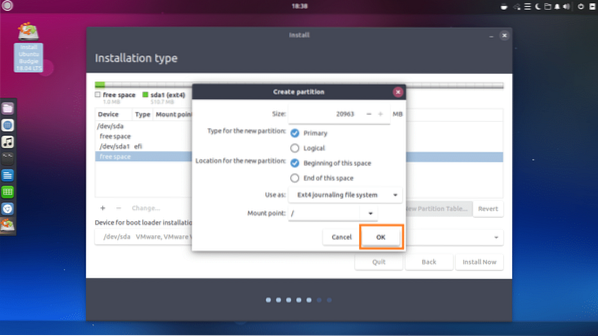
Now you have to create a root (/) partition with the following settings. You may give it the rest of the free disk space if you want and click on OK once you're done.
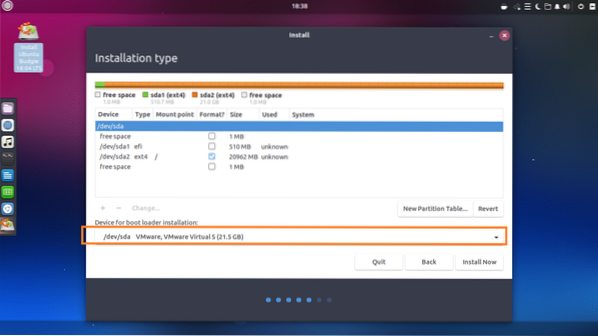
Finally, it should look something like this.

Now select the correct hard drive in the Device for boot loader installation section as marked in the screenshot below.
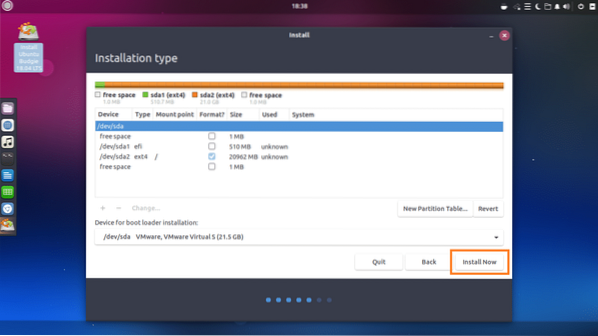
Now click on Install Now.
Click on Continue.

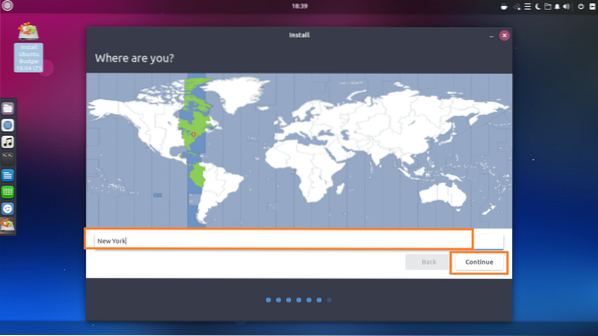
Select your location and click on Continue.
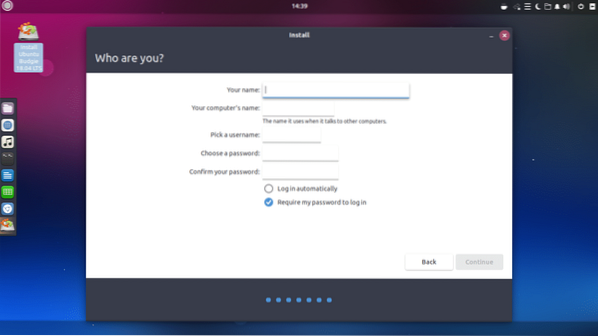
Fill in the text boxes with your personal information.
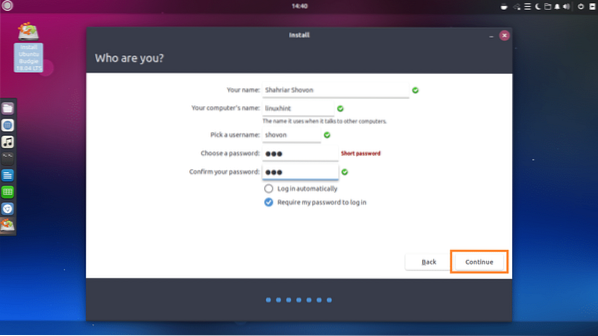
It should look something like this. Once you're done, click on Continue.
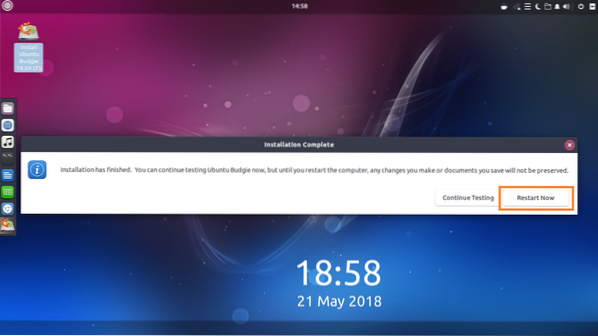
The installation should start.

Once the installation is complete, click on Restart Now.
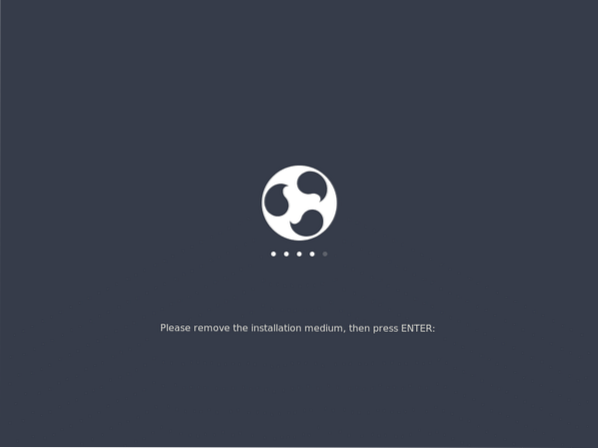
If you see the following window, press
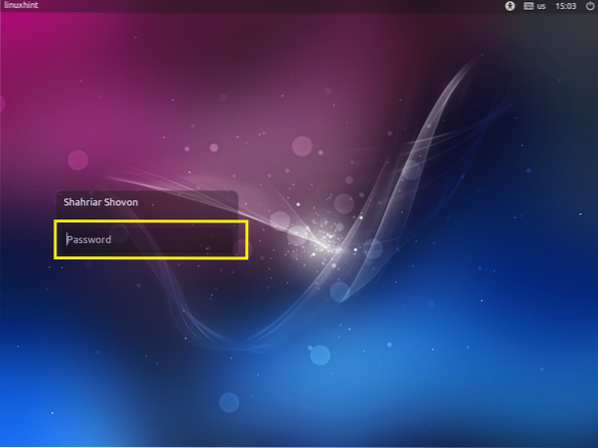
You should be booted into your new Ubuntu Budgie 18.04 LTS. Type in your login password and press
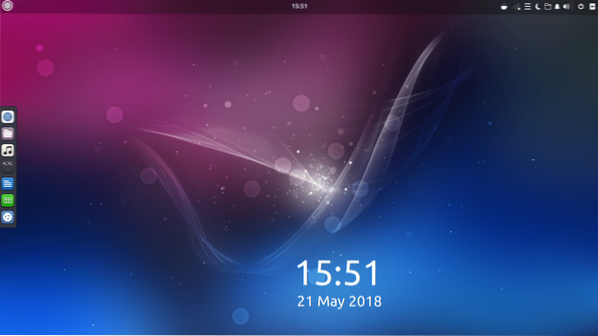
Now click on the exit icon as marked in the screenshot below.

Have fun with your new Ubuntu Budgie 18.04 LTS.
That's how you install Ubuntu Budgie 18.04 LTS. Thanks for reading this article.


