Configuring and updating Task Progress in Microsoft Planner doesn't have to be a complex process. All you must do is assign them to the right individuals and then, check their status when needed. This short guide will walk you through the process to set and update Task progress in Microsoft Planner.
Configure & update Task Progress in Microsoft Planner
Microsoft Planner is a simple and lightweight planning tool that's included in most Office 365 packages. Its primary objective is to provide easy, visual task management for a group of users. For people desirous of a more heavyweight planning tool, there's another program called Microsoft Project.
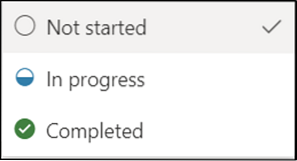
In Planner, you can set and update Task Progress by simply assigning it labels like,
- Not started
- In Progress (indicated by a half-filled circle)
- Completed (indicated by tick clipart)
Here's how you should proceed.
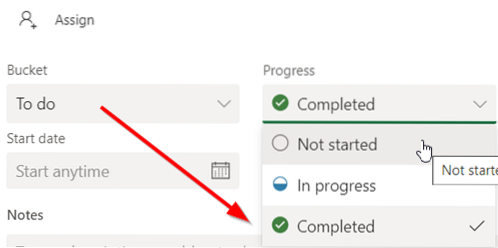
- For getting started, Go to Groups > Progress.
- For tasks in progress, choose another status (In Progress).
- For tasks completed, go to the Progress drop-down box.
- Select the 'Completed' option.
- When done, a tick sign will appear next to the Completed option.
Kindly note that the completed tasks are hidden at the bottom of the task list.
Each plan has its own board, where you can organize tasks into buckets. So, go to your Planner Board, select 'Group by' > 'Progress'.
Start dragging the tasks between columns to quickly update your plan on the fly.

For tasks that are included in the category of 'In progress', you can choose to change status by selecting the 'In progress' symbol visible on the task and choosing another status.
To instantly mark any of your tasks as 'Completed', point to the task and select the check mark.
Similarly, you can also update task progress by clicking the task itself and accessing the Progress drop-down box.
Note - If you're not using a mouse, you won't see the check box to mark something as completed.
If you are not aware of the process to create a task in the planner, see how it is done.
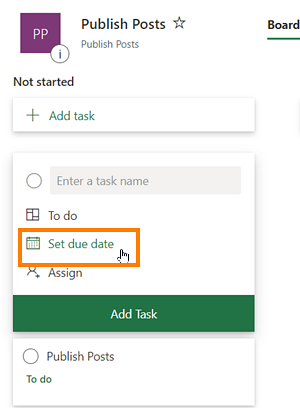
Launch Planner and select + . Give the task a name. To set the Due date, select a date.
Thereafter, assign and select a team member.
Select 'Add Task'.
That's it!
If you are interested, then this post will show you how to create a plan in Microsoft Planner. Creating a plan in Microsoft Planner automatically creates a new Office 365 Group, making it easy for you to collaborate not just in Planner, but other Microsoft applications like OneNote, Outlook, OneDrive, and others.


