Developed by Apache software foundation, CouchDB is a database management system that stores data in JSON documents. We can access our data using the HTTP protocol. Similarly, we can manipulate the data with JavaScript. CouchDB database has RESTful HTTP API for managing database documents
What Will We Cover?
In this guide, we will tackle how we can install Apache CouchDB's latest version on Fedora 30 workstation. We will also use the source code from the official website for this guide. Before we can start, ensure the following requirements are met.
Prerequisites:
- User account with “sudo” privileges
- Internet connection to download various files
- Basic knowledge of running commands on Linux
Installing Apache CouchDB:
Apache CouchDB requires various dependencies before it can be installed. The official site of CouchDB list these dependencies and their exact version number to be installed:
Erlang OTP (19.x, 20.x >= 21.3.8.5, 21.x >= 21.2.3, 22.x >= 22.0.5)ICU
OpenSSL
Mozilla SpiderMonkey (1.8.5)
GNU Make
GNU Compiler Collection
libcurl
help2man
Python (>=2.7) for docs
Python Sphinx (>=1.1.3)
These dependencies can be installed from the official repository of Fedora 30. Let us install them:
Install the above-mentioned dependencies from the following command below:
$ sudo dnf install autoconf autoconf-archive automake curl-devel erlang-asn1 erlang-erts erlang-eunit gcc-c++ erlang-os_mon erlang-xmerl erlang-erl_interface help2man js-devel-1.8.5 libicu-devel libtool perl-Test-Harness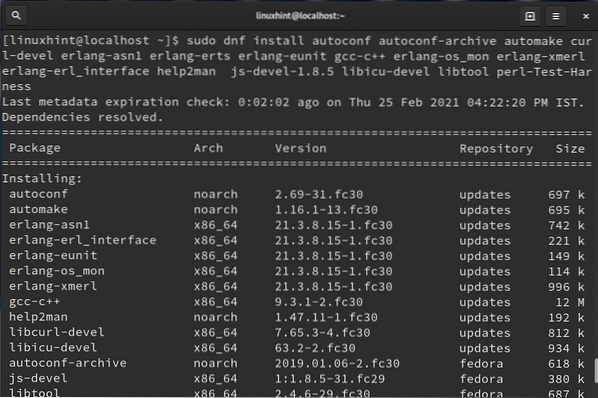
Once these dependencies are installed, we can continue to the process of installing Apache CouchDB, as shown below:
Step 1. Download the tarball file for Apache CouchDB using the 'wget' command:
$ wget https://mirrors.estointernet.in/apache/couchdb/source/3.1.1/apache-couchdb-3.1.1.tar.gz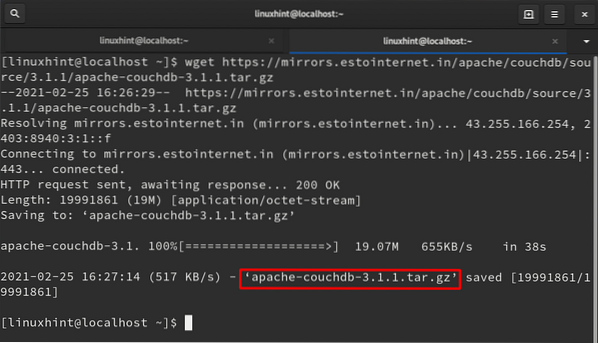
Step 2. Extract the downloaded tarball file with the command given:
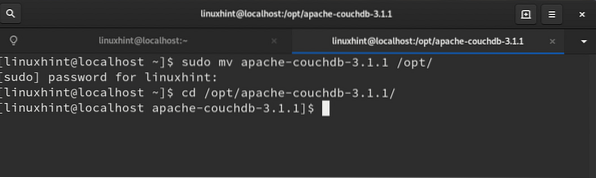
$ tar -xf apache-couchdb-3.1.1.tar.gzStep 3. Move the extracted folder to /opt folder and change the directory there:
$ sudo mv apache-couchdb-3.1.1 /opt/$ cd /opt/apache-couchdb-3.1.1/
Step 4. To configure the package for your system, use the configure script, as shown below:
$ ./configure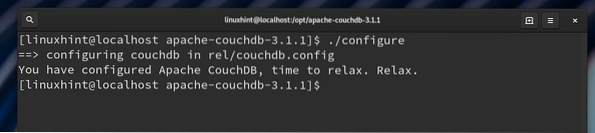
If you want to see options available with the configure script, use the command:
$ ./configure --helpAt the end of the script, if you see the message:
You have configured Apache CouchDB, time to relax.
It means that you have correctly configured the package.
Step 5. Now we will build the source code by running the command below:
$ make releaseOr use gmake if make does not work.
In case you got the below error:
ERROR: Reltool support requires the reltool application to be installed!ERROR: generate failed while processing
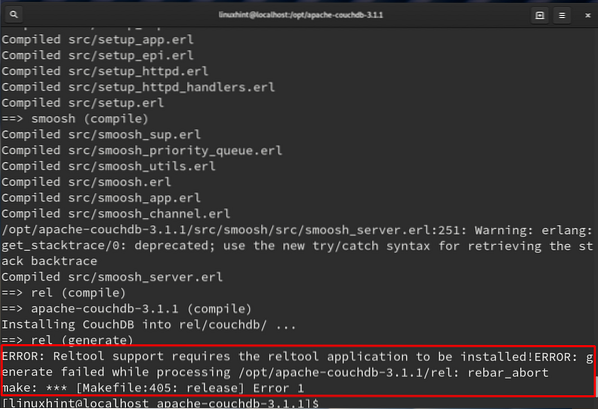
IT means that you must install the erlang-reltool package to build the CouchDB. Use the command below for this:
$ sudo dnf install erlang-reltool
Now, run the 'make release' again with the command below:
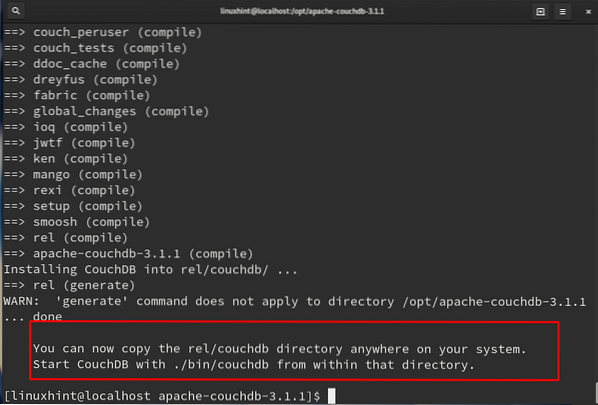
$ make releaseIf the above command finishes successfully, then you should see the message shown below:
“… done
You can now copy the rel/couchdb directory anywhere on your system.
Start CouchDB with ./bin/couchdb from within that directory.”
Step 6. Registering CouchDB user
CouchDB suggests creating a separate user (couchdb) for running its services. This is because of security considerations. Create the user with the command below:
$ sudo adduser --system -m --shell /bin/bash --comment "CouchDB Administrator" couchdb
The above command will create a user named as “couchdb”, together with a home directory and bash shell.
Step 7. Now use the cp command to copy the directory “rel/couchdb” to the couchdb's home directory (/home/couchdb):
$ sudo cp -R /opt/apache-couchdb-3.1.1/rel/couchdb /home/couchdbNote: Use the path “rel/couchdb” relative to your path of extraction for couchdb.

Step 8. We now need to change the ownership of the CouchDB directories using the command below:
$ sudo chown -R couchdb:couchdb /home/couchdb/couchdbStep 9. Similarly, change the permission of the CouchDB directories with the command given below:
$ find /home/couchdb/couchdb -type d -exec chmod 0770 \;
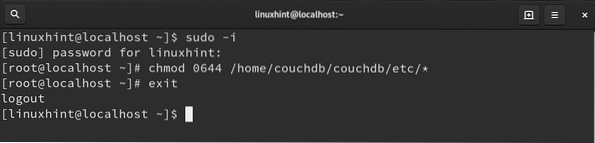
Step 10. To modify the permissions for the ini files, open a new terminal window and run the below commands:
$ sudo -i# chmod 0644 /home/couchdb/couchdb/etc/*
Step 11. Create an admin user before starting couchdb (required in CouchDB version 3). For this, open the file local.ini file in the directory “/home/couchdb/couchdb/etc/local.ini”.
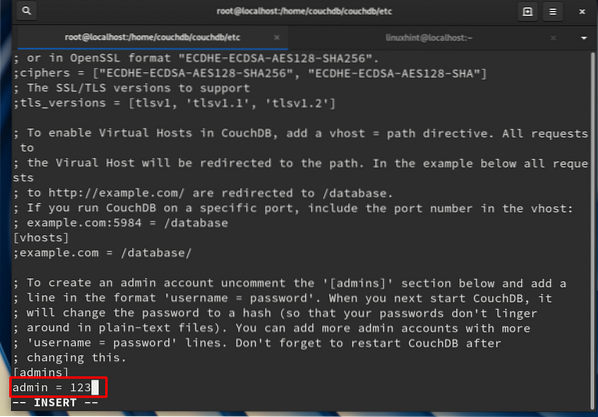
# vi /home/couchdb/couchdb/etc/local.iniNow go to the admin's section and uncomment the admin line, then put your password in the following way:
admin = YourPasswordIn place of YourPassword, put the password you want to use. You can add any admin user in the format of “username = password”. See the reference picture below:
Now return to the normal user terminal by typing exit:
# exit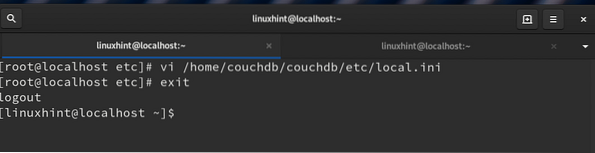
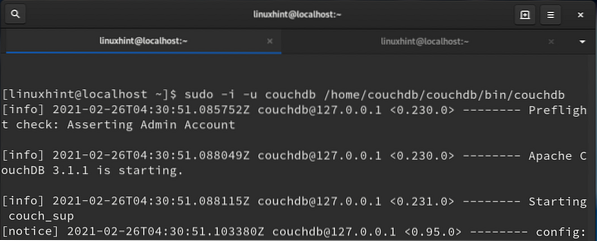
Step 12. We will start the CouchDB server with the command given below:
$ sudo -i -u couchdb /home/couchdb/couchdb/bin/couchdbThe above command starts the CouchDB as the couchdb user, as shown in the following picture:
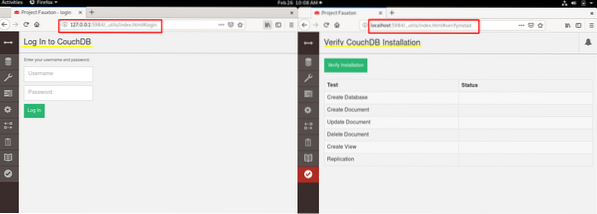
Step 13. Open a web browser and browse the below address to access the admin panel:
http://127.0.0.1:5984/_utils/index.html
To verify the installation, go to:
http://localhost:5984/_utils/verify_install.html
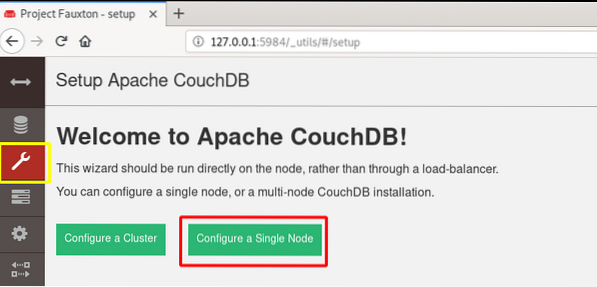
CouchDB can be configured as a single node or clustered. Let's see the setup for a single node:
Step 1. Go to http://127.0.0.1:5984/_utils#setup
Step 2. Login with your admin account

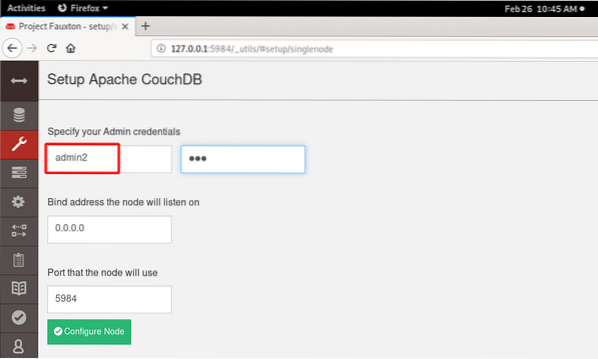
Step 3. For the first-time setup, click on the setup icon and select the option “Configure a Single Node”.
Step 4. Create a new admin user for this setup. We can also continue with the previous “admin” user. In our case, we have created a new user: admin2 and password: 123. Now click the configure Node button:
Step 5. When you click the database icon, it will show you two system databases:

Note: Always restart the couchdb after creating an admin account
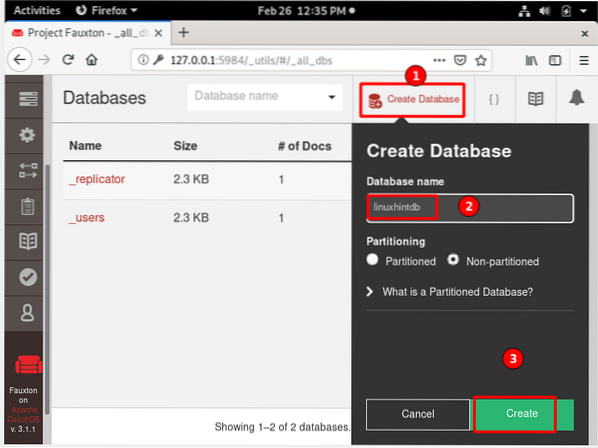
Step 6. After restarting the couchdb, create a new database in the admin2 account, as follows:
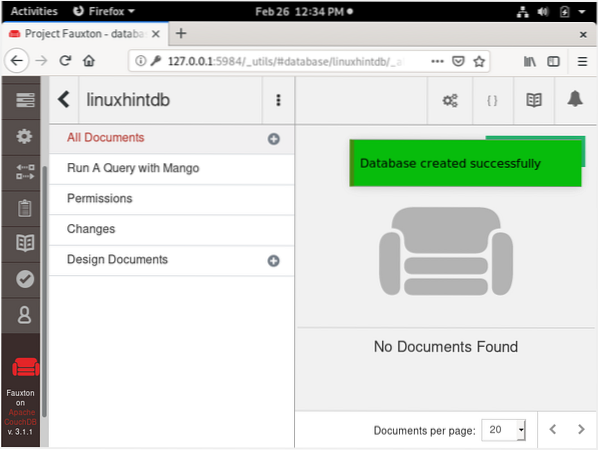
You should see a “database created successfully” message, as shown in the image below:
Conclusion:
In this guide, we learn how to install CouchDB using the source code on Fedora 30 workstation. We have managed to configure various aspects of the installation process and troubleshoot some of the errors. We have also learned to set up the single-node configuration from GUI. What you can do next is:
- To manually configure CouchDB for a single node; and
- Create a clustered setup for CouchDB


